
Elevating the presentation of your event giveaways does not require an extravagant budget. With a thoughtful combination of paperbags for giveaways, carefully selected ribbons, and precise assembly techniques, you can transform simple packaging into a premium, memorable gift. Whether you are preparing for a wedding, a corporate event, a debut, or a festive family gathering, the way you decorate your packaging sets the tone for what is inside.
Achieving a professional finish relies on understanding how different paper weights, ribbon textures, and adhesives interact. By mastering a few fundamental tying and mounting methods, you can produce beautiful, uniform packaging that remains intact from the moment you hand it over to the moment your guests arrive home.
Essential Materials for Decorating Paperbags for Giveaways
Before beginning your assembly line, gathering the correct supplies ensures a smooth, uninterrupted crafting process. The foundation of your project is the paper bag itself. For event giveaways, bags typically range from rustic brown kraft paper (usually 70 to 120 gsm) to vibrant colored matte paper and high-gloss laminated cardstock. Always check the bag’s weight capacity and handle strength before purchasing. If your giveaway items are heavy—such as jars of local jams, artisanal candles, or glass bottles—ensure the bag features reinforced bottoms and sturdy handles, such as twisted paper or woven cotton rope, which can support the load without tearing.
Products mentioned in this guide
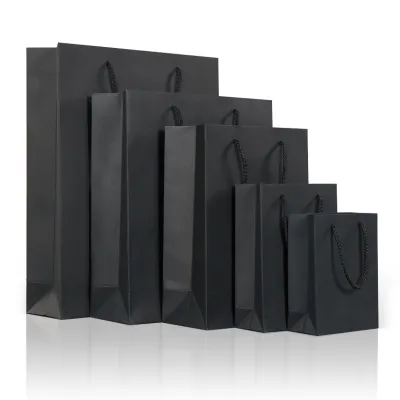
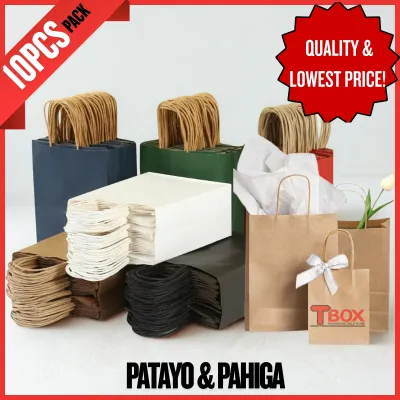
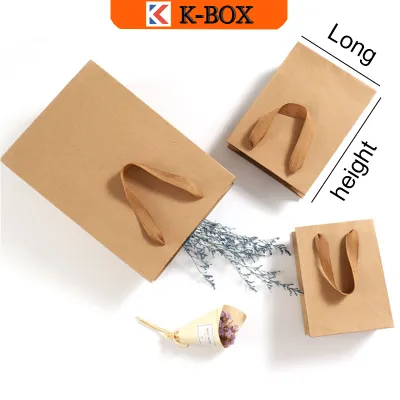
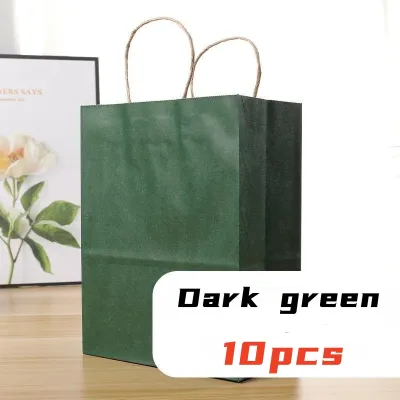
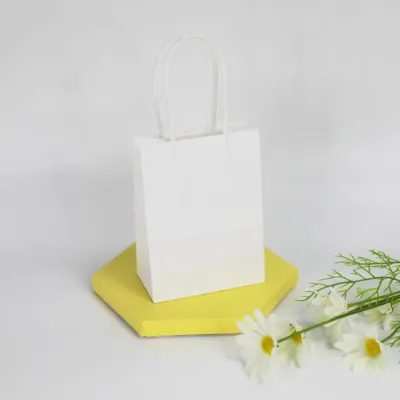
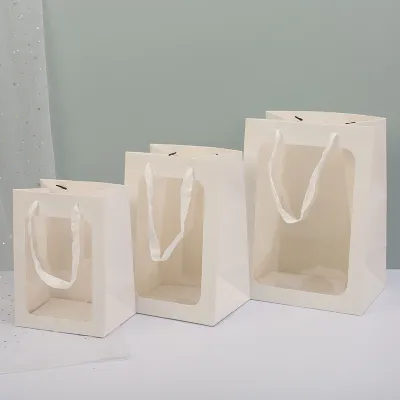
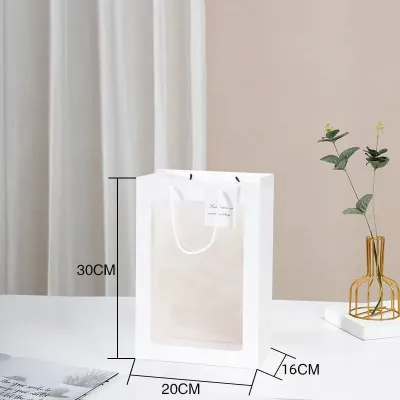
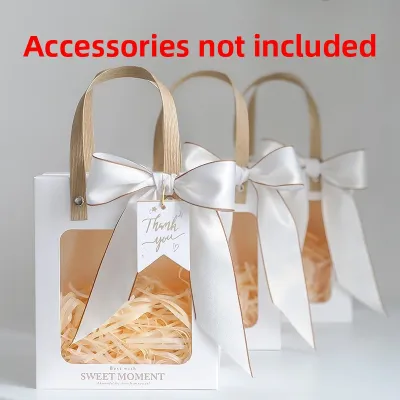
Prices are valid at publication and may change. Please refer to the product page for the latest price.
Next, select your decorative ribbons. The three most common and versatile options are satin, grosgrain, and organza:
- Satin Ribbon: Known for its smooth, glossy surface and elegant drape. It reflects light beautifully, making it ideal for formal celebrations.
- Grosgrain Ribbon: Characterized by its ribbed texture and matte finish. It is highly durable, holds its shape exceptionally well, and is easy to tie into crisp, structured bows.
- Organza Ribbon: Sheer, lightweight, and delicate. It adds a soft, romantic, and airy touch without overpowering the bag's design.
For large-scale events where time is limited, pre-made bows are an excellent alternative to tying each one by hand. These can be sourced in bulk from local stationery suppliers or online marketplaces, saving hours of manual labor.
Having the right tools on hand prevents frustration and ensures clean lines. You will need a pair of dedicated, sharp fabric scissors; dull paper scissors will chew through ribbon fibers and cause unsightly fraying. A flexible measuring tape is essential for maintaining consistent lengths across your batches. Finally, select your adhesives based on the bag’s surface texture. Matte and raw kraft papers bond well with high-tack double-sided tape or standard glue dots. Glossy, laminated, or plastic-coated paper bags resist light adhesives, meaning you will need the stronger thermal bond of a hot glue gun or specialized heavy-duty acrylic glue dots to keep your decorations securely attached.
How to Match Ribbons and Bows to Your Paper Bag Style
Creating a cohesive design requires pairing the texture, width, and color of your ribbon with the specific finish of your paper bag. When these elements harmonize, the packaging looks intentional and high-end.

Rustic kraft paper bags possess a natural, organic charm. To complement this aesthetic, pair them with grosgrain ribbons in earthy tones, forest greens, or classic cream. The ribbed texture of grosgrain mirrors the tactile quality of kraft paper, creating a balanced, understated look. This combination is highly suited for eco-friendly brands, rustic outdoor weddings, or artisanal food giveaways. You can also introduce natural jute twine alongside the ribbon for added depth.
For glossy or premium-colored bags, satin or organza ribbons are the preferred choice. The high-shine finish of double-faced satin elevates the perceived value of colored cardstock, making it feel like a luxury boutique purchase. Organza, with its semi-translucent quality, works beautifully when layered over solid-colored bags, allowing the bag’s color to filter through gently. This pairing is perfect for milestone birthdays, corporate product launches, or formal evening receptions.
Sizing and proportions must also guide your choices. A common mistake is using a ribbon that is too wide or too narrow for the bag’s dimensions. For small favor bags (around 10 by 12 centimeters), stick to narrow ribbons between 6 to 10 millimeters (1/4 to 3/8 inch). Medium to large bags (20 by 25 centimeters or larger) can easily accommodate wider ribbons of 25 to 38 millimeters (1 to 1.5 inches). Additionally, match the ribbon width to the scale of the handles; thick cotton rope handles look balanced with wider, substantial ribbons, whereas delicate twisted paper handles pair best with thinner, lightweight bows.
Color coordination should reflect the theme of your event while maintaining visual contrast. If you are designing for a corporate event, align the colors with your brand guidelines—for example, a matte navy blue bag paired with a crisp silver satin ribbon. For weddings or debuts, soft pastel palettes such as blush pink, lavender, or sage green can be paired with neutral cream or white ribbons. If you want a bold, modern look, choose high-contrast pairings like a black matte bag with a vibrant gold ribbon. Always ensure any printed text or logos on the bag remain fully readable and are not obstructed by your ribbon placement.
Step-by-Step Techniques for Attaching Ribbons and Bows
Once your materials are matched, you can apply one of three classic decorating techniques. Each method offers a distinct visual style and can be adapted to suit your event’s timeline and budget.
Tying a Classic Bow Around the Handles
Tying a ribbon directly onto the bag handles is a traditional, elegant method that immediately signals a hand-crafted gift.
First, measure and cut your ribbon. For a standard medium-sized bag, you will need approximately 40 to 50 centimeters of ribbon to allow enough length for comfortable tying, looping, and leaving elegant tails. Thread the ribbon under the base of one of the handles. If your paper bag features metal grommets where the handles attach, you can thread the ribbon directly through these holes for an incredibly secure anchor.
Next, bring the two ends of the ribbon together to ensure they are even. Cross the left end over the right end, tuck it under, and pull it tight to create a firm basic knot against the bag’s surface. To form the bow, fold the left strand into a neat loop. Take the right strand, wrap it around the base of the loop, and push it through the opening in the center to create the second loop.
Pull both loops gently to tighten the knot. To finish, adjust the size of the loops so they are symmetrical, and pull the tails downward. Use your fingers to fluff the loops, giving them a rounded, three-dimensional shape. Trim the tails at a clean 45-degree angle to prevent fraying and complete the look.
Creating a Wrapped Ribbon Band
A wrapped ribbon band wraps horizontally around the body of the bag, mimicking the look of a premium, professionally wrapped gift box.
To begin, wrap your flexible measuring tape around the body of the bag at the height where you want the ribbon to sit. Note the measurement and add 2.5 centimeters (1 inch) to allow for a clean overlap at the back. Cut your ribbon to this exact length.
Apply a strip of high-tack double-sided tape or a series of three to four glue dots horizontally across the back seam of the paper bag. Press one end of the cut ribbon firmly onto the adhesive, ensuring the ribbon is perfectly straight and aligned with the bag’s bottom edge.
Pull the ribbon tightly around the front of the bag. Keep the tension consistent so the paper does not buckle or wrinkle. Bring the ribbon around to the back seam, overlapping the starting point. Apply another small piece of double-sided tape to the underside of the overlapping ribbon end, press down firmly, and smooth it out with your fingers. The seam will be neatly hidden at the back, leaving a clean, continuous band across the front of your giveaway bag. You can leave the band minimal, or stick a contrasting pre-made bow directly in the center of the front band.
Securing Pre-Made Bows with Adhesives
Using pre-made bows is the fastest way to achieve absolute uniformity across dozens or hundreds of giveaway bags.
Start by selecting the right adhesive based on the weight of your pre-made bows. Lightweight organza or thin satin bows can be secured using simple glue dots or high-tack double-sided tissue tape. However, heavy double-faced satin or thick grosgrain bows require the thermal strength of hot glue to prevent them from drooping or falling off during transport.
When using a hot glue gun, safety is paramount. Always work on a clean, heat-resistant surface, such as a silicone crafting mat. Keep the glue gun on its stand when not in use, and keep it entirely out of reach of children and pets. Avoid touching the hot metal nozzle or the melted glue directly, as this can cause painful skin burns. Have a small bowl of cold water nearby to dip your fingers in case of accidental contact.
To attach the bow, apply a single, pea-sized drop of hot glue directly to the back center knot of the pre-made bow. Avoid using too much glue, as excess adhesive will squeeze out from the sides and leave messy, visible residue on your paper bag. Quickly position the bow onto your desired spot—such as the center of the bag body or at the base of the handles—and press down firmly with moderate pressure for 5 to 10 seconds. Allow the glue to cool completely before moving or packing the bags.
Pro Tips for a Polished and Professional Finish
Small details distinguish amateur packaging from professional-grade gift presentation. Implementing these expert finishing techniques will elevate your giveaway bags and ensure batch consistency.
To prevent synthetic ribbons (like satin, grosgrain, and organza) from unraveling, always seal the cut ends. Gently sweep the blue part of a lighter flame across the raw edge of the ribbon for a fraction of a second. The heat will melt the synthetic fibers slightly, creating a smooth, sealed bead that stops fraying permanently. For natural fiber ribbons like cotton or linen, apply a thin dab of liquid fray check along the cut edge instead of using heat.
When cutting ribbon tails, avoid cutting them straight across, which can look unfinished. Instead, fold the ribbon tail in half vertically and cut upward at a 45-degree angle from the folded edge to the outer edge. When unfolded, this creates a classic, elegant V-shape (also known as a chevron cut). Alternatively, a clean, single 45-degree diagonal cut works beautifully for modern designs.
To make your giveaways even more memorable, layer complementary accents. Slide a custom-printed, personalized gift tag onto your ribbon before tying the final knot. For a rustic or bohemian touch, tuck a small sprig of dried flowers, such as lavender or gypsophila, behind the bow. You can also seal the back of the bag or secure the tissue paper inside with a branded sticker or a custom wax seal.
If you are preparing a large batch of bags, consistency is key to a professional display on your giveaway table. Create a cardboard cutting template to ensure every single ribbon is cut to the exact same length. Use a ruler to mark a faint pencil guide on each bag so that every ribbon band or bow is mounted at the exact same height. This level of uniformity creates a striking visual impact when the bags are lined up together at your event venue.
Common Mistakes to Avoid When Decorating Giveaway Bags
Even with the best materials, minor errors during assembly can compromise the durability and appearance of your packaging. Being aware of these pitfalls allows you to avoid them entirely.
First, avoid using excessive hot glue. Too much glue not only creates messy, visible lumps underneath your bows, but it can also bleed through thin paper bags, leaving greasy-looking stains. In some cases, excessive heat from the glue gun can warp or melt plastic-coated or glossy laminated bags. Always use glue sparingly and test a single bag first to verify compatibility.
Second, keep the scale of your decorations in mind. Choosing a ribbon that is too wide or stiff for a small, delicate paper bag will overwhelm the design and cause the bag to collapse or misshape under the weight. Conversely, a tiny bow on a large shopping bag looks disproportionate and cheap. Always test the drape and weight of your ribbon on a sample bag before purchasing your supplies in bulk.
Third, consider environmental factors. The tropical, highly humid climate in the Philippines can severely affect certain adhesives. Standard water-based school glues, cheap double-sided tapes, and low-quality glue sticks can soften and lose their grip when exposed to heat and humidity. This can cause your carefully tied bows to slide off or peel away before your guests even arrive. To prevent this, always opt for high-tack, humidity-resistant acrylic glue dots, heavy-duty double-sided tape, or high-temperature hot glue sticks, and store your completed bags in a cool, dry, air-conditioned room away from direct sunlight.
Finally, never overload the handles. Avoid wrapping heavy, thick ribbons tightly around delicate paper handles, and do not hang heavy decorative ornaments from them. If the handle structure is compromised, the added tension can cause the paper to rip when guests lift their giveaways. Always perform a quick lift-test with a fully loaded bag to ensure the handles remain strong, comfortable to hold, and structurally sound for your guests.

Community discussion
Share your experience or ask a question. Comments are reviewed before publication.