
Upgrading simple party favors into memorable keepsakes often comes down to the finishing touches. When preparing loot bags giveaways for birthdays, weddings, debuts, or community celebrations, the way you wrap and decorate them sets the expectation before guests even see what is inside. Utilizing ribbons and bows is one of the most cost-effective and visually striking ways to elevate plain packaging. By selecting the right materials, mastering a few secure attachment techniques, and coordinating your color palette with your event theme, you can transform ordinary paper, plastic, or fabric bags into elegant, professional-looking gifts.
Selecting the Best Ribbons, Bows, and Bags for Your Theme
To achieve a polished look, you must first match the weight and texture of your ribbon to the structure of your bag. Heavy canvas or thick kraft paper bags pair beautifully with structured ribbons like grosgrain or wide satin. Grosgrain ribbon features a ribbed texture that provides excellent grip, making it ideal for holding tight knots and structural bows. Conversely, lightweight bags, such as those made of thin plastic or sheer organza, are best complemented by delicate ribbons like chiffon or thin satin. If you are using non-woven fabric bags, a medium-width satin ribbon offers a smooth, lustrous contrast to the matte fabric texture.
Choosing between pre-made bows and cutting directly from ribbon spools is a critical decision that impacts both your budget and your timeline. Pre-made bows with peel-and-stick backings are incredibly convenient for large-scale events where you need to assemble dozens of loot bags giveaways quickly. However, they tend to be more expensive per piece and offer limited customization. Buying ribbon spools is highly economical—often costing only a few pesos per meter—and allows you to control the exact length and style of each bow. If you have a moderate amount of time and want a bespoke look, crafting your own bows from spools is highly recommended.
Products mentioned in this guide
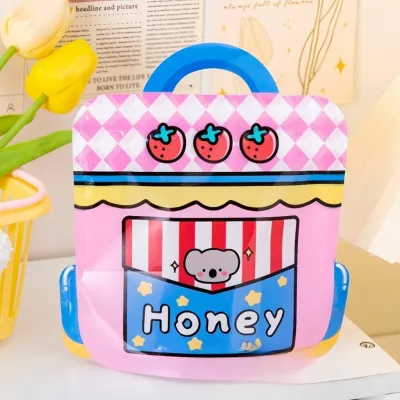
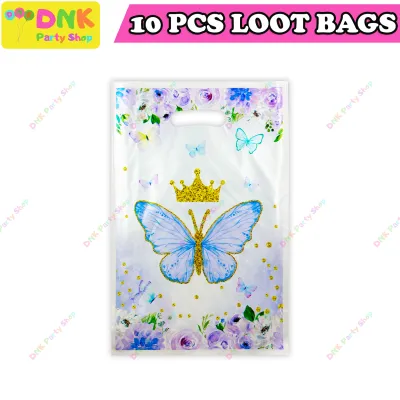
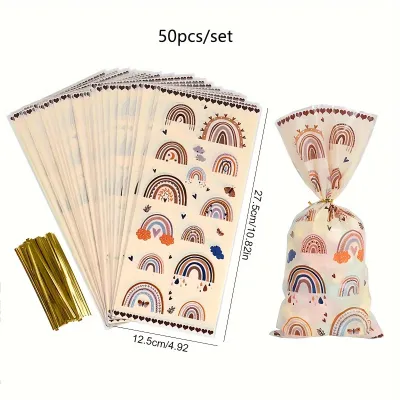
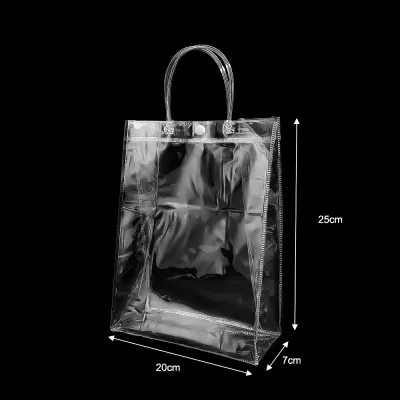
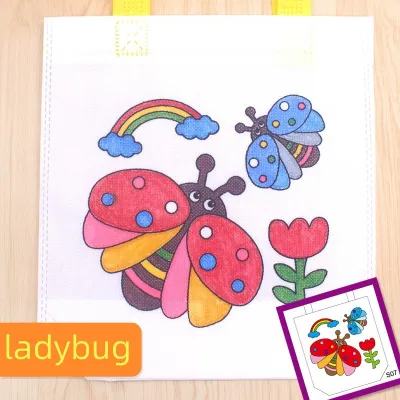
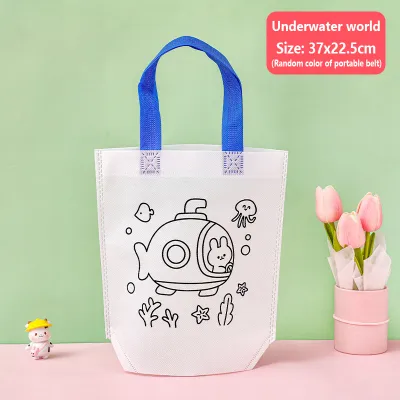
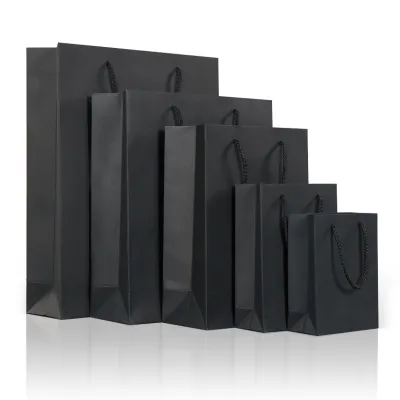
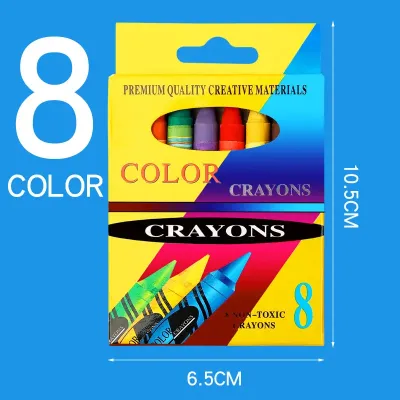
Prices are valid at publication and may change. Please refer to the product page for the latest price.
The surface texture of your bag material dictates how your decorative elements will behave. Smooth, glossy plastic bags repel many liquid craft glues, requiring high-tack double-sided tape or hot glue instead. Uncoated paper bags absorb liquid adhesives quickly, which can lead to unsightly wet spots or warping if you apply too much glue. Canvas and non-woven fabric bags are highly porous, meaning they absorb light adhesives but hold beautifully when paired with hot glue, stitching, or physical hardware like pins and clips.
Color coordination is what pulls your entire presentation together. For a cohesive look, align your ribbon colors with the specific theme or color palette of your celebration. If you are hosting a tropical-themed summer party in the Philippines, vibrant hues like turquoise, coral, and sunny yellow work wonderfully against natural brown kraft paper bags. For formal events like debuts or weddings, classic combinations such as emerald green satin on matte white bags, or champagne gold ribbons on textured cream paper, create an instantly sophisticated aesthetic.
Essential Tools and Materials for a Clean Finish
Before starting your assembly process, gathering the right tools prevents unnecessary interruptions and ensures a clean, professional outcome. A pair of dedicated, ultra-sharp fabric scissors is non-negotiable; dull household scissors will chew through satin and organza, leaving jagged, frayed edges that ruin the presentation. Keep a clear acrylic ruler or a self-healing cutting mat nearby to measure ribbon lengths accurately, ensuring every single giveaway in your batch remains uniform.

Adhesives play a major role in keeping your bows secure, especially in warm, humid climates. Double-sided tape rolls and pre-cut glue dots are excellent for paper-on-paper or ribbon-on-paper attachments because they dry instantly and do not warp the material. For heavier embellishments, a high-quality craft glue or a low-temperature hot glue gun is ideal. When working with hot glue, always exercise caution to avoid burns, and keep the hot nozzle away from thin plastic bags, which can melt instantly under high temperatures.
Physical hardware and structural tools can also simplify your workflow. A standard single-hole punch is perfect for creating clean threading points near the top of paper bags. For a rustic or whimsical touch, mini wooden clothespins, small metal paperclips, or safety pins can be used to clip bows directly onto the bags. If children are attending the party, ensure any hardware used is safely secured and free of sharp edges that could cause accidental pinpricks during the excitement of opening the gifts.
Step-by-Step Techniques for Attaching Ribbons and Bows
The method you choose to attach your ribbons and bows depends on the material of your loot bags giveaways and whether you want the decoration to be permanent or easily removable. Permanent methods, like hot glue, are excellent for sturdy bags that do not need to be preserved. Removable methods, such as tied knots or clips, allow your guests to open their gifts without tearing the packaging, preserving the beautiful ribbons for future use.
Before attaching anything, prepare your workspace and materials. Wipe down the surfaces of your bags with a dry microfiber cloth to remove any dust or manufacturing residue that could prevent adhesives from sticking. Measure and pre-cut all your ribbon segments beforehand. For a standard medium-sized bag, a ribbon length of 40 to 50 centimeters is usually sufficient for a beautiful, full bow, but it is always wise to test one bag first to find the perfect measurement.
Tying and Knotting Methods
Tying ribbons directly onto the structure of the bag is an elegant, adhesive-free technique that works best with paper or fabric bags. To begin, gather your paper loot bag and use a hole punch to create two evenly spaced holes about two centimeters below the top opening. Ensure the holes are aligned horizontally so your finished bow sits perfectly straight. If your bag already has built-in rope or ribbon handles, you can skip the punching step and tie your decorative ribbon directly around the base of the existing handles.
Next, thread your pre-cut ribbon through the holes from the back of the bag to the front. Pull the ends through until they are even in length. Cross the left end over the right end to create a basic knot, tightening it gently so the top of the bag gathers slightly without creasing or tearing the paper. Form a loop with one hand, wrap the other end around, and pull it through to create a classic bow.
Adjust the loops and tails of the bow until they are symmetrical and proportional to the bag’s size. If the bag is made of a delicate material, maintain a gentle tension; pulling the knot too tight can crush the bag opening, while leaving it too loose will cause the bow to sag. For fabric or canvas bags, a simple slip knot or a double-knot before forming the bow loops can provide extra security, ensuring the giveaway stays neatly closed during transport.
Adhesive and Tape Methods
For bags that lack handles or structural holes, adhesives offer a seamless way to attach pre-made bows or flat ribbon bands. Glue dots are incredibly popular for this task because they provide a strong, instant bond without any drying time. Simply press the back of your bow directly onto a glue dot, peel it off its backing sheet, and press it firmly onto the center of your bag. This method is highly effective for paper and smooth plastic surfaces.
If you prefer using liquid craft glue or hot glue, moderation is key. Apply a small, pea-sized dot of glue to the center-back of the bow or ribbon band. Press the ribbon onto the bag surface and hold it in place for a few seconds. When using hot glue on non-woven fabric or canvas, the glue will seep slightly into the fibers, creating an incredibly secure bond. However, when working with paper, excessive liquid glue can cause the paper to ripple or leave dark, oily-looking stains as it dries.
In the Philippines, high tropical humidity can sometimes cause standard craft adhesives or cheap double-sided tapes to lose their stickiness over time. To prevent your bows from sliding off before the event, store your decorated loot bags giveaways in a cool, dry room away from direct sunlight. It is highly recommended to perform a test run on a single bag a few days before the party to ensure your chosen adhesive can withstand the local humidity without peeling.
Using Hardware and Accessories
Using hardware to attach your bows adds a charming, tactile dimension to your party giveaways. Mini wooden clothespins are a fantastic option for rustic, bohemian, or outdoor-themed events. Simply fold the top of a paper bag over, place your bow against the fold, and clip it in place with a mini clothespin. This not only secures the bow but also keeps the bag closed without requiring any glue or tape, making it incredibly easy for guests to open.
For fabric, canvas, or burlap loot bags, safety pins or decorative brooches offer a secure and stylish attachment method. You can pre-tie your bows, insert a small safety pin through the back knot of the bow, and pin it directly onto the fabric of the bag. This technique is highly durable and ensures the bow stays in place even if the bag is filled with heavier items like jarred sweets, local delicacies, or small toys.
When selecting hardware, safety should always be your top priority, especially for children’s birthday parties. Avoid using sharp pins or tiny, easily swallowed metal clips on giveaways intended for toddlers. Instead, opt for large, colorful plastic clips, or stick to secure tying and gluing methods. Always inspect the finished bags to ensure there are no exposed sharp points or loose pieces that could pose a hazard.
Design Tips for a Polished, Gift-Worthy Presentation
To make your loot bags giveaways look truly premium, incorporate professional styling techniques like layering. Instead of using a single ribbon, try layering a thin, glittery metallic ribbon over a wider, solid-colored satin ribbon. This dual-ribbon technique adds depth, texture, and a luxurious feel to the design. You can also mix materials, such as pairing a rustic abaca string with a soft pastel organza ribbon for a beautiful contrast between rough and smooth textures.
Proportion and balance are essential for a clean aesthetic. A massive bow on a tiny bag will look clumsy and make the packaging top-heavy, causing it to tip over easily when placed on a display table. Conversely, a tiny, thin bow on a large canvas bag will look lost and insignificant. As a general rule of thumb, the width of your completed bow should not exceed two-thirds of the width of the bag itself, keeping the overall look balanced and elegant.
Personalization elevates simple party favors into thoughtful gifts. Thread a customized name tag, a small thank-you card, or a themed charm onto your ribbon before tying the final knot. For an organic, elegant touch, tuck a small sprig of dried flowers, like lavender or local everlasting blossoms, behind the ribbon knot. These small, inexpensive additions make your guests feel valued and show that you put genuine care into preparing their giveaways.
When preparing a large batch of giveaways, setting up an organized assembly line will save you hours of work and ensure consistency. Dedicate specific stations for folding bags, cutting ribbons to uniform lengths, applying adhesives, and tying bows. Having one person focus on a single task ensures that every single loot bag looks identical and professionally finished, creating a stunning visual display when they are lined up together at your event venue.
Common Mistakes to Avoid When Decorating Giveaways
One of the most frequent mistakes in DIY decorating is using an excessive amount of glue. Whether it is hot glue or liquid craft glue, too much adhesive will squeeze out from behind the ribbon, leaving messy, shiny residue or warping the bag material. Always apply glue sparingly in the center of the attachment point, keeping it well away from the edges of the ribbon where it could easily seep out under pressure.
Another common pitfall is leaving raw ribbon ends untreated, which leads to rapid fraying. Satin, organza, and grosgrain ribbons are woven fabrics that naturally unravel when cut. If guests handle the bags or if they rub against each other during transport, the ends can quickly become messy and frayed. Always cut your ribbon ends at a sharp 45-degree angle or in a clean “V” shape (chevron cut) to minimize unraveling, and apply a sealing technique to keep them pristine.
It is also vital to respect the weight capacity of your bags and handles. Adding heavy satin ribbons, large metal clips, or bulky decorative hardware can put extra strain on lightweight paper bag handles. If your loot bags giveaways are packed with heavy items like canned drinks, glass jars, or dense native treats, avoid pulling or hanging the bags by decorative ribbons, as this can cause the paper or adhesive to tear under the weight.
Finally, watch out for inconsistent ribbon lengths and off-center bow placements. When bags are displayed together on a table, even minor variations in bow sizes or crooked attachments will be highly noticeable. Take the extra time to use a ruler, mark your placement points lightly with a pencil if necessary, and inspect your work periodically to maintain a high standard of quality across your entire batch of party favors.
Frequently Asked Questions (FAQ)
How do I keep ribbon ends from fraying after cutting?
To prevent synthetic ribbons like polyester satin or grosgrain from fraying, you can carefully seal the cut edges using heat. Hold the freshly cut ribbon edge about one centimeter away from the flame of a lighter or a candle for just a split second; the heat will melt the plastic fibers together, creating a clean, sealed edge. Always perform this step in a well-ventilated area, keep your fingers safe, and avoid touching the flame directly to the ribbon to prevent scorching or burning. For natural fiber ribbons or if you prefer a heat-free method, apply a tiny dab of clear nail polish or specialized fabric sealant along the raw edge and let it dry completely.
Can I reuse the ribbons and bows after the party?
Yes, you can easily design your loot bags giveaways so that the ribbons and bows can be salvaged and reused by your guests. To do this, avoid using permanent glues like hot glue or strong craft glue directly on the ribbon. Instead, use physical attachment methods such as tying the ribbons through punched holes, wrapping them around the bag handles, or securing them with mini wooden clothespins and decorative paperclips. Alternatively, you can use low-tack adhesive putty or removable double-sided tape, which holds the bow securely during the event but allows it to be peeled off gently afterward without tearing the ribbon fibers or the bag.
What is the best ribbon type for heavy loot bags?
For heavy loot bags filled with substantial party favors, grosgrain ribbon is the absolute best choice. Grosgrain is woven with a distinct ribbed texture that makes it incredibly durable, stretch-resistant, and excellent at holding tight, secure knots that will not slip under tension. Wide satin ribbon is also a strong option, provided it is of a high-quality, thick weave. Avoid using delicate organza, thin chiffon, or lightweight plastic curling ribbons for heavy loads, as these materials can easily tear, stretch out of shape, or snap when subjected to the weight of the giveaway items.
Community discussion
Share your experience or ask a question. Comments are reviewed before publication.