
Decorating loot bags with ribbons and bows is an effective way to elevate simple party giveaways into memorable, polished gifts. Whether you are working with a modest budget of ₱20 per bag or creating premium giveaways, the presentation of your giveaway bags sets an immediate tone of hospitality. A beautifully tied ribbon or a perfectly formed bow signals to your guests that the contents inside were curated with genuine appreciation.
Achieving a professional look does not require expensive materials or specialized crafting skills. By understanding how different ribbon textures interact with various bag materials, you can select the most secure attachment methods for your specific event. In tropical climates where high humidity can affect adhesives, choosing the right combination of tying techniques and moisture-resistant fasteners ensures your decorations remain intact from the assembly table to the hands of your guests.
Choosing the Right Ribbons and Bows for Your Loot Bags
Selecting the ideal ribbon begins with matching its weight, width, and material to the structural capacity of your loot bags. Satin ribbons offer a classic, high-gloss finish that reflects light beautifully, making them a popular choice for elegant celebrations. However, satin is naturally slippery, which means knots must be tied with extra tension to prevent them from unraveling during transport.
Products mentioned in this guide
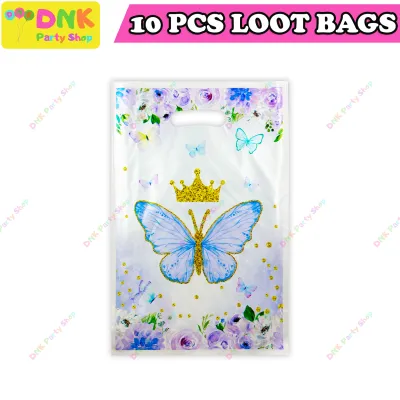
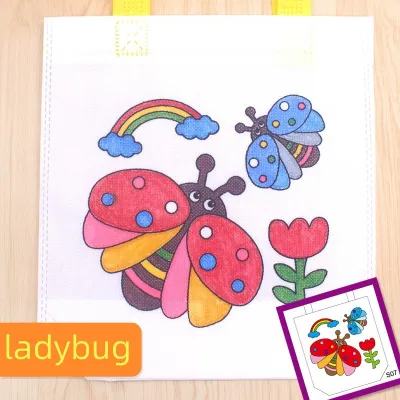
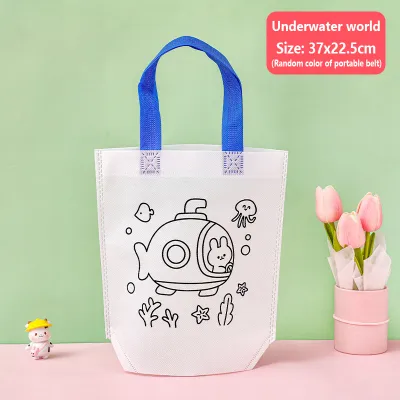
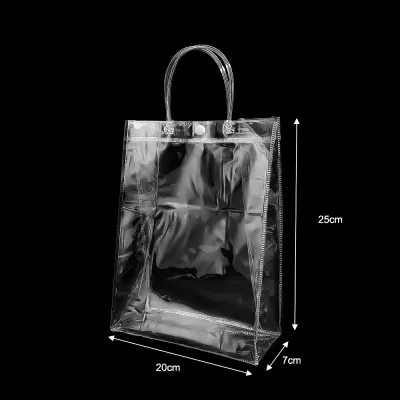
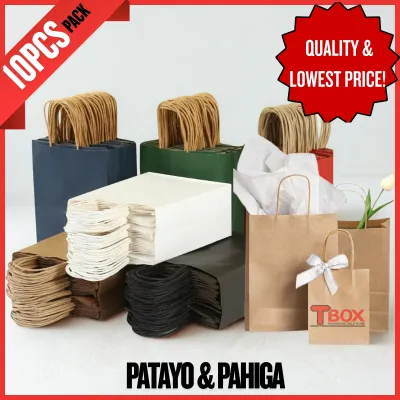
Prices are valid at publication and may change. Please refer to the product page for the latest price.
Grosgrain ribbons feature a distinct ribbed texture that provides excellent friction, making them highly reliable for holding tight knots and structured bow shapes. This texture is particularly advantageous in warm, humid environments where smooth materials tend to slip more easily. The sturdy weave of grosgrain also supports heavier bag materials, such as thick cardstock or non-woven fabrics, without drooping.
Organza ribbons are sheer, lightweight, and add a delicate, airy quality to giveaways. Because organza is semi-transparent, it works exceptionally well when layered over solid-colored ribbons or when used on small, lightweight bags containing delicate items like potpourri, jewelry, or light candies. Using wide organza ribbon allows you to create large, dramatic bows that remain incredibly light and do not cause the bag to tip over.
The width of the ribbon should always scale with the size of the loot bag to maintain visual balance. For small party favors, such as pouches measuring under five inches, narrow ribbons ranging from one-quarter to three-eighths of an inch prevent the decoration from overwhelming the package. Medium to large bags, such as standard kraft paper bags, accommodate wider ribbons of one-half to one inch, which provide enough surface area to stand out.
Before finalizing your design, evaluate the surface texture of your loot bags to determine the safest attachment method. Smooth, glossy paper and plastic bags resist water-based glues and light double-sided tapes, often requiring mechanical tying or high-tack adhesives. Matte kraft paper bags absorb adhesives easily, but they are prone to tearing if you attempt to reposition a misplaced tape strip. Non-woven fabric bags have a textured, porous surface that pairs best with hot glue or physical threading rather than standard office tapes.
Color coordination plays a vital role in unifying your party theme and elevating the overall presentation. Complementary color schemes, such as pairing a rustic brown kraft bag with a deep forest green or cream ribbon, create an organic, sophisticated look. For vibrant children’s parties, choosing a ribbon color that matches a primary accent in the bag’s printed design helps the entire giveaway feel cohesive and professionally designed.
Step-by-Step Guide to Attaching Ribbons to Loot Bags
Securing ribbons to loot bags requires a systematic approach to ensure the decorations do not slip or detach when guests carry them. For bags that feature pre-punched holes or built-in handles, mechanical tying is the most reliable and damage-free method. Begin by cutting a length of ribbon approximately three times the width of the bag to allow ample material for tying.

To tie a ribbon through pre-punched holes, thread one end of the ribbon from the inside of the bag to the outside through the left hole, then thread the other end through the right hole. Pull both ends until the ribbon lies flat against the inner wall of the bag, securing the opening closed. Tie a basic overhand knot on the front exterior, pulling it snug against the paper surface before finishing with a standard bow.
For bags with die-cut handles, an adjustable slip knot offers a clean, modern look while keeping the bag securely closed. Fold a length of ribbon in half to form a loop, then pass this loop through the handle opening from back to front. Thread the loose ends of the ribbon through the loop and pull them downward to tighten the knot against the top edge of the bag. You can then tie the remaining loose ends into a decorative bow or let them hang as elegant streamers.
When working with flat-top bags that lack handles or holes, adhesive methods provide a seamless way to attach ribbons. Fold the top inch of the bag downward toward the back to create a clean, folded flap that seals the contents inside. Apply a continuous strip of high-tack double-sided tape along the underside of this fold, pressing it firmly to seal the bag shut.
Next, cut a piece of ribbon long enough to wrap completely around the folded collar of the bag. Apply a small strip of double-sided tape directly to the center of the ribbon, then press this taped center onto the front middle of the bag. Wrap the two loose ends around to the back, securing them over the folded flap with another small piece of tape to create a clean, continuous band.
The expected hold strength of your attachment method should match the weight of the giveaway items inside. Tying methods provide the highest mechanical security, making them ideal for heavier items like bottled drinks, jars of jam, or dense toys. Adhesive methods are highly suited for lightweight favors like cookies, stickers, or stationery items, but they require high-quality tape to withstand warm, tropical temperatures without sliding.
Creating and Attaching Custom Bows for a Polished Look
Creating uniform, professional-looking bows by hand is a straightforward process once you master the folding and pinching technique. Start with a fresh length of ribbon, ensuring the ends are cut at a clean 45-degree angle to prevent fraying. For a standard four-inch wide bow, a ribbon length of approximately fourteen inches is generally sufficient.
To form the bow, fold the ribbon into two equal-sized loops, resembling “bunny ears,” leaving several inches of tail on each side. Cross the right loop over the left loop, then tuck it under and through the center opening that forms at the base. Pull both loops outward simultaneously, keeping your thumbs inside the loops to maintain their rounded shape as you tighten the center knot.
Adjust the symmetry of the bow by gently pulling on the loops to decrease their size, or pulling on the tails to make the loops smaller. Once the loops are perfectly balanced, pinch the very center of the knot tightly between your thumb and forefinger to create professional pleats. This pinching step adds depth and dimension, preventing the bow from looking flat or lifeless.
Securing the center of the bow tightly is crucial for maintaining its shape over time, especially when preparing giveaways in advance. Wrap a short piece of thin floral wire or a color-coordinated twist tie around the pinched center knot, twisting it tightly at the back. Cut any excess wire with craft pliers, leaving a small, neat twist that remains hidden from view.
To cover the exposed wire and give the bow a seamless finish, wrap a small, separate strip of matching ribbon over the center knot. Secure this cover strip at the back of the bow using a tiny dot of low-temperature hot glue or a small piece of double-sided tape. This technique results in a perfectly structured bow with a clean, professional center that will not loosen.
Attaching the finished bow to your loot bag can be done using either physical fasteners or adhesives depending on the bag type. If you secured the bow center with floral wire, you can use the remaining wire tails to thread through the bag’s pre-punched holes, twisting them on the inside to lock the bow in place. For a quick adhesive attachment, apply a pea-sized dot of hot glue to the back of the bow center and press it firmly onto the bag for ten seconds to ensure a permanent bond.
Troubleshooting Common Ribbon and Bow Issues
Even with careful preparation, working with ribbons and adhesives can present challenges, particularly when dealing with slippery materials or humid weather. Slipping ribbons on glossy or plastic bags can be easily resolved by increasing friction at the contact points. Applying a small square of matte clear tape to the bag’s surface before tying the ribbon provides a textured grip that prevents the ribbon from sliding up or down.
If you prefer not to use tape, a surgeon’s knot is an excellent alternative for slippery satin ribbons. When tying the initial knot, wrap the ribbon ends around each other twice instead of once before pulling them tight. This double wrap creates enough friction to hold the knot in place on its own, allowing you to tie the final loops without needing an extra set of hands to hold the center down.
Crushed bows are a common issue when loot bags are stacked or packed tightly into transport boxes before the event. To restore their shape, gently insert your fingers or a clean, round marker into each loop and pull outward to open up the fabric. For stubborn creases in satin or grosgrain ribbons, a light pass with a handheld garment steamer will quickly release the wrinkles and restore the ribbon’s natural drape.
When storing decorated bags before the party, always arrange them in a single layer inside shallow, rigid plastic containers rather than deep cardboard boxes. This prevents the weight of the upper bags from flattening the bows on the bottom layer. Keeping the containers in a cool, dry room away from direct sunlight also helps preserve the stiffness of the ribbon fibers.
Adhesive mistakes, such as misplaced double-sided tape or glue squeeze-out, can ruin the clean look of paper or fabric bags if handled incorrectly. To remove tape residue from paper bags without tearing the fibers, apply gentle heat from a hair dryer on a low setting for fifteen seconds to soften the adhesive. Once warmed, slowly peel the tape back at a sharp angle, keeping it flat against the surface to minimize tension on the paper.
For plastic or non-woven fabric bags, any remaining sticky residue can be dissolved safely using a tiny drop of baby oil or mineral oil on a cotton swab. Gently rub the oily swab over the residue until it lifts, then immediately wipe the area clean with a dry microfiber cloth to remove any oily sheen. Always test this method on a small, inconspicuous area of the bag first to ensure it does not discolor the material.
Frequently Asked Questions (FAQ)
How can I efficiently decorate a large batch of loot bags?
To efficiently decorate a large batch of loot bags, establish a structured assembly line workflow to minimize repetitive motions and save time. Begin by measuring and cutting all your ribbons at once using a cardboard template cut to the exact length required, which eliminates the need to use a ruler for every piece. Cut all ribbon ends at a clean 45-degree angle in bulk to prevent fraying later.
Next, pre-make all your bows in a single session before attaching them to the bags. Secure each bow center with wire or thread, and store them in a single layer inside shallow, rigid plastic storage boxes to keep them perfectly shaped and organized.
On the final assembly day, line up your filled loot bags in rows on a large, clean table. Work in stages: first apply the adhesive or tie the base ribbons to all bags in sequence, and then go down the line to attach the pre-made bows. This systematic approach keeps your workspace organized, ensures consistent quality across all giveaways, and significantly reduces assembly time.
Community discussion
Share your experience or ask a question. Comments are reviewed before publication.