
Adding custom ribbons and bows to My Melody loot bags is an excellent way to elevate simple party favors into memorable keepsakes. By combining the iconic pastel pink and white aesthetic of this beloved character with high-quality ribbon textures, you can create a cohesive, premium look for birthdays, baby showers, or themed celebrations. The secret to a professional finish lies in choosing the correct ribbon materials, using adhesives that resist tropical humidity, and applying them with clean, systematic crafting techniques.
Whether you are using paper, plastic, or non-woven fabric bags, decorating them by hand allows you to customize the presentation to fit your event’s specific style. This guide walks you through the entire process, from selecting the perfect color palette to securing the final bow so that each favor bag remains intact from the party venue all the way to your guests’ homes.
Designing Your My Melody Loot Bag Theme
Establishing a clear design concept ensures that your decorated favor bags look intentional and professionally styled. My Melody is characterized by a distinct, sweet aesthetic that relies on a specific color story. To keep your decorations cohesive, build your design around her signature color palette, which primarily features soft pastel pinks, clean whites, and occasional bright cherry red or soft yellow accents. If your loot bags feature the classic pink-hooded My Melody, stick to matching light pink and white ribbons; if you are using the retro red-hooded version, vibrant red and white ribbons will create a striking, nostalgic look.
Products mentioned in this guide
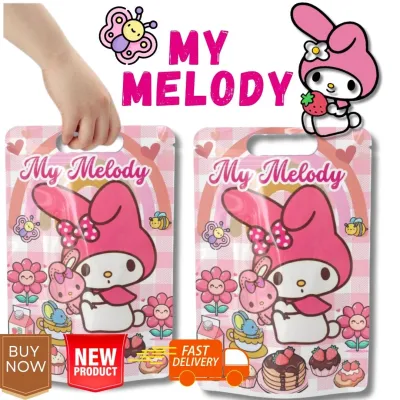
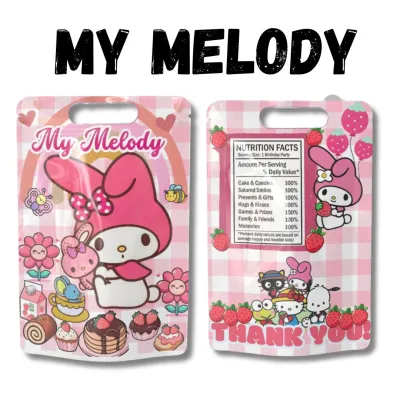
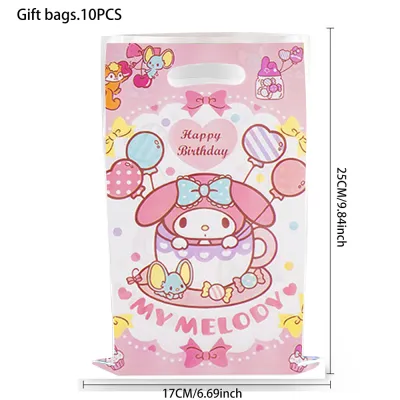
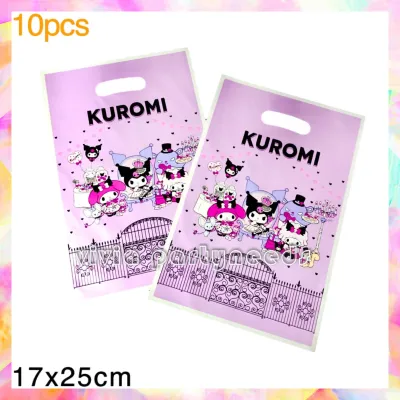
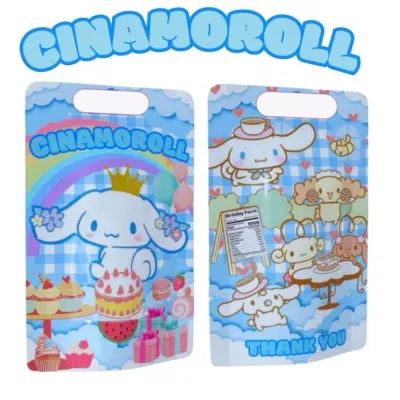
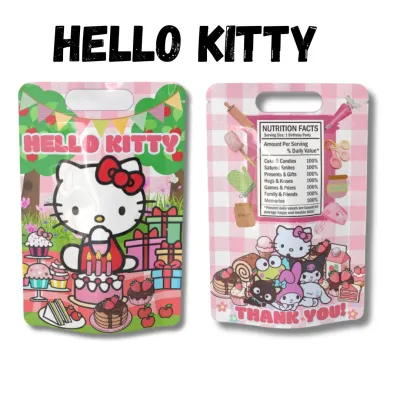
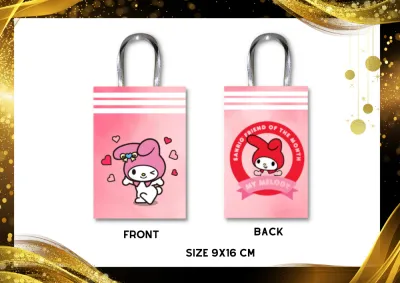
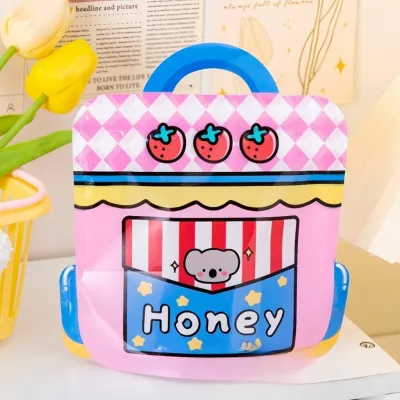
Prices are valid at publication and may change. Please refer to the product page for the latest price.
Selecting the right ribbon texture is just as important as choosing the color, as different materials interact uniquely with the base material of your loot bags. Consider these common ribbon types for your project:
- Satin Ribbon: This material offers a high-gloss, smooth finish that reflects light beautifully. It adds an instant touch of elegance, making it ideal for formal parties, though its slippery texture requires careful handling and strong adhesive to prevent unraveling.
- Grosgrain Ribbon: Characterized by its ribbed, matte texture, grosgrain is highly durable and holds its shape exceptionally well. It is easy to tie into crisp, structured bows that will not droop, making it a reliable choice for children's parties where bags will be handled frequently.
- Organza Ribbon: This sheer, lightweight fabric provides a delicate, airy, and whimsical appearance. It works beautifully when layered over solid satin ribbons or when used to create fluffy, multi-layered bows that evoke a dreamlike, fairy-tale quality.
To ensure your decorated bags look balanced, you must manage the visual weight of your additions. The ribbons and bows should frame and enhance the existing My Melody prints on the bag rather than covering them up. If your loot bags already feature busy, full-print patterns of My Melody and her friend Flat the mouse, opt for simpler, thinner ribbon borders along the top edge or handles. If the bags are relatively plain with a single central character graphic, you can afford to use larger, more dramatic focal bows or layered ribbon bands to fill the negative space.
Essential Materials and Tools for the Project
Having the right supplies prepared beforehand prevents interruptions and ensures a clean, stress-free crafting session. Before you begin assembling your favor bags, gather all your primary materials and specialized tools in a well-lit workspace.

Base Materials
- My Melody Loot Bags: Choose sturdy paper, plastic, or non-woven fabric bags featuring high-quality character prints.
- Ribbon Spools: Keep a selection of satin, grosgrain, or organza ribbons in varying widths (typically 1/4-inch for delicate details and 1-inch for main bows).
- Pre-made Bows: If you want to save time, purchase pre-made ribbon bows in matching pink, white, or red shades, or prepare your own custom bows in advance.
Adhesives and Fasteners
- Double-Sided Tape: High-tack double-sided tape is the gold standard for securing flat ribbon bands to paper loot bags because it applies dry and will not warp the paper.
- Glue Dots: These pressure-sensitive adhesive dots provide an instant, strong bond for securing dimensional bows and heavy embellishments without any drying time.
- Liquid Craft Glue: A premium, quick-drying clear craft glue works well for fabric or non-woven bags, but must be applied sparingly to prevent bleeding through the fibers.
Essential Tools
- Fabric Scissors: Use a dedicated, sharp pair of fabric shears to ensure clean, crisp ribbon cuts without any chewing or fraying along the edges.
- Ruler or Measuring Tape: Essential for measuring precise ribbon lengths to maintain absolute consistency across all your party favors.
- Lighter or Clear Nail Polish: Used to seal the cut ends of synthetic ribbons to prevent them from unraveling over time.
Before applying any adhesive to your actual loot bags, always conduct a quick compatibility test on a spare bag or an inconspicuous area like the bottom fold. Some strong liquid glues contain solvents that can dissolve the ink prints on plastic bags or cause thin paper to wrinkle and tear. In the warm, humid climate of the Philippines, water-based glues can take significantly longer to cure, making dry adhesives like high-tack double-sided tape or pressure-sensitive glue dots highly recommended for a secure, mess-free bond.
Step-by-Step Guide to Attaching Ribbons and Bows
Decorating your My Melody loot bags in systematic stages ensures a uniform look across your entire batch of party favors. Follow these sequential steps to prepare, decorate, and finish your bags with professional precision.
Preparing the Loot Bags and Ribbons
Start by preparing your workspace. Clear a flat, clean table and wipe it down to ensure no dust, moisture, or stray ink transfers onto your pristine pink and white bags. Lay out your loot bags and gently flatten them, smoothing out any creases or folds along the top opening, side gussets, and handles so that the surfaces lie completely flat.
Next, determine the measurements for your ribbon elements. If you are wrapping a ribbon band around the top collar of the bag, wrap a test piece of ribbon around the bag’s perimeter, adding an extra 2 centimeters of allowance for a clean overlap, then note the measurement. Use your ruler to measure and cut all your ribbon strips to this exact length using your sharp fabric scissors.
To streamline your workflow, organize your cut ribbons, pre-made bows, and adhesive tools into separate containers or neat piles on your desk. Working in an assembly-line fashion—where you complete one specific action across all bags before moving to the next step—saves considerable time, especially when preparing large quantities of favors for a big celebration.
Attaching the Ribbons
To apply a clean ribbon band along the top edge of a paper loot bag, apply a strip of high-tack double-sided tape directly to the paper, running it parallel to the top rim. Peel off the protective backing paper to expose the adhesive. Starting from the back center of the bag, carefully press your pre-cut ribbon onto the tape, smoothing it down with your thumb as you work your way around to the front and back again. Overlap the two ribbon ends neatly at the back, securing the seam with a tiny dab of glue or a small piece of double-sided tape.
If you want to wrap the handles of your loot bags for an extra premium touch, start at the base of one handle joint. Secure the ribbon end to the inside of the bag using a strong glue dot, then wrap the ribbon tightly around the handle strap in a spiral pattern, ensuring even spacing between each spiral. Once you reach the opposite end of the handle, cut the ribbon, pull it taut, and secure the final end on the inside of the bag with another glue dot.
When working with plastic or non-porous loot bags, double-sided tape may slide off over time due to humidity. Instead, use a specialized, clear-drying craft glue designed for plastics. Apply the glue in an extremely thin, continuous bead along the ribbon path, then press the ribbon down firmly. Use a clean scrap of paper or a plastic card to smooth out any air bubbles, working from the center outward, and allow the glue to dry completely before handling the bags further.
Securing the Bows
Once your base ribbons are securely attached, decide on the placement of your focal bows. Classic, visually appealing placements for My Melody bags include centering a large bow directly below the top collar, positioning a medium-sized bow off-center on the front left corner of the bag, or attaching a small bow at the base of each handle loop.
To attach a pre-made bow, place a medium or large glue dot directly onto the back of the bow’s central knot. Press the bow firmly onto your chosen spot on the loot bag, holding it down with steady, gentle pressure for at least five seconds to activate the pressure-sensitive adhesive. This ensures the bow stays flat against the bag and maintains its plump, three-dimensional shape without drooping.
If you prefer to tie custom bows directly from raw ribbon, loop the ribbon through the bag’s handle holes or wrap it around the cinched neck of the bag before tying. Pull the central knot tight to ensure it does not slip, then adjust the loops so they are perfectly symmetrical. Use your fabric scissors to trim the ribbon tails at a clean 45-degree angle or cut a decorative V-shape (fish-tail) into the ends for a highly polished, boutique look.
Pro Tips for a Polished and Secure Finish
To elevate your My Melody loot bags from simple DIY crafts to boutique-quality party favors, incorporate these professional tips and troubleshooting techniques into your workflow:
- Control Your Liquid Glue: Excessive liquid glue is the most common cause of ruined craft projects. It can quickly saturate and warp paper bags, leave unsightly dark grease-like spots on light pink ribbons, or melt thin plastic films. Always apply liquid adhesives in micro-dots or thin, spread-out films rather than thick lines.
- Utilize Foam Tape for Dimension: If you are using heavy, multi-layered bows or want to create a dramatic 3D effect, use double-sided foam mounting tape. The foam core provides excellent structural support, absorbing the weight of the bow and preventing it from sagging or peeling away from the bag surface.
- Prevent Ribbon Fraying: Synthetic ribbons like polyester satin and grosgrain will inevitably fray at the cut ends if left untreated. To prevent this, carefully hold the freshly cut ribbon edge about one centimeter away from the flame of a lighter for a fraction of a second; the heat will melt the synthetic fibers into a clean, sealed bead. Alternatively, apply a microscopic sweep of clear nail polish along the cut edge and let it dry.
- Work in Batches: Do not attempt to complete one bag from start to finish before moving to the next. Instead, apply tape to all bags, then attach ribbons to all bags, and finally secure the bows to all bags. This repetitive process builds muscle memory, ensures highly consistent placement, and significantly reduces your overall assembly time.
Final Quality Checks Before the Party
Before you pack your beautifully decorated My Melody bags with party favors, treats, and toys, conduct a final quality inspection to guarantee they are durable enough to survive the excitement of the event.
First, perform a gentle tug test on each attached ribbon band and bow. Give them a light pull to ensure the adhesive has fully bonded and will not fail when carried around by young children. If any corners lift or feel loose, reinforce them immediately with an extra glue dot or a tiny drop of clear craft glue.
Next, inspect the bags for any cosmetic imperfections. Look for visible adhesive residue, stray glue strings, uneven ribbon edges, or smudges on the My Melody graphics. Use a clean, dry toothpick to gently roll away any excess dried glue dots, and use a pair of fine embroidery scissors to snip away any stray threads or uneven ribbon fibers.
Finally, verify that your decorations do not compromise the actual functionality of the loot bags. Gently open each bag to its full volume to ensure that no adhesive has seeped inside, accidentally gluing the inner walls together. The bags must be easy to open, fill with heavy treats like local candies, chocolates, or small stationery items, and close securely without putting undue stress on your beautiful ribbon decorations.
Frequently Asked Questions (FAQ)
Can I use hot glue on paper or plastic loot bags?
Using high-temperature hot glue directly on paper or plastic loot bags is not recommended. The extreme heat from a standard hot glue gun can instantly melt, warp, or shrink thin plastic bags, and it can cause thin paper bags to wrinkle, scorch, or buckle. Furthermore, hot glue cools very quickly, often leaving thick, lumpy ridges under your ribbons instead of a smooth, flat finish. If you must use hot glue, opt for a low-temperature glue gun, apply it very sparingly, or stick to safer, cold alternatives like high-tack double-sided tape, craft glue, or pressure-sensitive glue dots.
How far in advance can I decorate the loot bags?
To reduce stress during party planning, you can easily decorate your My Melody loot bags up to three to four weeks in advance. Once decorated, store the empty bags completely flat in a cool, dark, and dry place, such as a clean plastic storage bin or a sturdy cardboard box. Keep them away from direct sunlight, high heat, and damp areas, as prolonged exposure to tropical humidity can weaken adhesives over time, and sunlight can fade the delicate pastel pink prints and ribbon colors. Wait to fill the bags with heavy treats or moisture-sensitive snacks until one or two days before the party to keep both the bags and the contents in pristine condition.
Community discussion
Share your experience or ask a question. Comments are reviewed before publication.