
Elevating plain Kuromi loot bags into eye-catching party favors requires a thoughtful blend of the character’s signature “punk-cute” aesthetic and clean, secure assembly techniques. By combining deep blacks, vibrant purples, and pastel pinks with structured bows, satin borders, and themed accents, you can transform standard paper or plastic bags into memorable keepsakes. The key lies in selecting materials that withstand local tropical humidity, preparing the bag surfaces properly, and using the right adhesive methods to ensure every bow stays perfectly in place from the display table to the guests’ homes.
Using ribbons and bows is an affordable yet highly effective way to customize plain packaging. Instead of purchasing expensive pre-decorated bags, you can buy bulk plain bags and use high-quality stationery supplies to craft a bespoke look. This approach allows you to control the exact color balance, texture, and embellishments, ensuring your party favors perfectly match the overall theme of your celebration.
Gathering the Right Ribbons and Embellishments
Kuromi’s visual identity relies on a distinct contrast between mischievous dark tones and playful pastel accents. To capture this look, build your ribbon collection around a core palette of deep black, rich violet or lavender, hot pink, and crisp white. Mixing these colors creates a dynamic, layered effect that immediately signals the character’s theme even on a completely plain bag.
Products mentioned in this guide
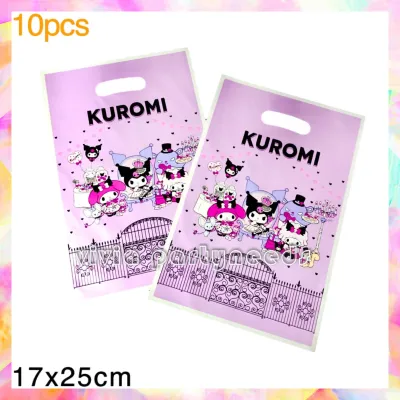
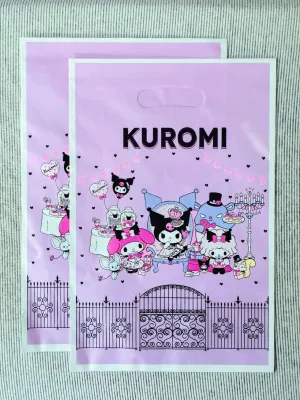
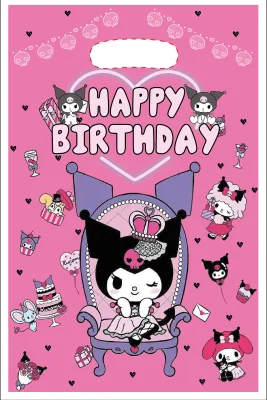
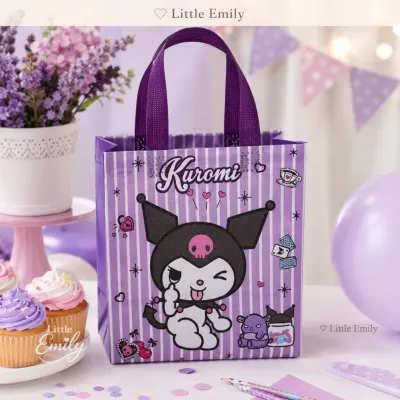
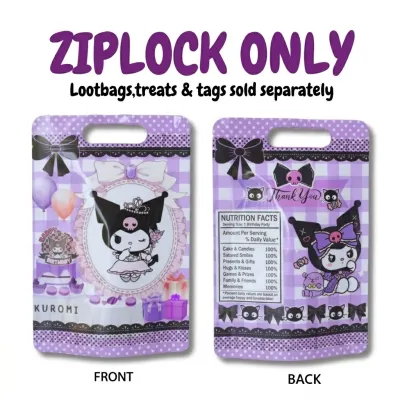
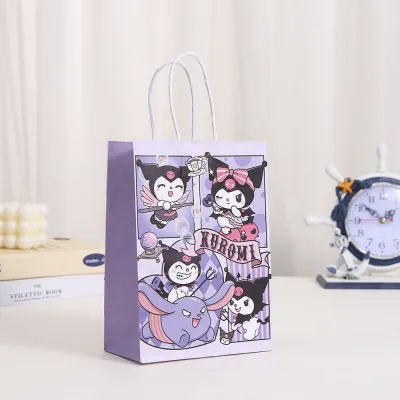
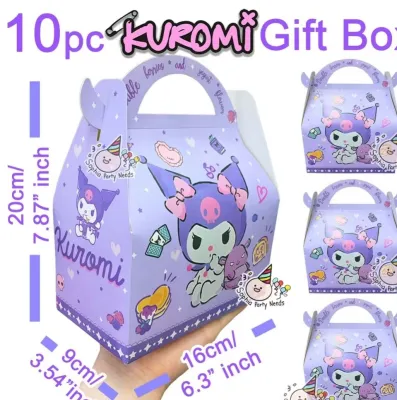
Prices are valid at publication and may change. Please refer to the product page for the latest price.
Satin ribbons offer a glossy, luxurious sheen that catches the light beautifully, making them excellent for large, flowing bows. Grosgrain ribbons, with their ribbed texture, provide excellent structural integrity, which helps multi-loop bows hold their shape in warm, humid tropical climates. Organza ribbons add a sheer, airy contrast that softens the darker black elements, allowing you to layer textures without making the favor bag look overly heavy.
Before purchasing your ribbons, measure the dimensions of your loot bags to ensure a balanced look. For standard small-to-medium party bags, a ribbon width of 1 inch to 1.5 inches is ideal for the main bow, while 1/4-inch to 1/2-inch ribbons work best for tying tags or wrapping handles. Heavy, thick velvet or wide canvas ribbons can weigh down thin paper bags, causing them to sag or tear, so match the weight of your ribbon to the structural strength of the bag material.
To elevate the design further, consider adding small, lightweight embellishments that complement the ribbon work. Miniature skull charms, black or white lace trims, and themed character stickers can be integrated into the bow’s center or along the bag’s edges. Keep these additions lightweight to avoid pulling the bag out of shape, and limit them to one or two focal points per bag to prevent a cluttered, messy appearance.
Preparing the Loot Bags for Decoration
Tropical humidity and dust can severely compromise how well adhesives bond to your loot bags. Before applying any tape, glue, or stickers, wipe down each bag with a dry, lint-free microfiber cloth to remove dust, static, or manufacturing residues. If you are using glossy paper or plastic bags, test a small, inconspicuous area first to see if your chosen adhesive holds securely or slides off the slick surface.

If your decorating plan involves tying heavy grosgrain bows directly to the bag handles or threading thick ribbons through pre-punched holes, inspect the strength of those areas. Thin paper bags can easily rip under the tension of a tightly knotted ribbon. You can reinforce these high-stress points by applying a small strip of clear packing tape or a cardstock reinforcement ring to the inside of the bag before threading the ribbon.
Avoid the temptation to glue or cut your materials immediately. Instead, set up a single prototype bag to plan your layout. Temporarily drape your ribbons, position your bows, and place your charms on the bag to check the overall proportions and visual balance. This step allows you to adjust ribbon lengths, try different color combinations, and ensure that any key printed elements on the bag remain fully visible.
Step-by-Step Ribbon and Bow Application Techniques
Tying a perfect bow directly onto a bag can be challenging, so creating pre-made bows to attach later often yields the most consistent results. For a classic bow, fold two loops, cross them, and pull one through the center loop, pulling firmly to create a tight knot. To make a layered bow, stack a slightly smaller pink or purple satin bow on top of a larger black grosgrain bow, securing them in the middle with a thin wire or a dab of adhesive before wrapping a matching ribbon around the center to hide the binding.
If you want a highly voluminous, premium look, try a multi-loop bow. Wind a 1-inch ribbon around your fingers or a piece of cardboard four to five times, slip the coiled ribbon off, and tie it tightly in the center with a thin wire or string. Gently pull the loops outward and twist them slightly to fluff the bow into a spherical, pom-pom shape that adds dramatic texture to the top of a drawstring bag or the center of a paper handle.
For flat ribbon borders or crisscross patterns along the bottom of the bag, double-sided craft tape is highly effective. Apply the tape directly to the bag surface, peel off the backing, and press the ribbon down firmly, smoothing it from the center outward to prevent air bubbles or wrinkles. Glue dots are excellent for securing the backs of pre-made bows to paper surfaces, as they provide an instant, mess-free bond that does not warp the paper the way wet liquid glues can.
If your plain loot bags do not have handles, you can create custom ribbon pulls to make them easier to carry. Punch two small holes near the top fold of a paper bag, thread a 1/2-inch ribbon through from the inside out, and tie secure knots on the exterior to create a functional, decorative handle. Alternatively, wrap the existing paper handles of a bag entirely in satin ribbon, securing the ends with a tiny dab of adhesive at the base to give the entire favor a soft, premium feel.
When using sharp scissors to cut ribbons or handling adhesives, ensure you work in a well-lit, flat workspace. If you are crafting with children, keep sharp blades and strong adhesives out of their reach, and handle any heat-sealing steps yourself to prevent accidental burns or injuries.
Adding Themed Details for a Cohesive Kuromi Vibe
Integrating small themed elements directly into the ribbon work reinforces the Kuromi aesthetic beautifully. Use small metal jump rings or thin jewelry wire to hang lightweight skull or star charms from the center knot of your bows. If you are using custom printed name tags, thread a thin 1/8-inch satin ribbon through the tag’s eyelet and tie it directly to the main bow’s tail, allowing the tag to drape elegantly alongside the ribbon.
Because Kuromi’s color scheme features strong, high-contrast colors like black and deep purple, it is easy for the decorations to overwhelm a small bag. Balance a large, bold black bow by keeping the rest of the bag relatively simple, perhaps adding only a delicate white lace trim along the top collar. If the bag itself has a busy pattern, opt for solid-colored ribbons without extra patterns to maintain a clean, professional look.
Party favors are often handled multiple times—during transport to the venue, while being arranged on the display table, and when guests carry them home. Ensure that all hanging charms, tags, and bows are anchored securely so they do not snag on adjacent bags or tear off during transit. Avoid using overly long ribbon tails that can get caught under other bags when they are stacked together in boxes.
Final Inspection and Party Display Tips
Before declaring your loot bags finished, perform a gentle tug-test on each decorated piece. Lightly pull on the bows, handles, and attached charms to ensure the adhesive has fully cured and the knots are secure. If any component feels loose or wobbles, reinforce it with an extra glue dot or a small drop of craft glue rather than risking it falling apart during the celebration.
Frayed ribbon ends can quickly make an otherwise beautiful favor look messy and unfinished. Always trim your ribbon tails at a sharp 45-degree angle or cut a clean “V” shape into the ends using sharp fabric scissors. For synthetic ribbons like polyester satin or grosgrain, carefully pass the cut edge near a small flame from a lighter for a split second to melt and seal the fibers, preventing any future fraying.
When presenting the finished Kuromi loot bags at your venue, arrange them strategically to maximize their visual appeal. Grouping them on a tiered stand or lining them up in a clean color gradient—such as alternating black-and-pink and black-and-purple designs—creates a striking focal point on your dessert or favor table. Keep the display area cool and dry, away from direct sunlight or high-humidity spots, to ensure the adhesives remain strong and the ribbons stay crisp throughout the party.
Frequently Asked Questions (FAQ)
How do I keep satin bows from untying on paper loot bags?
Satin ribbons are notoriously slippery, which often causes standard knots to slowly loosen and unravel over time. To prevent this, tie your bows using a secure double knot or a surgeon’s knot, which adds an extra turn to lock the ribbon in place. For absolute security, apply a tiny dot of clear craft glue or a small, high-tack glue dot directly under the center knot of the bow, pressing it firmly against the paper bag to lock the knot and anchor the bow simultaneously.
Can I use hot glue on thin plastic Kuromi bags?
Using a high-temperature hot glue gun on thin plastic loot bags is not recommended, as the intense heat can instantly melt, warp, or shrink the plastic material, ruining the bag. Instead, opt for a low-temperature glue gun if you must use hot glue, or use safer, heat-free alternatives like double-sided craft tape, high-tack glue dots, or clear silicone adhesive. These alternatives provide a strong, reliable bond without any risk of heat damage to the delicate plastic surface.
What is the best ribbon width for standard party favor bags?
The ideal ribbon width depends on the size of your loot bags and how you plan to use the ribbon. For delicate accents, tying small gift tags, or securing drawstring closures on small bags, narrower ribbons measuring 1/4 inch to 1/2 inch wide are highly suitable. For creating large, eye-catching statement bows or wrapping around the main body of standard-sized favor bags, wider ribbons measuring 1 inch to 1.5 inches provide the best visual proportion and structural presence.
Community discussion
Share your experience or ask a question. Comments are reviewed before publication.