
Designing a custom daily planner layout that actually works requires aligning your daily schedule with your long-term personal goals, rather than forcing your life into a generic, pre-printed template. By mapping out your specific tracking needs, choosing the right physical or digital medium, and structuring your page with dedicated zones for priorities, time-blocking, and habits, you can create a highly functional tool. This personalized approach ensures your planner adapts to your lifestyle, helping you maintain consistency without feeling overwhelmed by unnecessary sections.
Define Your Tracking Goals and Daily Structure
To build a layout that serves you, start by separating your high-level goals from your daily actionable habits. A common mistake is writing broad objectives like “improve physical fitness” or “study for professional certification” directly onto a daily to-do list. These are macro goals, not daily tasks. Instead, translate these goals into small, repeatable actions. For instance, a fitness goal becomes a daily habit of drinking water or completing a short stretch, while an exam goal translates to reviewing ten flashcards.
Next, analyze your daily rhythm to determine whether you need a strict time-blocking schedule or a flexible task list. If your day is dictated by fixed appointments, school schedules, or long commutes through unpredictable traffic, a time-blocked layout from early morning to evening helps you visualize open windows of time. If your day is more self-directed, an open-ended checklist organized by context or energy levels may prevent you from feeling restricted.
Products mentioned in this guide
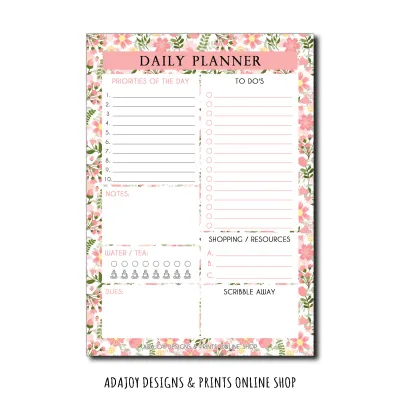
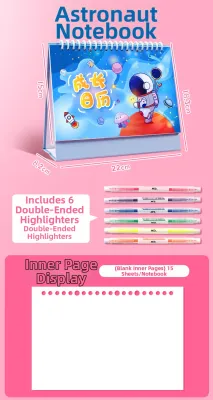
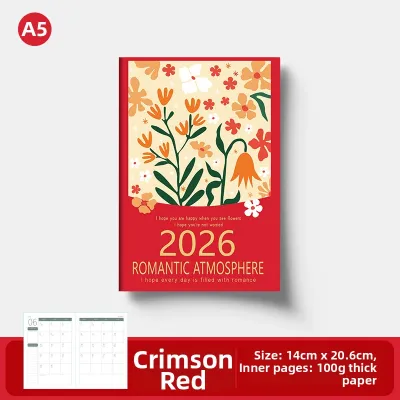
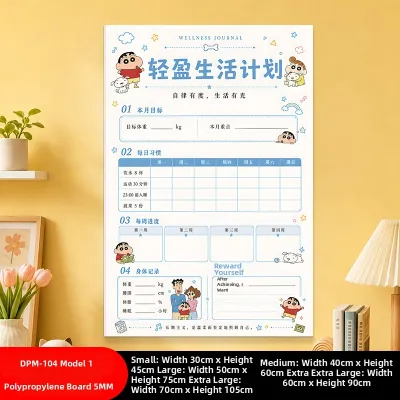
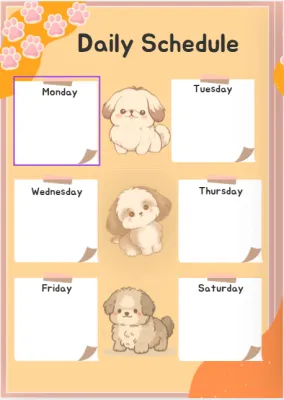
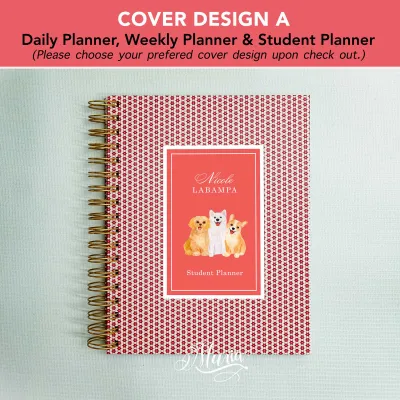
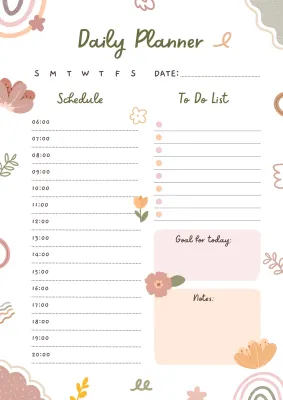
Prices are valid at publication and may change. Please refer to the product page for the latest price.
Consider how external factors, such as seasonal weather shifts or energy fluctuations throughout the day, impact your productivity. In tropical climates where midday heat can sap your energy, you might structure your layout to place high-focus tasks in the cooler morning hours, leaving administrative chores for the afternoon. Building these natural buffers into your daily structure prevents you from overcommitting.
Finally, set realistic daily limits to prevent planner overwhelm. A page packed with dozens of blank lines invites anxiety and leads to abandoned layouts. Restrict your daily task list to a manageable number of items, leaving plenty of blank space. This intentional limitation ensures that your planner remains a supportive tool rather than a source of daily stress.
Choose the Right Planner Format and Medium
Selecting the right physical format and paper specifications is critical to ensuring your custom planner is comfortable to use and durable enough for daily carry. You must choose between a bound notebook, a loose-leaf system, or digital printable templates. Bound notebooks, like classic dot-grid journals, offer a permanent record but lack flexibility if you want to change your layout. Loose-leaf systems, such as discbound or six-ring binders, allow you to insert, remove, and rearrange pages as your tracking needs evolve. Digital printables offer the best of both worlds, allowing you to design a template once and print fresh sheets as needed.

When printing or drawing your own layouts, paper weight and texture are paramount. Standard office printer paper, typically weighing 70 gsm to 80 gsm, is prone to ink feathering, ghosting, and bleed-through, especially when using wet gel pens, rollerballs, or highlighters. In humid tropical climates, paper fibers naturally absorb moisture from the air, which can exacerbate ink bleeding and slow down drying times. To combat this, look for premium paper with a weight of 100 gsm to 120 gsm. This thickness provides a smoother writing surface and ensures that your ink dries cleanly without seeping through to the other side of the page.
Binding compatibility is another practical factor to verify. If you choose a discbound system, ensure your paper is sturdy enough to withstand being pulled out and reinserted multiple times without tearing at the punches. For ring-bound systems, check that the margins of your custom layout leave enough clearance (at least 15mm) so the punched holes do not cut into your text or tracking grids.
Size constraints also dictate how and where you will use your planner. An A4-sized layout offers a vast canvas for detailed planning, making it excellent for a permanent desk setup. However, if you need to carry your planner in a bag during daily commutes, an A5 or personal-sized layout is far more practical. Ensure your chosen dimensions fit comfortably on your desk alongside your keyboard or study materials without causing clutter.
Design the Core Layout Sections
Structuring your daily page requires a clear visual hierarchy so your eyes can find critical information instantly. Start by designing a top-priority zone at the very top of your page. This area should be reserved for one to three non-negotiable tasks that must be completed today. By separating these critical items from your general to-do list, you protect your focus from being diluted by minor chores.
Below the priority zone, allocate space for your daily schedule or task list. If you opt for time-blocking, draw a clean vertical column with hourly increments. If you prefer a flexible checklist, divide the space into columns based on context, such as “Work,” “Personal,” or “Quick Wins.” This division helps you batch similar tasks together, improving your efficiency throughout the day.
Do not forget to leave dedicated space for daily notes, brain dumps, or meal planning. A blank notes box acts as a catch-all for phone numbers, sudden ideas, or reminders that crop up during the day, keeping them from cluttering your structured task lists. If you manage a household, adding a small section for meal planning or tracking daily expenses in ₱ can help you stay organized and budget-conscious without needing a separate notebook.
Ensure that the spacing between lines and grids matches your natural writing style. If you have large, expressive handwriting, narrow 5mm lines will feel restrictive, leading to messy pages. Conversely, if you write with a fine-tip pen and have small handwriting, wider spacing will result in wasted page real estate.
Add Habit and Goal Tracking Elements
Integrating habit trackers directly into your daily layout keeps your long-term goals visible and builds consistency. Rather than using a separate monthly tracker that is easily forgotten, design simple checkbox grids or tracker bars directly on your daily page. For example, you can draw a row of five to eight small boxes to track daily water intake, or a simple checklist for habits like reading, stretching, or taking vitamins.
To ensure your daily actions remain connected to your broader life goals, incorporate weekly or monthly progress review prompts. A small box at the bottom of your page labeled “Weekly Reflection” or “Goal Progress” prompts you to evaluate what worked and what did not. This continuous feedback loop prevents you from mindlessly checking off tasks that do not actually move you closer to your long-term objectives.
Visual cues are incredibly effective for keeping your layout clean yet informative. Use color-coding or simple symbols to differentiate habit categories. For instance, you might use a blue highlighter for health-related habits, yellow for study or work, and green for personal development. Alternatively, draw small icons like a book for reading or a barbell for fitness. This visual shorthand allows you to assess your daily progress at a glance without filling your page with repetitive text.
Keep your tracking elements highly visual and low-friction. If a tracker requires too much effort to fill out—such as writing down exact percentages or detailed logs—you are more likely to abandon it. Simple fill-in bubbles, progress bars, or single-character codes are much easier to maintain over weeks and months of daily use.
Test, Refine, and Produce Your Custom Planner
Before committing to a final design, printing a large batch, or spending ₱ on professional binding, it is essential to test your layout. Run a short paper prototype test by drawing your proposed design by hand in a notebook or on a blank sheet of paper for three consecutive days. This trial run will quickly highlight any design flaws, such as boxes that are too small for your handwriting or sections that remain consistently empty.
During this testing phase, pay close attention to how your writing tools interact with your layout. If you prefer writing with a bold 0.7mm gel pen, you will need larger boxes and wider line spacing than someone who uses a precise 0.38mm needle-tip pen. Adjust the grid spacing—typically 5mm for standard dot-grid paper—to match your natural writing scale so you do not feel cramped.
Evaluate the prototype objectively at the end of the trial. Ask yourself if you actually used every section you drew. If the notes box remained empty while your task list overflowed into the margins, adjust the proportions of your next draft accordingly. A successful custom planner layout should feel intuitive, with no wasted space or cramped corners.
Once you have refined your layout, finalize the template for production. If you prefer a digital workflow, you can recreate your hand-drawn design in a graphic design program or a simple spreadsheet tool. Save the final design as a PDF template. From there, you can print the pages at home on your chosen premium paper, punch them for a discbound or ring binder system, or import the file into a digital note-taking application on your tablet.
Frequently Asked Questions (FAQ)
How many habits should I track on a single daily planner page?
Tracking too many habits at once increases cognitive load and often leads to planner fatigue. To maintain consistency, start with a baseline of three to five core habits that align with your current priorities. Once these habits become automatic and require less conscious effort, you can rotate them out for new short-term or seasonal goals, keeping your daily tracking fresh and achievable.
What is the best paper weight for a printable custom daily planner?
The ideal paper weight for a printable daily planner is between 100 gsm and 120 gsm. This premium thickness provides excellent bleed resistance and prevents ghosting when using common stationery tools like gel pens, highlighters, and fine-liners. While thicker paper offers a luxurious, smooth writing experience, keep in mind that it will increase the overall bulk of your binder or notebook, slightly reducing the total number of pages you can carry at one time.

Community discussion
Share your experience or ask a question. Comments are reviewed before publication.