
Creating a vintage-style scrapbook layout is a rewarding way to preserve memories while exploring a classic, nostalgic aesthetic. By combining muted color palettes, distressed paper textures, and layered ephemera, you can transform a simple blank page into a timeless visual story. Whether you are preserving old family photographs or documenting recent travels, mastering the art of scrapbook vintage design allows you to craft layouts that feel deeply personal and historical.
This guide walks you through the essential techniques, materials, and design principles needed to build your first vintage layout. You will learn how to select archival-safe supplies, age your paper using simple household items, and arrange embellishments to achieve a balanced, professional look. With a few basic tools and a bit of patience, you can master this popular scrapbooking style and create pages that will last for generations.
Defining the Vintage Scrapbook Aesthetic and Core Elements
To successfully capture a vintage aesthetic, it is helpful to understand the core visual elements that define this style. The foundation of any vintage layout lies in its color palette. Instead of bright, highly saturated modern colors, vintage designs rely on muted, warm earth tones. Think of rich sepias, warm creams, soft beiges, terracotta, sage green, and dusty, faded pastels. These colors evoke a sense of age and gentle wear, setting a quiet, nostalgic mood for your page.
Products mentioned in this guide
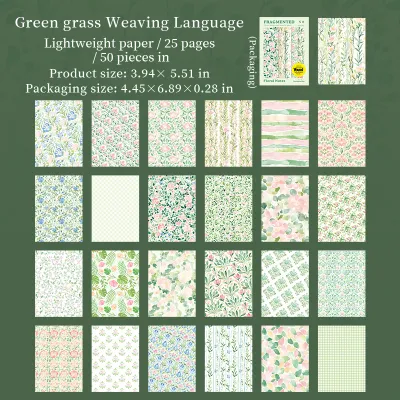
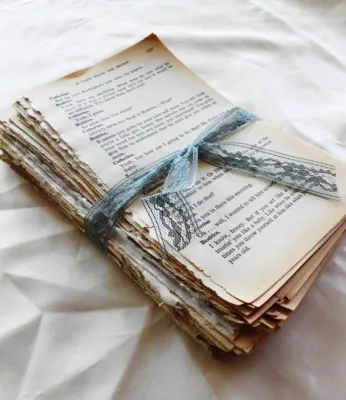
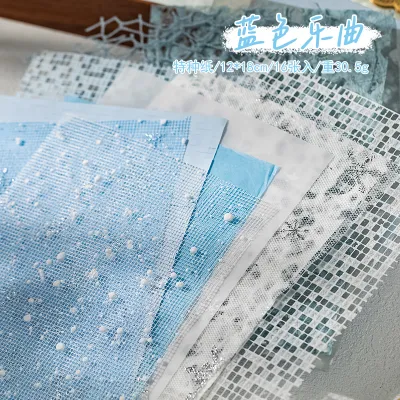
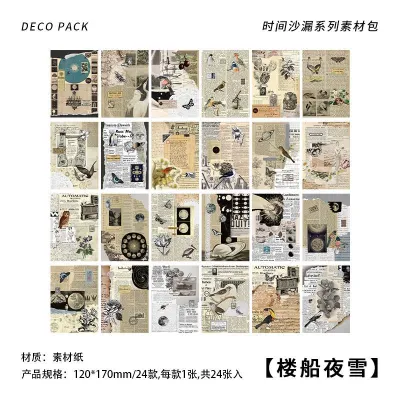
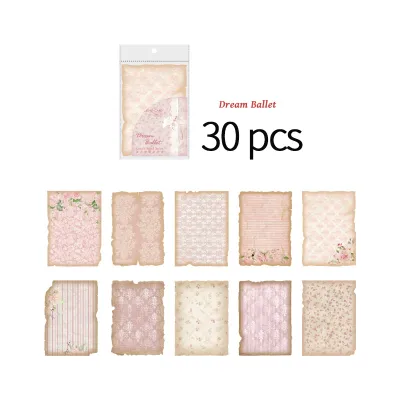
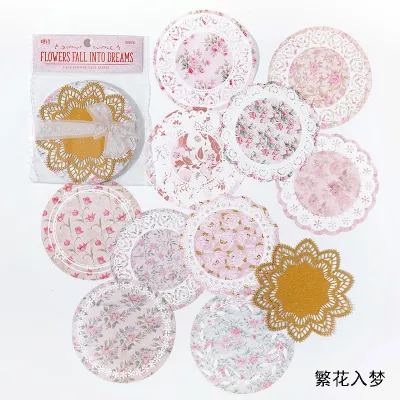
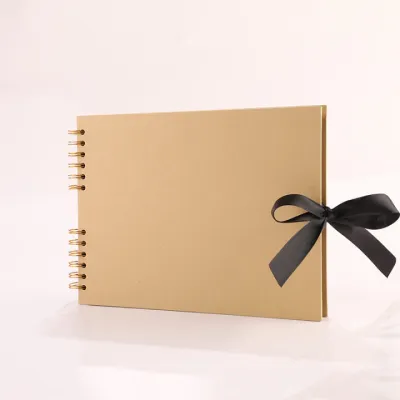
Prices are valid at publication and may change. Please refer to the product page for the latest price.
Texture plays an equally vital role in establishing a vintage feel. Incorporating tactile materials adds depth and sensory interest to your layout. Common textures include delicate cotton lace, rough burlap, coarse twine, corrugated cardboard, and smooth kraft paper. Distressed edges—whether torn by hand, frayed with tools, or darkened with ink—further enhance the illusion of a document that has been handled and cherished over many decades.
Finally, thematic embellishments and ephemera help tell the historical story of your page. You can use botanical illustrations, replica vintage postage stamps, antique maps, sheet music, and old ticket stubs to build your theme. Elements featuring elegant cursive handwriting, typewriter-style fonts, or weathered ledger lines reinforce the antique theme, making your layout feel like a discovered treasure from a bygone era.
Essential Tools and Archival-Safe Materials for Vintage Scrapbooking
Before gathering your decorative elements, you must secure the foundational tools and materials required for assembly. A basic toolkit should include sharp craft scissors for precise cuts, a bone folder to create crisp creases, and fine-tipped tweezers for positioning delicate embellishments. Your choice of adhesive is also critical; you will need a reliable double-sided tape runner for flat papers, a fine-tip glue pen for intricate die-cuts, and photo-safe mounting corners to secure your pictures without damaging them.

When selecting paper, look for heavy cardstock to serve as your sturdy base page, along with patterned papers featuring vintage motifs like damask, stripes, or faded florals. Journaling cards are also useful for adding written notes. For vintage-specific techniques, water-based distress ink pads in shades of brown or charcoal are indispensable for aging paper edges. You might also consider a wax seal kit, natural jute twine, and antique-finish metal brads to add authentic, dimensional accents.
The most critical factor when choosing paper and adhesives is archival safety. Always verify that your scrapbooking materials are explicitly labeled as “acid-free” and “lignin-free” by checking the manufacturer’s product specifications. Acid in standard papers and glues causes photographs and documents to yellow and degrade over time, while lignin—a natural organic polymer found in wood pulp—makes paper brittle and prone to crumbling. Using archival-safe materials ensures your layouts remain intact and vibrant for decades.
Additionally, consider how your stationery items interact. When choosing a journaling pen, verify its compatibility with your selected paper. Highly porous papers, such as handmade or heavily textured kraft paper, can cause standard dye-based inks to bleed, feather, or dry slowly. Opt for pigment-based fineliners or archival gel pens, which offer excellent bleed resistance, fast drying speeds, and water resistance. Testing your pen on a small scrap of your paper first is an easy way to verify these performance characteristics before writing on your final layout.
Step-by-Step Guide to Building Your Vintage Scrapbook Layout
Building a vintage layout is a structured process that moves from the background layers up to the final foreground details. By working systematically, you can maintain control over the visual hierarchy and ensure that your focal point remains the star of the page.
Step 1: Preparing and Aging Your Paper
You do not need expensive specialty papers to achieve an authentic, aged look; you can easily stain plain copy paper or light cardstock using brewed tea or coffee. To begin, brew a strong pot of black tea or coffee and let it cool slightly. Place your paper on a rimmed baking sheet and use a sponge brush or a piece of cotton cloth to apply the warm liquid across the surface. For a mottled, uneven look, leave small puddles of liquid in some areas or gently press a damp tea bag directly onto the paper to create darker rings and spots.
Physical distressing techniques can turn a pristine sheet of paper into a weathered artifact. Before staining, or once the paper has dried slightly, try gently crumpling the sheet into a tight ball, then smoothing it out to create a web of fine creases that will absorb more stain. To create worn, frayed borders, run the open metal edge of a pair of craft scissors along the edges of the paper at a forty-five-degree angle. This scrapes away the smooth outer layer of the paper fibers, leaving a soft, feathered texture.
Safety is paramount when working with warm liquids and sharp tools. Always handle hot tea or coffee with care to avoid burns, and ensure your workspace is well-ventilated. Once your stained paper is damp but no longer dripping, place it between two clean sheets of plain parchment paper and press it flat under a stack of heavy books to dry. This minimizes excessive warping and ensures the paper lies flat enough to be easily glued onto your scrapbook base.
Step 2: Creating a Focal Point and Background
Every successful scrapbook page needs a clear focal point, which is typically your main photograph or a significant piece of memorabilia. Select an image that fits the vintage mood, such as a black-and-white portrait, a sepia-toned family photo, or a color photograph with soft, warm tones. If you are using a modern color photo, you can print a copy with a warm filter to help it blend seamlessly into the vintage design.
To make your focal photo stand out from the busy background, you should “mat” it using contrasting cardstock. Cut a piece of dark, solid-colored, acid-free cardstock slightly larger than your photo, leaving a border of about two to three millimeters on all sides. Mount your photo onto this cardstock using photo-safe double-sided tape or archival mounting corners. This simple border creates a visual frame that separates your photo from the layers beneath it, drawing the viewer’s eye directly to the image.
With your matted photo ready, begin building your layered background on your base page. Start by tearing the edges of patterned papers, book pages, or your DIY coffee-stained sheets. Tearing paper toward you creates a visible white core edge, while tearing away from you leaves a clean, colored edge. Arrange these torn pieces at slight, overlapping angles across your base page, gluing them down once you are satisfied with the arrangement. This layered foundation adds visual depth and texture without cluttering the layout.
Step 3: Layering and Arranging Embellishments
Once your background and focal photo are in place, you can begin adding embellishments to bring character and tactile interest to the page. To keep your layout looking natural and balanced, apply the design rule of odd numbers. Grouping your embellishments in clusters of three or five creates a more pleasing visual flow than even-numbered groupings, which can look overly symmetrical or rigid.
Achieving visual balance requires mixing different weights and textures within your clusters. If you have a visually heavy element, such as a dark photograph or a thick piece of textured burlap, balance it by pairing it with lighter, delicate elements like a strip of cotton lace, a loop of thin twine, or a small paper label. Position your main cluster near one of the corners of your photo to anchor it, and place a smaller, secondary cluster diagonally opposite to create a balanced visual path across the page.
You can integrate a wide variety of tactile items to enhance the vintage theme. Consider using replica vintage stamps, die-cut botanical labels, small fabric scraps, or flat dried flowers. If you are scrapbooking in a tropical, high-humidity environment like the Philippines, take extra care with organic materials. Ensure dried flowers or leaves are completely moisture-free before gluing them down, and consider placing them behind a clear protective sleeve or page protector to prevent mold growth over time.
Step 4: Adding Journaling and Final Touches
Journaling is the storytelling heart of your scrapbook, providing context and preserving the memories behind the visuals. For a vintage layout, your handwriting style can greatly enhance the aesthetic. Elegant cursive handwriting or neat, print-style lettering using a black or brown archival fineliner pen works beautifully. If you prefer not to write directly on the page, you can type your text using a vintage typewriter font, print it onto tea-stained paper, and cut it into small strips to paste onto your layout.
If you want to keep your main layout clean and focused primarily on the imagery, consider using hidden journaling techniques. Write your thoughts on a separate manila tag, a decorated journaling card, or the back of a replica postcard. You can then tuck this card into a small paper pocket or slide it behind one of your background paper layers. This interactive element adds a sense of discovery to your scrapbook, allowing readers to pull out and read the story behind the photo.
To complete your layout, apply a few careful finishing touches that tie the entire design together. Use a corner rounder punch on your base page or photo mats to soften the sharp edges, giving them a classic, vintage look. You can also apply a small wax seal using flexible craft wax near your journaling or on a ribbon end to mimic an old-fashioned letter closure. Finally, lightly brush the edges of your finished page with a distress ink pad to give the entire layout a cohesive, warm frame.
Common Design Mistakes to Avoid in Vintage Scrapbooking
As a beginner, it is easy to get carried away by the sheer variety of beautiful papers and embellishments available. One of the most common mistakes is overcrowding the page. When too many elements compete for attention, the viewer’s eye has nowhere to rest, and your main photograph can get lost in the clutter. Remember the importance of negative space—leaving empty areas on your page allows your focal point and embellishments to breathe, creating a much more elegant and professional design.
Another critical mistake is using non-archival adhesives and materials. Standard school glues, yellow hot glue, and cheap double-sided craft tapes often contain high levels of acid. Over time, these adhesives can bleed through your paper, leave unsightly yellow stains, and permanently damage irreplaceable photographs. Always verify that your adhesives are certified as acid-free, photo-safe, and permanent before applying them to your layouts.
Using clashing color palettes can also disrupt the vintage mood. While it is tempting to add a bright pop of color, highly saturated modern shades like neon pink or electric blue will clash with the muted, warm tones of a vintage aesthetic. Stick to a cohesive, limited color story of three to four coordinating shades. If you want to add color, choose dusty, desaturated versions of your favorite hues, such as a muted sage green, a dusty rose, or a soft mustard yellow.
Finally, pay attention to the visual flow of your page. Avoid placing embellishments randomly across the layout, which can create a chaotic look. Instead, use your decorative clusters strategically to guide the viewer’s eye toward your main photograph. Align your elements so they point toward the focal point, and use lines—such as a piece of twine, a strip of lace, or a row of text—to create a clear path for the eye to follow.
Where to Source Vintage Scrapbooking Supplies in the Philippines
Finding the right materials for your vintage scrapbook layouts is an exciting part of the creative process, and there are many excellent sources available locally. For your foundational tools, acid-free cardstock, and basic adhesives, visit local stationery shops, major book stores, and dedicated art supply stores in major cities. These retailers carry reliable, high-quality brands that guarantee archival safety for your base pages.
For specialized vintage items, such as distress ink pads, wax seal kits, decorative paper pads, and vintage-themed stickers, explore local online marketplaces and specialized e-commerce craft stores. These platforms offer a vast selection of imported and local scrapbooking supplies, often at highly competitive prices. You can find basic distress ink pads ranging from ₱150 to ₱400, and complete wax seal starter kits starting around ₱300 to ₱600, making it easy to build your collection on a budget.
If you are looking for authentic, one-of-a-kind ephemera, try exploring local flea markets, weekend bazaars, and secondhand book stalls in places like Recto or local thrift shops (ukay-ukay book sections). These spots are goldmines for old textbooks, vintage sheet music, outdated maps, and antique postcards. Using real, aged paper from these sources adds an unmatched level of authenticity to your layouts, though you should always handle these delicate papers with care.
You can also repurpose common household items to create beautiful vintage accents for free. Save clean brown paper grocery bags and kraft packaging paper, which can be easily distressed, torn, and stained for background layers. You can also press and dry local flowers and leaves from your garden, such as bougainvillea petals or small fern fronds, to use as natural embellishments. If you want to include old family letters or historical documents, make high-quality color photocopies to use in your layouts, keeping the precious originals safe in archival storage.
Frequently Asked Questions (FAQ)
How do I protect original photos in a vintage scrapbook?
To protect original, irreplaceable photographs, the safest approach is to use high-quality photocopies or scanned prints for your actual scrapbook page. This allows you to distress, cut, or glue around the image without any risk of damaging the original family heirloom. You can store the original photos safely in dedicated archival sleeves or photo boxes away from light and moisture.
If you must use an original photograph in your layout, never apply liquid glue, standard tape, or any permanent adhesive directly to the back of the photo. Instead, use acid-free, photo-safe mounting corners or clear archival sleeves. These tools hold the photo securely in place by its corners, allowing you to slide the photograph out safely at any time without tearing or chemical damage.
Can I use real vintage items without damaging them?
Yes, you can use authentic vintage items like old tickets, letters, or stamps, but they require careful handling. Because old paper is often highly acidic and fragile, avoid gluing it directly next to your photographs. Use photo-safe mounting corners to secure these items, or encapsulate highly delicate or crumbling papers in clear, archival-quality plastic sleeves before placing them on your page.
To prevent further degradation of both your authentic ephemera and your overall scrapbook, store your finished album in a cool, dry place. In the tropical climate of the Philippines, high humidity can accelerate paper decay and encourage mold growth. Keep your scrapbooks in a well-ventilated area away from direct sunlight, and consider placing silica gel packets inside your storage boxes to help absorb excess moisture.
Community discussion
Share your experience or ask a question. Comments are reviewed before publication.