
Creating your first scrapbook page is an engaging way to preserve cherished memories while exploring the versatile world of paper design art craft. By combining physical photographs with structured paper elements, you can transform a simple layout into a lasting visual narrative. The process relies on a few fundamental paper crafting methods: selecting the right archival-safe materials, planning a balanced layout, executing clean cuts, and securing elements with appropriate adhesives. Mastering these foundational techniques ensures your creative work remains intact and vibrant for decades.
To begin, you do not need an extensive collection of specialized equipment. A few basic stationery tools and a clear understanding of how different papers and adhesives interact will give you a professional finish. By focusing on layout composition and proper assembly sequences, you can easily avoid common pitfalls like paper warping, adhesive staining, or photo degradation. This guide walks you through the step-by-step process of designing, cutting, layering, and assembling your very first scrapbook page.
Gather Essential Tools and Archival-Safe Materials
Before diving into the creative process, assembling the correct tools and materials is vital for both the ease of crafting and the longevity of your project. High-quality stationery tools make a significant difference in the precision of your cuts and the cleanliness of your assembly. Working with the correct materials also protects your physical photographs from chemical damage over time.
Products mentioned in this guide
![ENWEI 40 Pcs [Hanano Canto Series] Vintage Base Journal Material Paper Multiple materials Deco Paper Scrapbooking Sticker Scrapbook Kit](https://img.lazcdn.com/g/p/b78f87430640aff19e6cdfc3e8292bc2.jpg_400x400q80.jpg_.webp)
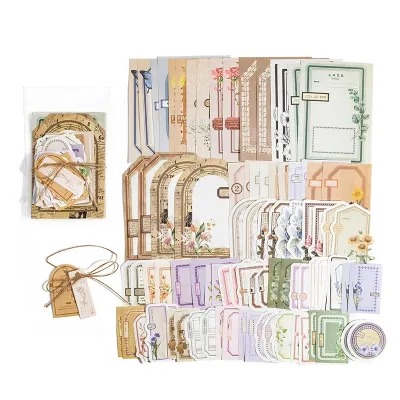
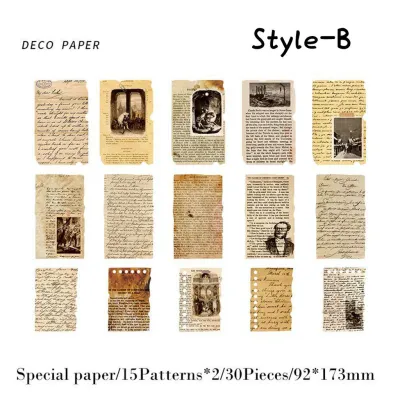
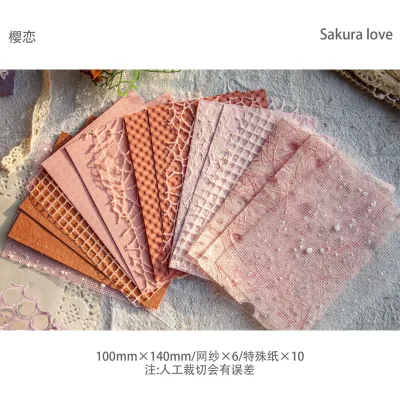
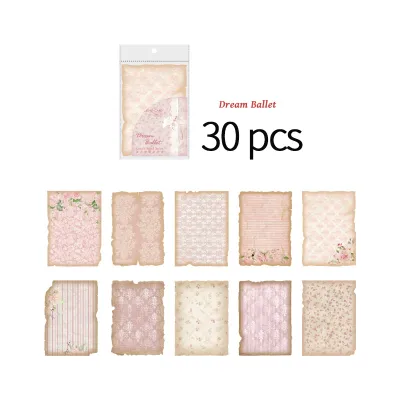
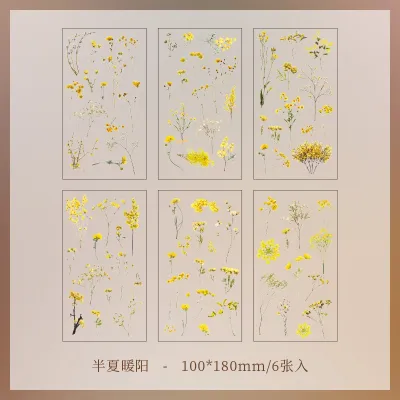
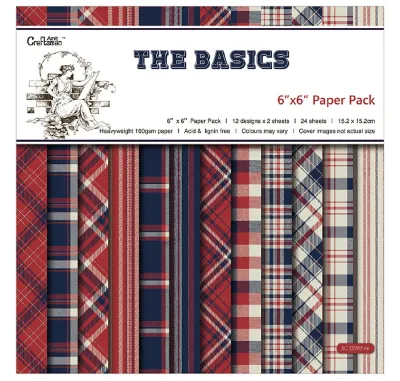
Prices are valid at publication and may change. Please refer to the product page for the latest price.
Essential Cutting Tools
- Paper Trimmer: A rotary or guillotine-style paper trimmer is indispensable for achieving perfectly straight, clean borders on your background sheets and photo mats. Look for a trimmer with a built-in grid and measuring guide to ensure accuracy.
- Craft Scissors: A pair of small, detail scissors with fine tips allows you to cut intricate shapes, organic curves, and small embellishments with ease.
- Self-Healing Cutting Mat: This mat protects your work table from damage while providing a grid system that helps you align your paper elements. It also extends the life of your craft blades by providing a resilient cutting surface.
- Safety Utility Knife: When using a utility knife or craft blade for precise interior cuts, always work slowly, cut away from your body, and store blades in a secure, retracted position. Keep blades out of reach of children.
Precision Assembly Tools
- Bone Folder: This hand tool, typically made of plastic or polished bone, is used to crease paper cleanly without leaving shiny marks or tears. It is essential for folding pockets, frames, or decorative flaps.
- Fine-Tip Tweezers: Tweezers help you pick up, place, and adjust tiny paper elements, sequins, or die-cuts without getting adhesive on your fingers or smudging the page.
- Metal Ruler: A heavy metal ruler with a non-slip backing is superior to plastic rulers for both measuring and guiding straight cuts with a utility knife.
Archival-Safe Material Selection The chemical composition of your paper is the most critical factor in scrapbooking. You must choose papers that are explicitly labeled “acid-free” and “lignin-free.” Lignin is a natural organic substance found in wood pulp that breaks down over time, releasing acids that turn paper yellow and brittle. If these acids come into contact with your photographs, they will cause irreversible fading, discoloration, and deterioration.
When selecting your base, opt for a heavy cardstock, typically between 200 to 300 grams per square meter (gsm). This weight provides a sturdy foundation that can support the weight of multiple photos, layers of patterned paper, and embellishments without sagging. For your decorative layers, lighter patterned papers ranging from 120 to 180 gsm are ideal, as they add color and design without creating excessive bulk.
Photo-Safe Adhesives Just like your paper, your adhesives must be acid-free and photo-safe. Standard household glues often contain harsh solvents or high water content that can ruin photos and warp paper. Always check product labels for archival ratings. Double-sided tape runners, photo corners, and acid-free glue sticks are excellent choices for beginners because they offer clean application and reliable hold.
Plan Your Layout and Paper Design Before Gluing
The secret to a visually satisfying scrapbook page lies in planning the arrangement before any glue touches the paper. Designing a page is an exercise in balance, focus, and storytelling. Taking the time to map out your elements prevents costly mistakes and ensures your photos remain the undisputed stars of the design.

Applying Foundational Design Principles To create a cohesive paper design art craft layout, begin with the rule of thirds. Imagine your page divided into a three-by-three grid. Placing your primary photograph or key design element along these grid lines or at their intersections naturally draws the viewer’s eye. Establish a clear focal point by making your main photo slightly larger than the others, or by framing it in a contrasting color.
Achieving visual balance does not require perfect symmetry. Asymmetrical balance, where a large photo on one side is balanced by a cluster of smaller elements or journaling on the other, often feels more dynamic and modern. Ensure there is a logical flow to the page, guiding the reader’s eye from the title, to the main photo, and finally to the written description or journaling.
Selecting a Cohesive Color Palette Limit your color palette to three or four coordinating colors to avoid visual clutter. You can draw inspiration directly from the colors within your photographs. If your photo features a blue sky and green grass, choose patterned papers in soft blues, sage greens, and a neutral cream or white. When mixing patterns, combine a large-scale print (such as a bold floral) with a small-scale print (such as a subtle dot or stripe) and a solid cardstock to give the eyes a place to rest.
The “Dry Fitting” Process Dry fitting is the practice of arranging all your photos, paper mats, titles, and embellishments on your background cardstock without applying any adhesive. This step allows you to experiment freely. You can slide papers around, swap out patterns, crop background pieces, and test different placements without damaging your materials.
Once you are completely satisfied with your dry-fitted layout, use your smartphone to take a quick, clear photo from directly overhead. This digital image serves as an invaluable reference map during the final assembly. If elements shift or get out of order as you begin gluing, you can easily refer to the photo to recreate your exact design.
Master Basic Paper Craft Techniques: Cutting, Layering, and Adhesion
Executing a beautiful scrapbook page requires mastering three physical skills: clean cutting, structured layering, and appropriate adhesion. Understanding how paper behaves under different forces and in different environmental conditions will elevate your work from a simple hobby project to a polished piece of art.
Cutting and Shaping Paper Elements
Achieving crisp, professional edges is the first step in successful paper crafting. For long, straight cuts—such as trimming a background sheet or creating paper strips—always rely on a paper trimmer. Place the paper firmly against the top guide rail, align your measurement, and sweep the blade in a smooth, continuous motion. This prevents the fraying and unevenness that often occur when trying to cut long lines with scissors.
For organic curves, circles, or intricate designs, high-quality craft scissors are the superior tool. When cutting curves, a helpful technique is to hold your scissors relatively still and rotate the paper with your non-dominant hand. This motion produces much smoother curves than trying to steer the scissors around a stationary piece of paper.
Fussy Cutting for Beginners Fussy cutting is a popular technique where you carefully cut out specific motifs—such as flowers, characters, or geometric shapes—directly from a sheet of patterned paper to use as individual embellishments. To do this successfully, leave a tiny, uniform border of the background paper (about 1 to 2 millimeters) around the image. This border masks minor cutting imperfections and makes the element stand out against your layout.
Always monitor the condition of your cutting tools. If you notice your paper trimmer is leaving fuzzy, frayed edges, or if your scissors are pinching and tearing the paper rather than slicing it clean, it is time to replace the blades or sharpen your shears. Dull blades ruin delicate paper fibers and make precise work impossible.
Layering for Depth and Dimension
A flat scrapbook page can look dull and uninviting. Layering different paper weights and textures is an easy way to build depth, draw attention to your photographs, and create visual pathways across your layout.
Combining Paper Weights and Textures Start with your heavy cardstock base (200+ gsm) to provide structural integrity. Layer a slightly smaller sheet of patterned paper (120 to 180 gsm) on top, leaving a clean border of the solid cardstock showing around the edges. This instantly frames your page. You can also introduce textured papers, such as vellum for a soft, translucent look, or kraft paper for a rustic feel.
Creating Photo Mats A photo mat is a piece of cardstock or patterned paper placed directly behind your photograph, acting as a frame. To create a simple photo mat, cut a piece of contrasting cardstock that is 1/4 inch (about 6 millimeters) larger in both width and height than your photo. Center your photo on this mat and adhere it. This small border separates the photograph from the busy background paper, making the image pop. For added depth, you can stack two or three mats of graduating sizes.
Using Dimensional Adhesives To make specific elements—such as your page title, a key fussy-cut flower, or a decorative label—stand out, use dimensional foam tape or foam squares. These adhesives have a physical thickness (usually 1 to 3 millimeters) that physically lifts the element off the page, casting natural shadows. For a balanced look, only lift a few select elements on your page; if everything is elevated, the dimensional effect is lost.
Adhesion Methods for Secure Assembly
Selecting the right adhesive for each specific task ensures your scrapbook page stays together for years without warping, bubbling, or staining. Different materials require different bonding agents, and environmental factors can heavily influence how these glues perform.
Matching Adhesives to Tasks
- Double-Sided Tape Runners: These are ideal for adhering flat paper layers and photo mats. They provide a quick, dry, and mess-free bond with no drying time required.
- Photo Corners: If you want to preserve your original photos without applying glue directly to them, use photo corners. These small triangular pockets hold the corners of the photo to the page, allowing you to slide the photo out easily if needed.
- Acid-Free Glue Sticks: Excellent for securing large, flat paper elements. Apply a thin, even layer to the edges of the paper to prevent lifting.
- Precision Liquid Glue: Necessary for adhering tiny paper cuts, thin letters, or small embellishments. Look for a liquid glue with a fine-needle applicator tip to control the flow.
The Danger of Standard Office Glues Avoid standard white school glues or liquid office glues for your paper design art craft projects. These glues typically have a high water content. When applied to paper, the wood fibers absorb the water, swell, and expand. As the glue dries, the fibers shrink unevenly, resulting in permanent warping, wrinkling, and bubbling that ruins the smooth finish of your page.
Managing Environmental Humidity In warm, humid climates like the Philippines, adhesive behavior changes significantly. High atmospheric moisture slows down the drying time of liquid glues, which increases the risk of paper warping. Before assembling your final page, always perform a trial run by testing your liquid glue on scrap pieces of your project paper. Observe how long it takes to dry completely and check if the paper buckles. To combat humidity, use dry adhesives like double-sided tape runners for the majority of your assembly, and reserve liquid glues only for tiny details where dry tape cannot reach.
Assemble and Finish Your Scrapbook Page
With your tools prepared, your layout planned, and your techniques mastered, you are ready to assemble your page. Following a systematic, layer-by-layer assembly process prevents alignment errors and ensures a clean, professional result.
The Logical Assembly Sequence
- Background Preparation: Secure your background patterned paper to your heavy cardstock base. Smooth it down from the center outward to eliminate air bubbles.
- Large Structural Elements: Adhere any large background strips, borders, or large decorative panels that run across the page.
- Photo Matting: Adhere your photographs to their respective paper mats.
- Photo Placement: Refer to your smartphone reference photo to align and glue down your matted photographs.
- Titles and Journaling: Position and secure your page title and written stories.
- Foreground Embellishments: Add your final decorative touches, such as stickers, washi tape, or fussy-cut elements, using dimensional foam tape where appropriate.
Adding Journaling and Written Stories Journaling is what transforms a simple photo album into a meaningful scrapbook. It provides context, dates, names, and personal memories associated with the photos. You can handwrite your story directly onto the page using an archival, pigment-based pen. Before writing, verify that your pen’s ink is fade-resistant, water-resistant, and quick-drying to prevent accidental smearing. If you are nervous about your handwriting, you can print your text from a computer onto coordinating paper using an inkjet or laser printer, cut it into clean strips or blocks, and adhere those to the page.
Placing Embellishments Thoughtfully Embellishments should support your story, not clutter it. Use items like washi tape to anchor the corners of your photos, or cluster small stickers and die-cuts in groups of three around your focal points. Leaving some “empty” or negative space around these clusters helps keep the page looking balanced and professional.
The Final Pressing Step Once your page is fully assembled, place a sheet of clean wax paper over the entire layout to protect the delicate elements. Set a heavy, flat object—such as a large textbook—on top of the wax paper. Leave it undisturbed for several hours, or overnight. This pressing step ensures all adhesives cure flatly and securely, preventing any edges from curling up over time.
Avoid Common Beginner Scrapbooking Mistakes
As you embark on your first paper design art craft project, keeping a few common mistakes in mind can save you time, money, and frustration. Scrapbooking is a learning process, but avoiding these structural and design errors will ensure your very first page looks like the work of an experienced crafter.
Overcrowding and the Importance of White Space One of the most frequent mistakes beginners make is trying to fit too many photos, patterns, and embellishments onto a single page. This creates visual chaos, making it difficult for the viewer to focus on the photos. Embrace “white space”—which does not have to be white, but simply refers to empty, quiet areas of your background paper. White space gives the eyes a place to rest and naturally directs attention to your focal points.
Cutting Original, Irreplaceable Photographs Never crop or cut original, historic, or irreplaceable physical photographs. Once a photo is cut, it cannot be undone, and you may accidentally slice away valuable background details that hold historical context. Instead, scan your original photos and print high-quality duplicates on photo-safe paper to use for your scrapbooking projects. If you must use an original photo, leave it intact and use creative paper layering or photo mats to frame it instead of cutting it.
Using Non-Archival Utility Materials It can be tempting to reach for everyday household items like standard masking tape, clear sticky tape, or regular colorful construction paper. However, these materials are highly acidic and contain unstable adhesives that will dry out, turn brown, and crumble within a few years, leaving permanent stains on your photographs. Invest in dedicated stationery supplies that are certified acid-free and archival-safe.
Applying Excess Liquid Glue A little liquid adhesive goes a long way. Applying thick beads of liquid glue not only causes severe paper warping but can also seep out from under your paper elements when pressed, leaving shiny, sticky residue on your clean layout. Apply liquid glue in tiny, spaced-out dots rather than continuous lines, and keep it away from the absolute edges of your paper shapes to allow room for the glue to spread slightly when pressed.
Frequently Asked Questions (FAQ)
What is the standard size for a beginner scrapbook page?
The traditional standard size for scrapbooking is 12×12 inches (approximately 30.5×30.5 centimeters). This size offers a spacious canvas that easily accommodates multiple photos, a large title, and detailed journaling. However, for absolute beginners, smaller formats like 8.5×11 inches or standard A4 are excellent, less intimidating alternatives. These smaller sizes fit easily into standard binders and can be printed on home printers, making them highly accessible.
Can I use regular printer paper for scrapbooking?
While regular printer paper is fine for practicing your cuts, sketching layouts, or writing draft journaling, it is not recommended for your final scrapbook page. Standard printer paper is typically not acid-free or lignin-free, meaning it will yellow, become brittle, and degrade over time. Furthermore, printer paper is usually very thin (around 70 to 80 gsm), making it highly susceptible to bleeding, tearing, and severe warping when exposed to adhesives or humidity.
Community discussion
Share your experience or ask a question. Comments are reviewed before publication.