
Starting your first journal page can feel intimidating when you are staring at a completely blank sheet of paper. A scrapbook deco pack is the perfect shortcut to overcoming this creative block, offering a curated collection of matching stickers, paper scraps, and die-cuts designed to work beautifully together. By learning how to select your tools, plan a balanced layout, and layer your elements correctly, you can easily create a stunning, professional-looking journal page on your very first try.
Gather Your Tools and Understand Your Deco Pack
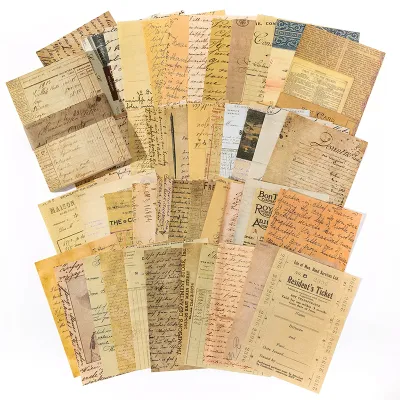
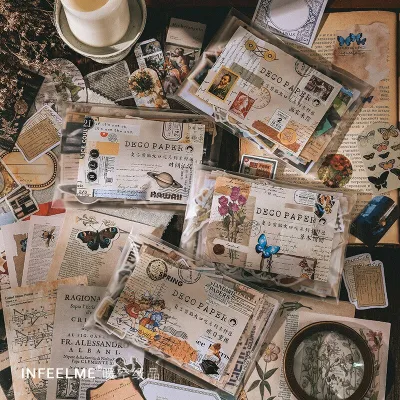
Before peeling any stickers or opening your glue, it helps to understand what is inside your scrapbook deco pack. These packs are pre-curated kits containing a variety of coordinating ephemera. You will typically find a mix of pre-cut cardstock die-cuts, semi-transparent PET (polyethylene terephthalate) sticker sheets, washi tape samples, and textured paper scraps like vellum or kraft paper. Because the colors and themes are already matched by designers, you do not have to worry about your elements clashing.
To assemble your page cleanly, you will need a few essential stationery tools alongside your deco pack:
Products mentioned in this guide
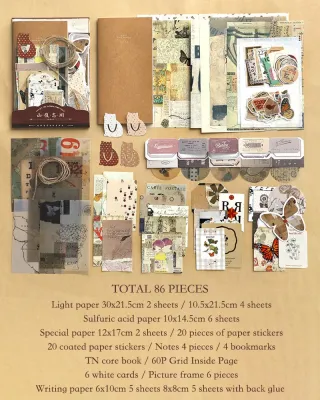
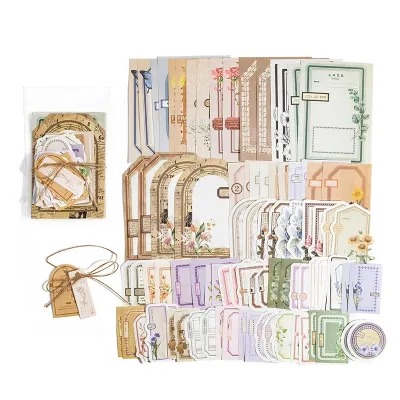
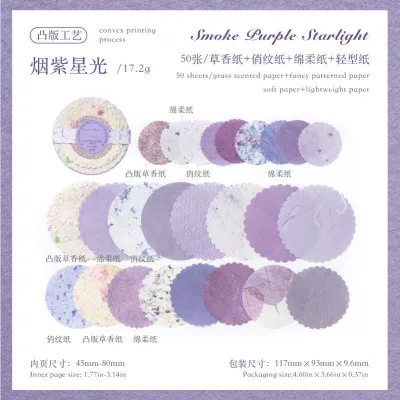
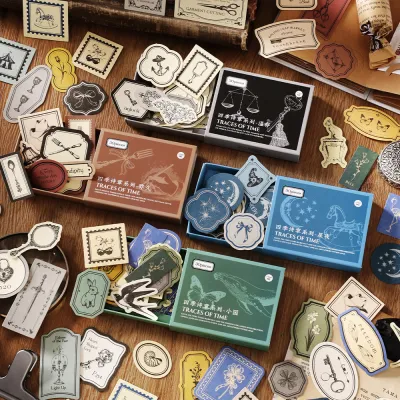
![[Original 24 hours delivery] 125pcs/boxed Scrapbooking Set DIY Diary Album Stickers Material paper tape Set students Stationery prizes Junk Journal Gift box](https://img.lazcdn.com/g/p/2440f7777c71f24fbd30b24f1800b943.jpg_400x400q80.jpg_.webp)
Prices are valid at publication and may change. Please refer to the product page for the latest price.
- A blank journal or notebook: Opt for a book with thick paper, preferably between 100 gsm and 160 gsm. Heavy paper handles adhesives and heavy ink without buckling or bleeding through to the next page.
- Adhesives: A double-sided craft tape runner (glue tape) is ideal for paper scraps because it applies dry and prevents wrinkling. Keep a bottle of liquid craft glue with a fine-tip nozzle for intricate die-cuts, and double-sided foam tape if you want to lift elements for a 3D effect.
- Precision scissors or a craft knife: A small, sharp pair of scissors is crucial for trimming washi tape or customizing sticker borders. If you use a craft knife, always work on a self-healing cutting mat.
- A metal ruler: This is useful for measuring layouts and tearing paper scraps cleanly to create textured, rustic edges.
Always perform a quick safety and compatibility check on your materials before starting. If you plan to include printed photos or keepsake tickets on your page, verify that your adhesives are labeled “acid-free” or “photo-safe.” Acidic adhesives will cause your photos and paper to yellow and degrade over time. Additionally, test a small dab of your liquid glue on a scrap piece of your journal’s paper. If the paper warps or wrinkles within a few minutes, use a dry tape runner instead.
Step-by-Step Guide to Arranging Your Journal Page
Plan the Layout and Choose a Focal Point
Establishing a strong visual hierarchy is the secret to a professional-looking journal page. Start by choosing a single focal point for your layout. This is the main element that will draw the eye first, such as a large botanical die-cut, a central photograph, a printed quote card, or a bold handwritten title.

Before applying any permanent adhesive, conduct a “dry run” by arranging your items loosely on the open journal page. Place your focal point down first, then arrange the supporting paper scraps, stickers, and washi tape around it. Slide pieces under and over one another to see how they overlap. This step allows you to experiment with balance, visual weight, and composition without any commitment.
As you arrange your elements, remember to leave adequate negative space. Negative space refers to the blank areas of the page where the background paper remains visible. It acts as breathing room for the eyes. If you cover every square centimeter of the page, the layout will look cluttered and chaotic. Aim to keep about 30% to 40% of the page blank to ensure your focal point truly stands out.
Secure the Base and Main Elements
Once you are happy with your temporary layout, take a quick photo of the page with your phone to use as a reference. Carefully clear the loose pieces off your journal, keeping them nearby in the order they will be applied. Begin the permanent assembly by securing the largest background layers first, such as patterned paper scraps, book pages, or large background stickers.
Apply your adhesive evenly across the back of these base items. When using a double-sided tape runner, run the tape along all four outer edges of the paper rather than just placing a single strip in the middle. This prevents the corners from curling up over time. If you are using liquid craft glue, apply it in very thin, sparse dots or spread it flat with a scrap piece of cardboard. Over-applying liquid glue introduces excess moisture, which causes thin journal pages to buckle, wrinkle, or bleed through to the other side.
Carefully place the base piece onto the page according to your reference photo. Press down firmly from the center of the paper outward to the edges. This smoothing motion forces out any trapped air bubbles and ensures a flat, secure bond with the page.
Layer Details and Add Finishing Touches
With your background base secure, you can now build depth by layering your smaller deco pack items. Place medium-sized die-cuts or semi-transparent stickers so they slightly overlap the edges of your base papers. Overlapping elements breaks up harsh lines and makes the different materials look like they belong to a single, unified composition rather than floating separately on the page.
Use your washi tape strategically to ground different elements. Instead of just sticking tape randomly, use small strips of washi tape to “anchor” the corners of a paper scrap, making it look like it is taped into a scrapbook. You can also run a long strip of washi tape along the bottom of your page to create a solid visual border, or layer a neutral grid-patterned tape behind a colorful sticker to add subtle background texture.
Finally, integrate your personal touch to complete the page. A journal page is a reflection of your thoughts, so leave space to write a short entry, a daily quote, or a simple date. Use a fine-liner or gel pen that matches the color scheme of your deco pack. You can also add simple hand-drawn doodles, stamp designs, or tiny star stickers from your pack to fill in any remaining small gaps and tie the entire layout together.
Common Beginner Mistakes to Avoid When Using Deco Packs
Working with a pre-made craft kit makes color matching easier, but beginners still face common design and material pitfalls.
Overcrowding the page is the most frequent mistake. When you open a beautiful new scrapbook deco pack, it is incredibly tempting to use every single sticker and die-cut on your very first page. However, cramming too many elements together creates visual chaos and ruins the storytelling flow of your journal. Treat your deco pack like a pantry: use only what your layout needs, and save the rest of the pieces for future pages.
Using the wrong adhesive can ruin your hard work after just a few weeks. Standard school glue sticks are designed for thin paper and lack the bonding strength required for heavy cardstock die-cuts, textured handmade papers, or glossy PET stickers. Over time, elements secured with weak glue sticks will dry out and peel off. Always match your adhesive to the weight of the material. Use strong double-sided tape runners for cardstock, and specialized clear craft glue or glue dots for plastic-based stickers.
Ignoring color coordination can make a page look disjointed, even when using a single kit. Many deco packs contain a wide variety of tones and sub-themes. To keep your layout looking intentional and cohesive, pick two or three dominant colors from the pack (such as sage green, cream, and dusty pink) and stick to them. Avoid mixing completely different styles, such as bright neon stickers with vintage sepia ephemera, on the same page unless you have a specific artistic reason to do so.
Protect and Store Your Finished Journal Page
Completing your first page is highly satisfying, but preserving your work requires a few protective steps, especially in warm, humid climates where moisture can affect paper and adhesives.
Always allow your materials to dry completely before closing your journal. Liquid glues, gel pens, brush markers, and stamp inks take significantly longer to dry when the air is humid. Closing your book too quickly can cause wet ink to transfer to the opposite page, or worse, cause wet glue to seal your pages together permanently. Leave your journal open in a well-ventilated room for at least 15 to 20 minutes after completion to ensure everything is completely set.
Store your finished journal in a cool, dry place away from direct sunlight. Ultraviolet rays will fade the vibrant dyes in your stickers and washi tapes over time, while direct heat can degrade adhesives, making them sticky or causing elements to slide. Keep your journals on a bookshelf, in a drawer, or inside a storage box rather than on a sunny desk or near a window.
As you continue to create layered pages, your journal will naturally begin to expand and bulge. To prevent the spine from warping and to keep the pages flat, use a journal with a built-in elastic closure band, or slip your notebook into a protective plastic or leather cover. This constant, gentle pressure keeps your layered layouts flat, prevents dust from gathering between the pages, and ensures your creative work remains beautifully preserved for years to come.
Frequently Asked Questions (FAQ)
Can I mix items from different scrapbook deco packs on one page?
Yes, mixing items from different scrapbook deco packs is an excellent way to express your personal style and create a unique layout. To make mixed elements look cohesive rather than chaotic, focus on a single unifying feature. You can match the color palette across the different packs, stick to a consistent visual theme (such as vintage botanical or modern minimalist), or use a neutral background paper (like kraft paper or plain grid paper) to anchor the different styles and textures together.
Community discussion
Share your experience or ask a question. Comments are reviewed before publication.