
Inserting refill sheets into a clear book requires a careful approach to manage friction, static, and the physical limits of the plastic sleeves. By preparing the paper edges, opening the pockets correctly, and guiding the sheets with even pressure, you can keep your documents flat, perfectly aligned, and free from tears or creases. Whether you are organizing school certificates, office reports, or creative portfolios, mastering this simple physical technique preserves both your printed media and the clear book itself.
Preparing Your Clear Book and Paper for Insertion
Before attempting to slide any document into a clear book refill sleeve, you must assess the physical condition of both the plastic pocket and the paper. Plastic sleeves, typically made of polypropylene or PVC, are highly susceptible to static electricity and environmental dust. Inspect the interior of the pocket by holding it up to the light to look for tiny particles of debris or manufacturing defects like fused side seams. If you notice any internal dust, a quick puff of air or a gentle tap upside down can clear the pocket before you begin.
Next, verify that your paper dimensions are fully compatible with the sleeve capacity. In the Philippines, clear books and refills commonly come in standard sizes like A4, Letter, and Legal. Attempting to force an A4 sheet into a Letter-sized sleeve will cause the paper to buckle, warp, or stick out of the top, exposing it to dust and physical damage. Conversely, using paper that is too small for the pocket can cause the sheet to slide around excessively, leading to a messy, misaligned presentation.
Products mentioned in this guide
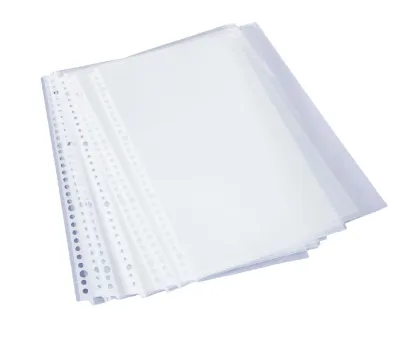
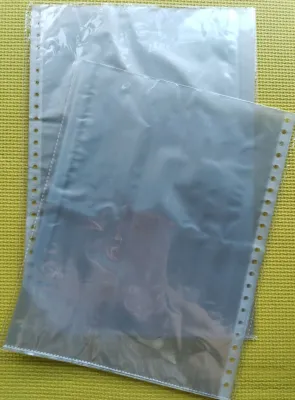
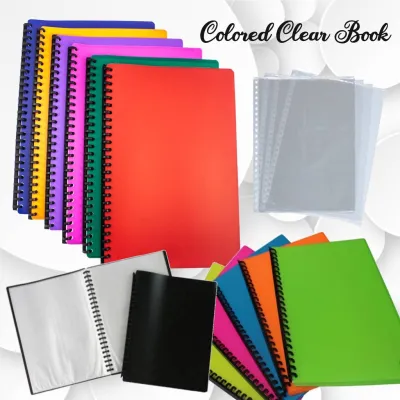
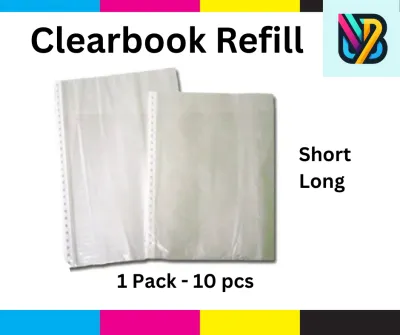
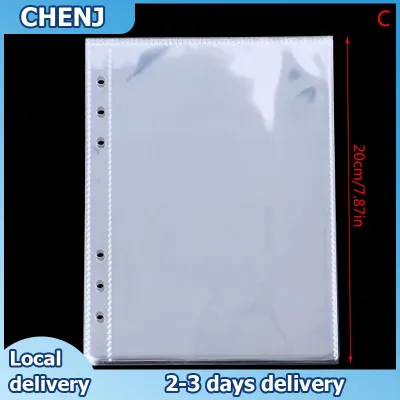
Prices are valid at publication and may change. Please refer to the product page for the latest price.
The physical state of the paper edges is another critical factor. Curled, dog-eared, or folded corners act like small hooks that catch on the thin plastic opening of the sleeve. If your paper has been stored in a tight stack or has curled slightly due to the heat of a laser printer, take a moment to flatten the edges. Gently roll the corners in the opposite direction of the curl or press the sheet flat under a heavy book for a few minutes to ensure a smooth, unobstructed entry.
Finally, check the paper stack for any hardware or fasteners. Staples, paperclips, or rough adhesive bindings must be removed entirely before insertion. These metal and plastic fasteners create thick, uneven points in the paper stack that can easily puncture, scratch, or permanently stretch the delicate plastic film of the clear book refill. If you must keep multiple pages together, insert them as separate sheets in consecutive pockets rather than forcing a fastened bundle into a single sleeve.
Step-by-Step Guide to Inserting Refill Sheets Smoothly
To execute a flawless insertion, you must use a controlled physical method that distributes pressure evenly across the paper sheet. The first step is to separate the front and back layers of the plastic sleeve. Avoid pulling the opening apart aggressively, as this can stretch the plastic or split the delicate side welds. Instead, gently rub the top edges of the sleeve between your thumb and forefinger to break the static seal and create a small opening without putting unnecessary stress on the seams.

Once the pocket is slightly open, prepare the paper for entry. Hold the sheet by its side edges, roughly midway down the page, using both hands. Gently bow the paper slightly upward in the center to form a very shallow arch. This bowing technique increases the structural rigidity of the paper, preventing it from bending, folding, or collapsing under its own weight as you push it into the sleeve. Lead with the flat, straight bottom edge of the paper, keeping it perfectly parallel to the opening of the pocket.
As you begin to slide the paper downward, maintain a slow and steady pace. Do not rush the process, as rapid movement can trap air inside the pocket, causing the plastic to balloon and resist the paper. If you feel any resistance, stop immediately and do not try to force the paper past the obstruction. Instead, pull the sheet back a few millimeters, adjust your angle slightly, and continue sliding. Supporting the back of the sheet with your fingers as it enters the pocket helps guide it smoothly along the inner plastic surface.
Alignment adjustments must be made while the paper is only partially inserted. If you notice the sheet drifting toward one of the side seams, correct its path before it reaches the bottom half of the sleeve. Trying to realign a fully inserted sheet is incredibly difficult and often results in crumpled corners or torn edges. Gently nudge the exposed top portion of the paper to center it between the side welds, ensuring that the margins on both sides look even and balanced.
Once the paper is properly aligned, slide it down until it is fully seated at the bottom of the pocket. Do not force the paper into the bottom corners; let it settle naturally. To ensure a perfect finish, gently tap the bottom edge of the clear book binder on a flat desk or table to let gravity settle the paper. Verify that the top edge of the sheet clears the pocket opening completely. If the paper sits too high, it will be vulnerable to folding, dust accumulation, and moisture when the clear book is closed.
Troubleshooting Snags, Static, and Sticking Sleeves
Even with careful preparation, physical obstacles like static cling, humidity, and sticking plastic can disrupt the insertion process. Static electricity is particularly common in dry, air-conditioned environments, causing the plastic layers to cling tightly to the paper and pull it off-center. To manage static, you can discharge the buildup by touching a grounded metal object before handling the sleeves. Alternatively, wiping the exterior of the clear book refill with a clean, dry microfiber cloth can help neutralize the static charge.
In tropical climates like the Philippines, high humidity presents a different challenge: moisture cohesion. This causes the smooth plastic sheets to stick together as if they were glued, making them difficult to open. If you encounter stuck sleeves, do not use sharp tools or fingernails to pry them apart, as this can scratch or puncture the plastic. Instead, blow gently into the opening of the pocket. The warm air from your breath introduces a small pocket of air that naturally separates the layers without stretching or damaging the material.
If a paper corner catches on a bottom seam or an internal side weld during insertion, avoid pulling the document back forcefully. Forceful pulling can tear the paper or split the sleeve’s weld. Instead, slide a clean, thin plastic ruler or a piece of stiff cardstock into the pocket alongside the paper. Use the ruler to gently lift the caught corner away from the weld, then slide both the ruler and the paper down together. Once the paper is safely in place, carefully slide the ruler out, leaving the document perfectly positioned.
Over time, some sleeves may become too damaged, stretched, or deformed to use safely. If you notice a white, cloudy line on the plastic, this indicates that the material has been stretched past its elastic limit and is permanently weakened. A torn seam or a punctured pocket will no longer protect your documents and will likely snag any paper you try to insert. In these cases, it is best to discard the damaged sleeve and transfer your documents to a fresh, high-quality clear book refill to ensure long-term protection.
Storing Your Clear Book to Prevent Sleeve Damage
Preserving the structural integrity of your clear book sleeves is essential for making future refilling easier and preventing long-term damage to your documents. The way you store your clear books directly impacts how well the plastic pockets maintain their shape. Always store your clear books upright on a shelf, supported snugly by adjacent books or bookends. If a clear book is allowed to lean at an angle, gravity will warp the spine and cause the plastic sleeves to sag, crease, and distort over time.
If you must store your clear books flat, avoid stacking too many of them on top of each other. Excessive weight and pressure can compress the plastic layers, causing them to fuse together or stick to the ink on your printed documents. This is especially critical for documents printed with inkjet printers or high-gloss photo paper, which require ample drying time before insertion. Without proper care, the ink can transfer to the plastic sleeve, ruining both the document and the pocket.
Environmental factors also play a major role in sleeve preservation. In the Philippines, high ambient temperatures, direct sunlight, and intense humidity can accelerate the degradation of plastic materials. Avoid storing your clear books near windows, air conditioning vents, or heat-emitting office appliances. Direct sunlight can make polypropylene brittle and yellowed, while high humidity can trap moisture inside the pockets, leading to paper warping, ink bleeding, or mold growth. Store your binders in a cool, dry, and well-ventilated space to keep them in pristine condition.
Frequently Asked Questions (FAQ)
Can I insert multiple sheets into a single clear book sleeve?
While it is physically possible to slide more than one sheet of paper into a single clear book sleeve, doing so is generally not recommended. Standard plastic pockets are designed to hold one or two sheets back-to-back for double-sided viewing. Overstuffing a sleeve with three or more sheets increases the thickness beyond the pocket’s capacity, putting excessive stress on the bottom seams and side welds. This can cause the seams to split or stretch permanently, leaving your documents loose and unprotected. For optimal viewing and long-term preservation, stick to the recommended capacity of one or two sheets per pocket.
What should I do if a sleeve is already torn at the seam?
If you discover a sleeve with a torn seam, avoid using it to store loose, valuable, or frequently accessed documents. A compromised seam allows papers to slip out easily, exposing them to dirt, moisture, and physical damage. Do not attempt to repair the tear with standard adhesive tape or glue, as these adhesives often degrade over time, leaving a sticky residue that can ruin your documents or cause adjacent sleeves to stick together. Instead, transfer the contents to an undamaged pocket or replace the damaged sleeve with a fresh clear book refill to maintain proper protection.
Community discussion
Share your experience or ask a question. Comments are reviewed before publication.