
Installing a magnetic board requires matching your mounting hardware to the specific structural material of your wall. Whether you are hanging a heavy steel whiteboard on drywall, mounting an organizer on a solid concrete wall, or securing a sleek glass board to a glass partition, the key to a safe and lasting installation lies in selecting the correct anchors, adhesives, and tools. By assessing the weight of your board and understanding how different surfaces distribute load, you can prevent damage to your walls and ensure your board remains securely in place even under daily use.
Gather the Right Tools and Hardware for Your Wall Type
Before starting your installation, you must identify the composition of your wall and gather the appropriate tools. A standard installation kit typically includes a measuring tape, a spirit level, a pencil for marking, and a power drill. However, the specific drill bits and fasteners you require will depend entirely on whether you are working with drywall, concrete, or glass.
For drywall and partition boards, standard plastic expansion anchors are suitable only for very light boards. For heavier magnetic boards, you should use self-drilling drywall anchors, hollow wall anchors, or toggle bolts. Toggle bolts provide the highest load capacity on drywall because they expand behind the wall board, distributing the weight across a larger surface area.
Products mentioned in this guide
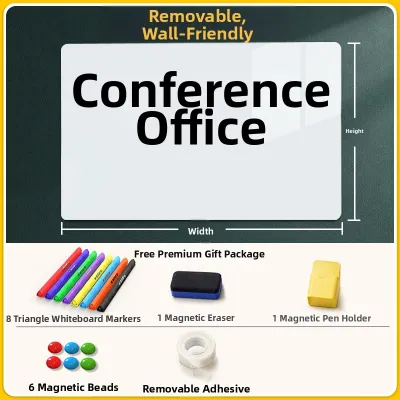
674 Lazada user ratings
This is so worth it for its price! Lots of freebies. Love that all the pens work and the eraser really does it job unlike the previous one i…Read full reviewShow less
This is so worth it for its price! Lots of freebies. Love that all the pens work and the eraser really does it job unlike the previous one i bought (the eraser would just smudge the pen marks). Nice to have when you need a quick place to note things down by your office table.
This is a great choice for the office. It writes smoothly and erases cleanly without any marks. The magnetic attachment is secure, and the a…Read full reviewShow less
This is a great choice for the office. It writes smoothly and erases cleanly without any marks. The magnetic attachment is secure, and the accessories are easy to fix. It sticks to the wall nicely, making it really handy for organizing work data daily.
This is perfect for the office! The wood grain frame looks great, and writing on it is smooth and leaves no marks. It's super convenient for…Read full reviewShow less
This is perfect for the office! The wood grain frame looks great, and writing on it is smooth and leaves no marks. It's super convenient for jotting down ideas in my workspace!
It sticks to the wall really well, writes clearly, and wipes clean without leaving any marks. It's perfect for jotting down important points…Read full reviewShow less
It sticks to the wall really well, writes clearly, and wipes clean without leaving any marks. It's perfect for jotting down important points in the meeting room.
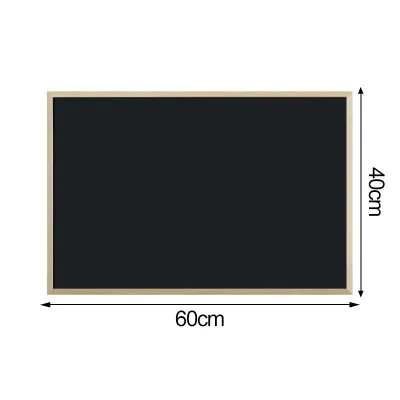
40 Lazada user ratings
Ease of Use:Effortless to use., Portability:Compact and portable., As advertised. Well packaged. Quick delivery. Legit and authentic product…Read full reviewShow less
Ease of Use:Effortless to use., Portability:Compact and portable., As advertised. Well packaged. Quick delivery. Legit and authentic product. Maraming salamat.
Thank u for the prompt delivery. Item is very good and as expected. until my next order.
Nice quality! Really magnetic
Not durable. Easily bent
54 Lazada user ratings
Matches the description and comes with everything you need for an easy installation. It provides a great space to display fridge magnets. Th…Read full reviewShow less
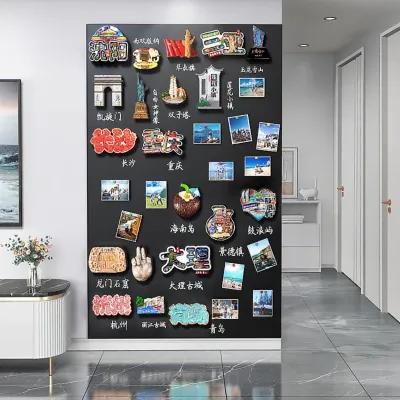
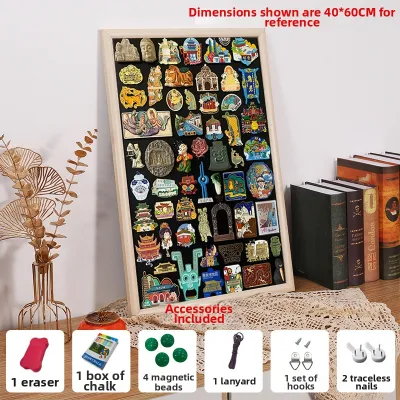
Matches the description and comes with everything you need for an easy installation. It provides a great space to display fridge magnets. The surface works best with full-back magnetic pieces for a secure hold, and the chalk holder is perfectly sized for the included chalk pieces.
Magnetic surface. Not that strong of a magnet though. Works best with a strong magnet. Given the price, okay na rin. I actually expected na …Read full reviewShow less
Magnetic surface. Not that strong of a magnet though. Works best with a strong magnet. Given the price, okay na rin. I actually expected na yung magnetic sheet lang yung nasa order. So nung nakita ko na may, chalk/crayon, letters. numbers and other magnets, ang saya.
Magnetic surface, Organize gadgets, Easy to install, Perfect for notes, Great for photos, Ideal for travel,
Customizable board, Easy to install, Magnetic surface, Perfect for notes and post its.. Thank you seller
very good alternative to display souvenir magnets and many more.
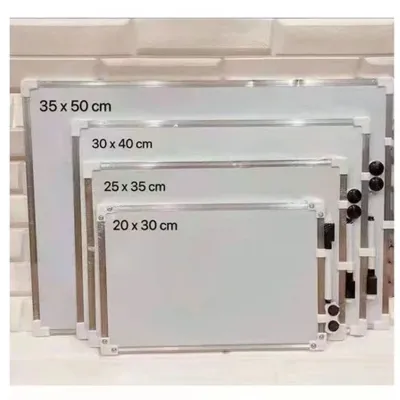
84 Lazada user ratings
May damage yung item yupi ung whiteboard
the item was damaged during transit,
Bakit wlaang eraser Kasama ?
2-sided magnetic board,
Portability:great 10
9 Lazada user ratings
Design:for me its great, got the correct color, its perfect for my house design 💰Price:its affordable 🎨 Design:its elegant, stand out on my …Read full reviewShow less
Design:for me its great, got the correct color, its perfect for my house design 💰Price:its affordable 🎨 Design:its elegant, stand out on my wall 🔨Durability:its very durable because it fall the first time I hung it but to my surprise it did not break 😁 Safety:very safe, it comes with safety corners Total of 10 out of 10 for me, it arrived complete and well packed. My husband ask me to buy another one💜❤️
💰Price:affordable 🎨Design:black 🔨Durability:as described Design:black board Durability:mulang matibay Safety:Dear parents, Good evening po A…Read full reviewShow less
💰Price:affordable 🎨Design:black 🔨Durability:as described Design:black board Durability:mulang matibay Safety:Dear parents, Good evening po Adjustment lng po Hansa Clark Safari Clark Museum Pradera Thank you po
Frame has good qualitt, plastic on the metal surface is a little hard to remove, change the string and hook it's not good.
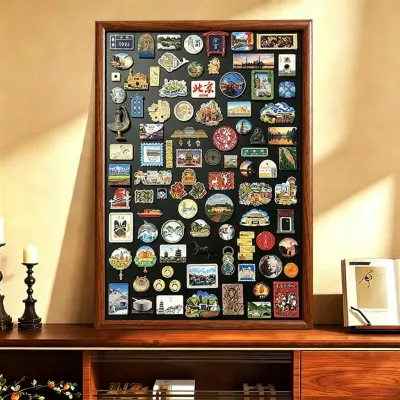
Great, it looks very atmospheric when hung up like this.
Prices are valid at publication and may change. Please refer to the product page for the latest price.
Concrete walls, which are highly common in residential and commercial buildings in the Philippines, require a completely different set of tools. You will need a hammer drill equipped with a masonry drill bit, as standard rotary drills will struggle to penetrate solid concrete or concrete hollow blocks. The hardware must consist of plastic or metal expansion anchors paired with matching screws, or specialized concrete screws that cut threads directly into the pre-drilled masonry hole.
Glass surfaces cannot be drilled without specialized factory equipment, meaning you must rely entirely on non-drilling mounting methods. Heavy-duty double-sided mounting tape, specialized glass adhesives, or industrial-strength suction cups are the primary options for glass partitions. When choosing these adhesives, always verify the manufacturer’s specified weight limits and ensure they are rated for the material of your board’s backing.
Before proceeding with any installation, check the weight of your magnetic board. Compare this weight against the load capacity of your chosen fasteners, keeping in mind that the board’s weight will increase once you add magnets, markers, and accessories. Always review the manufacturer’s mounting instructions, as some boards feature proprietary bracket systems that require specific spacing or alignment.
How to Mount on Drywall and Partition Boards
Drywall and partition boards are relatively soft materials that cannot support heavy loads on their own. To ensure a secure installation, your first step should always be to locate the wooden or metal studs behind the drywall using a stud finder. Mounting your magnetic board directly into studs provides the maximum possible stability and eliminates the risk of the board pulling out of the wall over time.

If your board’s mounting holes do not align with the studs, or if studs are not present where you want to hang the board, you must use high-quality drywall anchors. Begin by holding the magnetic board against the wall at your desired height. Place a spirit level on top of the board to ensure it is perfectly horizontal, then use a pencil to mark the exact locations of the mounting holes on the wall.
Once your marks are in place, set the board aside and prepare to drill your pilot holes. If you are using toggle bolts or hollow wall anchors, check the packaging to determine the exact drill bit size required, as these fasteners often require larger holes than standard screws. Hold your drill perpendicular to the wall and drill steadily through the drywall, taking care not to push too hard, which can blow out the back of the gypsum board.
Insert your chosen anchors into the pre-drilled holes. For self-drilling anchors, you can screw them directly into the drywall using a screwdriver until they are flush with the surface. For toggle bolts, feed the bolt through the mounting bracket of the magnetic board first, thread the spring-loaded toggle wings onto the bolt, compress the wings, and push them through the drilled hole until you hear them snap open behind the wall.
Position the magnetic board over the anchors and insert the mounting screws. Tighten the screws slowly using a manual screwdriver or a drill on a low torque setting to avoid stripping the plastic anchors or crushing the drywall. Stop tightening as soon as the screw head is snug against the board’s bracket or frame, ensuring the board is firmly secured without any wobbling.
How to Drill and Mount on Concrete Walls
Drilling into solid concrete or concrete hollow blocks requires patience, physical effort, and the correct machinery. Standard drills lack the hammering action needed to break down the aggregate in concrete, so using a hammer drill is highly recommended for this task. Ensure your drill is fitted with a high-quality masonry drill bit that matches the diameter of your concrete anchors.
Start by positioning your magnetic board on the concrete wall, using a spirit level to verify that it is straight. Mark the drilling points clearly with a pencil or a marker that can write on masonry. Before you begin drilling, put on your safety goggles and a dust mask to protect yourself from the fine silica dust generated during the drilling process.
Set your hammer drill to the hammer function and place the tip of the masonry bit directly on your pencil mark. Hold the drill firmly with both hands, keeping it perfectly perpendicular to the wall, and apply steady forward pressure. Drill to a depth slightly deeper than the length of the anchor you plan to use; you can wrap a piece of painter’s tape around the drill bit to serve as a depth guide.
After drilling each hole, it is crucial to clear out the concrete dust inside. Use a hand pump, a vacuum cleaner, or a small brush to remove the debris, as leftover dust can prevent the anchor from seating properly or expanding fully. Once the holes are clean, tap the plastic or metal expansion anchors gently into the holes using a hammer until they are flush with the concrete surface.
Align the magnetic board with the installed anchors and insert the concrete screws or mounting bolts. Drive the screws in steadily, ensuring they grip the anchors tightly. If you encounter an unexpected obstacle while drilling, such as steel rebar or embedded electrical conduits, stop drilling immediately, patch the shallow hole, and shift your mounting position slightly to avoid structural damage or safety hazards.
Safe Mounting Techniques for Glass Surfaces
Mounting a magnetic board onto a glass wall or partition requires a non-destructive approach, as drilling into tempered glass will cause it to shatter instantly. Before attempting this installation, you must evaluate the thickness of the glass partition and ensure it can support the combined weight of the adhesive and the magnetic board. Consult your building management or glass manufacturer if you are unsure of the load limits.
Proper surface preparation is the most critical factor in ensuring a strong adhesive bond on glass. Clean the glass surface thoroughly using isopropyl alcohol or a specialized glass cleaner to remove all grease, fingerprints, dust, and oily residues. Allow the glass to dry completely, and avoid touching the cleaned area with your bare hands before applying the adhesive.
Select a heavy-duty, double-sided mounting tape or a specialized glass adhesive that is explicitly rated for the weight of your magnetic board. Apply the tape or adhesive to the back of the board’s mounting brackets or frame according to the manufacturer’s instructions, ensuring even distribution of the adhesive to prevent localized stress points on the glass.
Carefully align the magnetic board with your pre-marked positions on the glass partition. Press the board firmly against the glass, applying steady pressure across all adhesive zones for at least thirty seconds to activate the bond. If you are using a liquid adhesive, you may need to use temporary support tape or clamps to hold the board in place while the adhesive begins to set.
Do not place any weight, magnets, or accessories on the magnetic board immediately after installation. Most heavy-duty adhesives and mounting tapes require a specific curing period—often up to twenty-four or forty-eight hours—to reach their maximum holding strength. Refer to the adhesive packaging for the exact curing time and wait patiently before using the board.
Verify Stability and Maintain Your Installation
Once your magnetic board is mounted, you must verify its stability before putting it into regular service. Gently pull on the edges of the board to check for any movement, play, or loose fasteners. Apply a small amount of gradual weight to the board, such as placing a few heavy magnets or accessories on it, and observe if there is any sagging or pulling away from the wall.
Use your spirit level one final time to confirm that the board remains perfectly level under load. If your mounting brackets feature adjustable slots, you can loosen the screws slightly, make minor adjustments to level the board, and then retighten the fasteners securely.
Over time, environmental factors such as temperature fluctuations, humidity, and the physical vibrations of attaching and removing magnets can affect your installation. Periodically inspect the mounting hardware on drywall and concrete walls to ensure the screws remain tight. For glass installations, regularly check the edges of the adhesive tape or bond for any signs of peeling, lifting, or degradation.
If you are planning to install an exceptionally large, heavy, or custom-sized magnetic board, or if you are dealing with complex architectural surfaces like post-tensioned concrete, do not hesitate to consult a professional installer. A professional can assess the structural integrity of your walls and use specialized equipment to guarantee a safe, long-lasting installation.
Frequently Asked Questions (FAQ)
Can I install a magnetic board on a tiled wall?
Yes, you can install a magnetic board on a tiled wall, but it requires specialized tools to avoid cracking the tiles. You must use a carbide-tipped or diamond-tipped tile drill bit to drill through the glazed ceramic or porcelain surface. Run your drill at a slow speed and apply constant water lubrication to keep the bit cool and prevent the tile from shattering. Whenever possible, try to position your mounting holes within the grout lines rather than the center of the tiles, as grout is much easier to drill through and repair. If you prefer not to drill, you can use high-strength, moisture-resistant mounting tapes, provided the tile surface is completely clean, flat, and free of soap scum or textured patterns.
How do I remove a magnetic board without damaging the wall?
The removal process depends entirely on the mounting method you used. For drywall and concrete installations, carefully back out the mounting screws and remove the board. You can pull out plastic drywall anchors using needle-nose pliers, then fill the remaining holes with a lightweight spackling compound, sand it smooth once dry, and apply matching paint. For concrete walls, masonry anchors can be left in place and covered with a small amount of wall putty or mortar. To remove adhesive-mounted boards from glass, use a hair dryer or a heat gun on a low setting to gently warm and soften the adhesive. Slide a piece of dental floss or strong fishing line behind the board to slice through the softened tape, then clean off any remaining adhesive residue using an adhesive remover or isopropyl alcohol, taking care not to scratch the glass surface.

Community discussion
Share your experience or ask a question. Comments are reviewed before publication.