
Combining photo stickers with washi tape for layered journal layouts requires a thoughtful balance of material weight, adhesive compatibility, and visual composition. By establishing a low-tack base layer of tape, positioning your photo sticker as the primary focal point, and overlapping accent tapes, you can build a dimensional collage that stays secure over time. This approach prevents page warping and ensures your creative spreads remain flat and preserved, even in warm, humid climates.
Choosing Photo Stickers and Washi Tape for Layered Designs
Before peeling any backings, you must evaluate the physical compatibility of your stationery items. The weight of your journal paper dictates how many layers it can support. Standard notebook pages of 80 gsm to 100 gsm are highly susceptible to warping, puckering, or ghosting when paired with heavy, thick photo stickers. If you prefer heavy layering, opt for journals with 120 gsm to 160 gsm paper, which provide the structural integrity needed to carry multiple adhesive layers without buckling.
Adhesive types also play a critical role in the longevity of your layout. Traditional washi tape features a low-tack, pressure-sensitive adhesive designed for easy removal and repositioning. In contrast, a typical photo sticker utilizes a stronger, permanent acrylic adhesive designed to bond instantly to paper. When layering these materials, remember that washi tape will not grip textured or highly glossy sticker surfaces as effectively as it grips raw paper.
Products mentioned in this guide
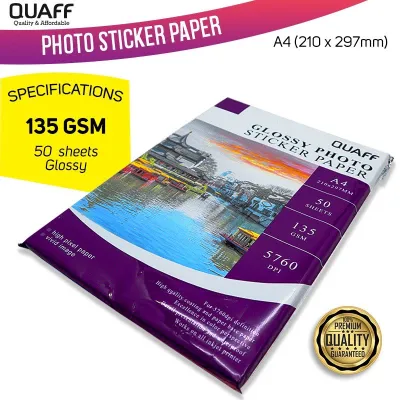
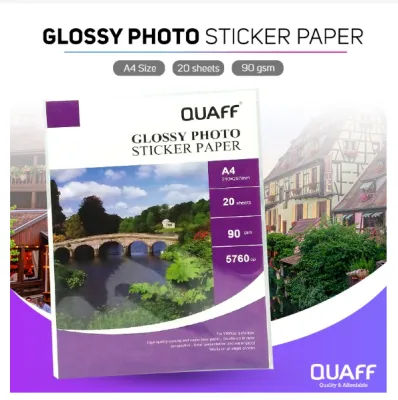
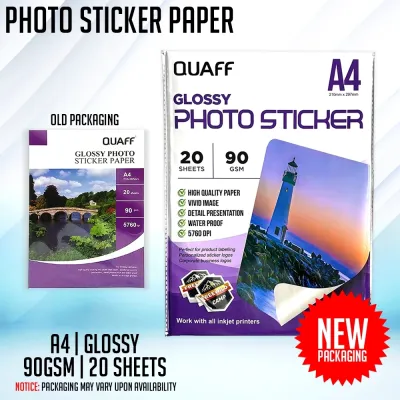
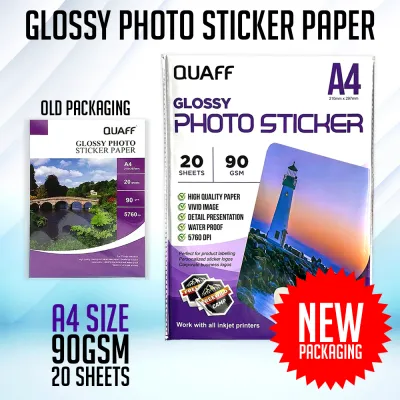
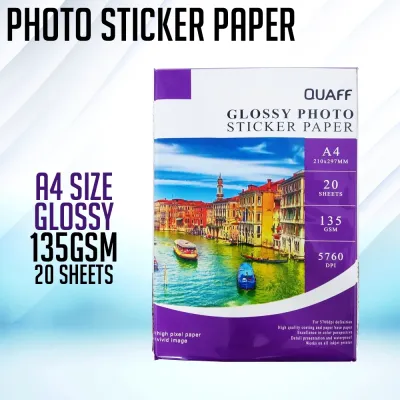
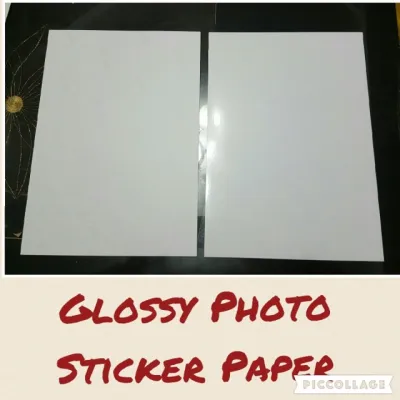
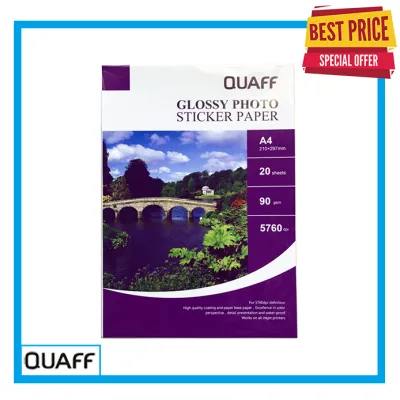
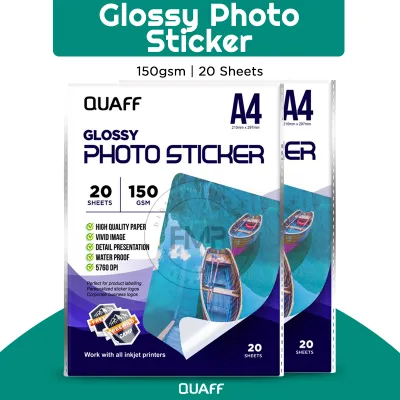
Prices are valid at publication and may change. Please refer to the product page for the latest price.
To achieve visual harmony, match the color palettes and visual weight of your elements before sticking them down. If your photo sticker features warm, sun-drenched tones, pair it with earthy, neutral, or warm-toned washi tapes. For a balanced look, consider the finish of your photo sticker. Matte photo stickers blend seamlessly with the fibrous, non-reflective texture of paper washi tape. Glossy photo stickers, while vibrant, reflect light sharply; pairing them with matte or semi-translucent washi tapes can soften the contrast and make the layout feel more integrated.
A Step-by-Step Framework for Building Layered Layouts
To build a clean, layered layout, always work from the background to the foreground. Start by establishing a base layer using wide or solid-color washi tape. This initial layer anchors your design, breaks up the blank space of the page, and defines your layout grid. Placing a wide strip of neutral or grid-patterned tape horizontally or vertically across the page provides a visual floor, preventing your photo sticker from looking like it is floating aimlessly in space.

Next, position your main photo sticker as the central focal point of the spread. Once the photo is in place, you can use thinner washi tape strips to create custom frames, borders, or background extensions. For instance, placing small, angled strips of tape over the corners of the photo sticker mimics the look of classic vintage photo corners while physically securing the edges of the print.
Once the focal point and frame are established, introduce secondary layers to fill negative space and guide the viewer’s eye. Use highly patterned, metallic, or die-cut washi tapes and smaller accent stickers, such as floral illustrations or functional icons, to build clusters around the corners of your photo. These smaller elements should overlap both the base tape and the photo sticker, tying the entire composition together.
Always adjust your layering sequence based on your journal’s paper thickness and the adhesive strength of your materials. If you are working in a delicate, thin-paper journal, limit your layout to a single base tape strip and a lightweight matte photo sticker. For thick cardstock journals, you can confidently stack three or four layers of tape, stickers, and ephemera without worrying about damaging the binding or causing the book to bulge excessively.
Design Techniques for Visual Cohesion
Creating a beautiful layered layout relies on basic design principles that keep your pages looking intentional rather than chaotic. Use alignment principles, such as the rule of thirds or invisible grid lines, to balance your elements. Instead of centering your photo sticker perfectly on the page, place it slightly to one side. You can then balance the opposite side with a block of written journaling, a vertical strip of washi tape, or a small cluster of accent stickers.
To make your layered elements look like a single, unified collage, focus on creating visual flow through overlapping. Let a strip of patterned washi tape run slightly underneath the edge of your photo sticker, while another thin strip of solid tape crosses over the top corner. This simple technique of tucking elements under and over one another integrates the photo into the page, making it feel like a natural part of the background rather than an afterthought.
Be mindful of pattern density when selecting your tapes. If your photo sticker is highly detailed or colorful, balance it by using solid-colored, pastel, or simple geometric washi tapes. Using too many busy, high-contrast patterns directly adjacent to a detailed photo will distract the eye and clutter the page. Reserve bold, heavily illustrated tapes for simple, minimalist photo stickers where the tape can act as the primary decorative element.
Common Layering Mistakes and How to Avoid Them
One of the most common mistakes in journal layering is accumulating too much physical bulk. Overlapping multiple thick photo stickers, dimensional foam tapes, and heavy cardstock elements in a single area will cause your journal to swell. This uneven thickness makes it difficult to write on subsequent pages and puts immense stress on the book’s binding, which can lead to cracked spines or loose pages over time. Keep your layers as flat as possible, especially near the center fold of the journal.
Another frequent error is applying strong adhesives directly to delicate journal pages without testing them first. Some photo stickers use aggressive permanent glues that can seep through thin paper or tear the page if you attempt to adjust their placement. Before committing to a layout, perform a simple trial: apply a tiny scrap of the sticker backing or tape to an inconspicuous back page of your journal to observe how the paper reacts to the adhesive and how easily it can be removed.
Finally, guard against clashing patterns and colors that compete with your photo subject. If you find that your layout is becoming too busy or chaotic, step back and simplify. You can easily tone down a clashing background by layering a strip of semi-translucent vellum paper or white drafting tape over the busiest patterns, creating a calm, neutral space for your photo sticker to rest upon.
Frequently Asked Questions (FAQ)
Can I reposition photo stickers after applying washi tape over them?
Repositioning depends entirely on the adhesive backing of your photo sticker and the paper quality of your journal. While washi tape is designed to peel away easily, most photo stickers feature permanent adhesives that bond quickly to paper fibers. If you have applied washi tape over the edge of a photo sticker, you can gently lift the low-tack tape using a flat craft spatula or a clean fingernail, starting from the outer edges. However, if the photo sticker itself has already made direct contact with the journal page, attempting to pull it up will likely tear the paper or delaminate the photo print. If you feel significant resistance when lifting, stop immediately and accept the current placement to avoid permanent damage.
How do I prevent washi tape from peeling off photo stickers over time?
In warm, tropical climates where high humidity can soften adhesives, low-tack washi tape may begin to lift or peel away from slick surfaces over time. To ensure long-term adhesion, always clean the surface of your photo sticker with a dry, lint-free cloth to remove any natural finger oils, dust, or manufacturing residue before applying tape. Once the tape is positioned, press down firmly across the entire strip, using a smooth tool like a bone folder, plastic scraper, or the edge of a clean ruler to maximize contact between the adhesive and the sticker. If you are applying tape over highly glossy or textured water-resistant sticker finishes, the low-tack adhesive may still struggle to hold; in these cases, apply a tiny dot of acid-free paper glue under the ends of the tape to secure them permanently.
Community discussion
Share your experience or ask a question. Comments are reviewed before publication.