
Designing a square scrapbook page requires a thoughtful approach to visual balance. Because a square has equal sides, it lacks a natural horizontal or vertical flow, meaning your eyes do not automatically scan it from top to bottom or left to right. To layout a square scrapbook successfully, you must establish a clear focal point, use geometric structural grids or diagonal lines to guide the eye, and leave intentional negative space to prevent the page from looking cluttered. By understanding how to distribute visual weight evenly across all four quadrants, you can create balanced, professional-looking memory spreads.
Understanding the Square Scrapbook Format
The square scrapbook format, typically found in standard sizes like 12×12 inches or 8×8 inches, offers a symmetrical canvas that is both highly satisfying and uniquely challenging. In standard rectangular formats, such as A4 or letter size, the longer axis naturally dictates how you arrange your elements. A vertical layout encourages a top-down reading flow, while a horizontal layout invites a side-to-side sweep. The square format removes this built-in dominance, forcing you to create your own visual path.
Without a natural orientation, square pages can easily feel trapped at the corners or empty in the center if not planned carefully. The primary design goal is to create a cohesive spread that draws the eye inward and guides it smoothly across the page. Whether you are documenting a beach trip to El Nido or a family gathering, the equal proportions of a square layout require you to balance elements symmetrically or intentionally break that symmetry to generate interest.
Products mentioned in this guide
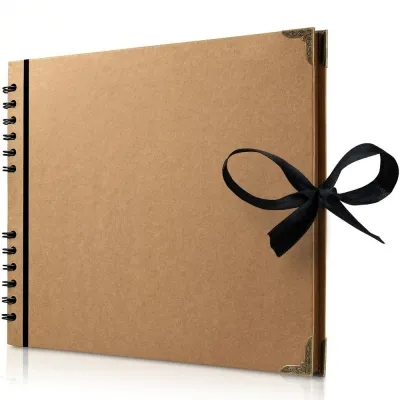
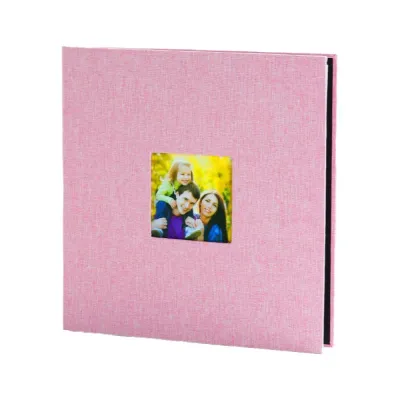
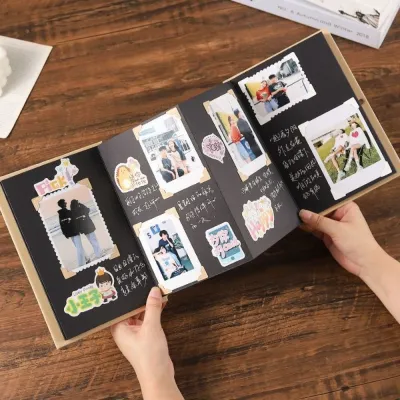
Prices are valid at publication and may change. Please refer to the product page for the latest price.
Essential Tools and Materials
Executing a clean square layout requires precision, especially since uneven borders are highly noticeable on a symmetrical page. Gathering the right stationery tools beforehand ensures your cuts are straight and your layers remain secure, even in humid tropical conditions.

- Square Cardstock and Patterned Paper: Standard 12×12 inch or 8×8 inch sheets serve as your base. Always verify the exact dimensions before cutting, as some budget paper pads may have slight manufacturing variances.
- Precision Cutting Tools: A paper trimmer with an integrated square cutting guide is ideal for keeping edges perfectly straight. Alternatively, a heavy-duty metal ruler paired with a sharp craft knife on a self-healing cutting mat works well for custom crops. A decent trimmer typically ranges from ₱300 to ₱1,200 depending on the blade style.
- Humidity-Resistant Adhesives: High humidity can cause standard water-based glues to warp paper or lose their tack over time. Opt for acid-free, double-sided tape runners for flat elements, and use high-density foam tape or glue dots to add dimension without risking adhesive failure.
- Embellishments and Photos: Prepare your printed photos, die-cut shapes, stickers, and journaling cards.
- A Grid Mat or Dot Grid Sketching Paper: Before applying any adhesive, sketching your layout on a grid mat helps you visualize the alignment and spacing of your elements.
Step-by-Step Guide to Designing Your Square Layout
Designing on a square canvas is easiest when you break the process into manageable steps. By focusing on structure before decoration, you ensure the page remains balanced and uncluttered.
Step 1: Establish a Clear Focal Point
Every successful scrapbook page needs a primary element that immediately captures the viewer’s attention. This focal point is usually your most important photo, though it can also be a prominent title card or a large embellishment cluster.
To make your focal point stand out, you can position it dead center for a formal, balanced look, or slightly off-center using the rule of thirds to create a more dynamic composition. If you choose to place the main photo in the center, frame it with contrasting cardstock to give it weight. If you prefer an off-center placement, ensure you balance it on the opposite side with a lighter element, such as a journaling block or a small cluster of embellishments. Always leave adequate negative space—empty areas of background paper—around your focal point so the page does not feel overwhelming to the eye.
Step 2: Choose a Balancing Structure
Once you have identified your focal point, you need a structural layout to organize the rest of your elements. Three classic structures work exceptionally well for the square format:
- The Grid Layout: Divide your square page into four or nine equal smaller squares. This structured approach is perfect for displaying multiple photos of the same size, such as a series of portrait shots. You can fill some squares with photos, others with journaling, and leave a few for patterned paper or simple embellishments.
- The Diagonal Flow: Arrange your photos and decorations along a diagonal axis from the top-left corner to the bottom-right corner. This technique guides the viewer's eye across the entire page, creating a sense of movement that breaks up the rigid symmetry of the square.
- The Framed Center: Use strips of patterned paper or solid borders to create a frame within the page, leaving a clean border around the outer edges. This draws the eye directly to the center where your photos are clustered, keeping the corners clean and uncluttered.
Before applying any glue, physically arrange your photos and embellishments on your background paper. Take a quick photo of this dry run with your phone to compare different placements.
Step 3: Layer and Add Dimension
Layering is the secret to making a flat page look professional and visually interesting. On a square canvas, layering helps build depth without requiring you to spread elements out to the edges.
Start by matting your photos with coordinating paper, ensuring the visible borders are mathematically even on all sides. For example, a 1/8-inch border around a photo provides a clean, polished frame. Next, use foam tape or dimensional glue dots to lift your focal photo slightly off the background. This physical separation creates natural shadows that draw the eye. You can then tuck journaling cards, ticket stubs, or small floral die-cuts partially under the edges of the matted photos. This overlapping technique saves space and makes the entire layout feel cohesive rather than disjointed.
Common Beginner Mistakes to Avoid
When working with a square scrapbook, certain design habits can unintentionally disrupt the visual balance of your page. Being aware of these pitfalls will help you maintain a clean, professional aesthetic.
- Overcrowding the Corners: Because a square has four equal corners, there is a natural temptation to place an embellishment in each one. Doing this draws the viewer's eye outward in four different directions, making the page feel chaotic and heavy. Keep your embellishments clustered near your photos, leaving the corners relatively clean.
- Ignoring Margins: Failing to leave a consistent, clean border around the outer edge of your page can make your layout feel cramped. Aim to maintain a margin of at least 1/4 inch to 1/2 inch around the perimeter of the square to give your design breathing room.
- Awkward Photo Matting: Using rectangular mats for square photos, or vice versa, without adjusting the proportions can lead to uneven empty spaces that look accidental. If you are matting a rectangular photo on a square page, ensure the borders are uniform, or intentionally make the top and bottom borders wider to mimic a polaroid style.
- Gluing Elements Too Quickly: It is easy to make a mistake in spacing when working on a symmetrical canvas. Always step back and look at your unglued layout from a distance of a few feet to check the visual weight distribution before committing to adhesive.
How to Verify Your Layout is Visually Balanced
Before you finalize your page and place it into an album, run through a quick verification checklist to ensure the design is stable and balanced.
- The Squint Test: Place your layout on a flat surface, step back, and squint your eyes. Squinting blurs the fine details, allowing you to see only the blocks of color, light, and shadow. If one quadrant of the square looks solid black or overly dense while the others look completely white, you may need to redistribute your elements to balance the visual weight.
- Visual Weight Check: Ensure that no single side or corner feels significantly heavier than its opposite. If you have a large, dark photo on the left, balance it with a dark embellishment, a bold title, or a heavily textured element on the right.
- Legibility Check: Read through your handwritten or printed journaling. Ensure the text contrast is high enough against the background and that nearby embellishments do not physically overlap the words, making them difficult to read.
- Adhesion Check: Gently run your fingers over the edges of your layered elements. In humid climates, paper can expand slightly, causing loose edges to catch and tear. Ensure all corners are securely bonded with a reliable adhesive to prevent snagging when the page is turned.
Frequently Asked Questions (FAQ)
Can I use rectangular photos on a square scrapbook page?
Yes, rectangular photos can easily be integrated into a square scrapbook layout. You can crop them slightly to fit a square mat, or use them in their original rectangular format by grouping two or three of them together to form a larger square cluster. Alternatively, placing a single rectangular photo horizontally across the center of a square page can create a beautiful focal point, provided you balance the top and bottom margins with journaling or coordinating patterned paper strips.
What is the best way to store square scrapbook pages?
To protect your finished layouts from dust, fingerprints, and tropical humidity, store them in archival-quality, acid-free, and lignin-free square page protectors. These protectors are specifically designed to fit 12×12 or 8×8 inch albums, keeping your pages flat and preventing the layered elements from shifting or catching on one another. Keep your completed albums stored vertically in a cool, dry place away from direct sunlight to prevent the colors from fading over time.
Community discussion
Share your experience or ask a question. Comments are reviewed before publication.