
Crafting a birthday explosion box surprise is a wonderful way to present photos, messages, and small gifts in an interactive, memorable format. The magic of this project lies in its mechanical simplicity: when the recipient lifts the outer lid, the tension holding the nested walls is released, causing them to cascade outward in a beautiful, multi-layered display. To achieve this clean, dramatic drop, you must carefully balance structural rigidity with lightweight decorative elements. In tropical climates like the Philippines, where high humidity can soften paper fibers and cause standard adhesives to warp, selecting the right cardstock, wrapping paper, and construction techniques is essential for a flawless finish.
Choosing the Right Cardstock, Wrapping Paper, and Tools
The foundation of any successful explosion box is the base cardstock. If the paper is too thin, the walls will sag under the weight of photos; if too thick, the box will resist folding. For the outer structural layers, use heavy cardstock between 220 gsm and 300 gsm. For the inner decorative flaps, pockets, and photo mats, a medium-weight cardstock between 160 gsm and 200 gsm offers the perfect balance of flexibility and strength.
When decorating, standard wrapping paper or lightweight patterned paper (80 gsm to 120 gsm) is ideal. Avoid heavy, textured papers for interior linings, as they add bulk at the seams and prevent the box from closing. The choice of adhesive is critical in humid environments. Traditional liquid white glues contain high water content, which saturates paper fibers, leading to warping. Instead, opt for high-tack double-sided adhesive tape, dry adhesive rollers, or acid-free glue sticks. These dry adhesives create an immediate, secure bond without introducing moisture.
Products mentioned in this guide
![[Fast Deliver] Surprise Explosion Box Valentines Day Love Memory DIY Photo Album For Anniversary Birthday Gift](https://img.lazcdn.com/g/ff/kf/Sd7809f723973434cbf54339e88079ce4L.png_400x400q80.png_.webp)
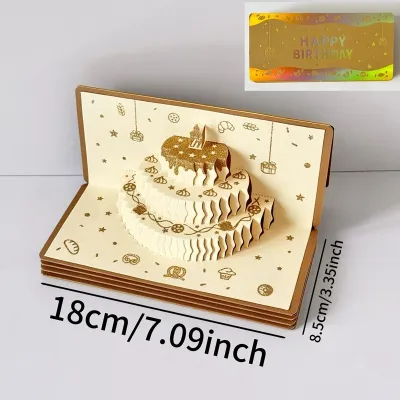
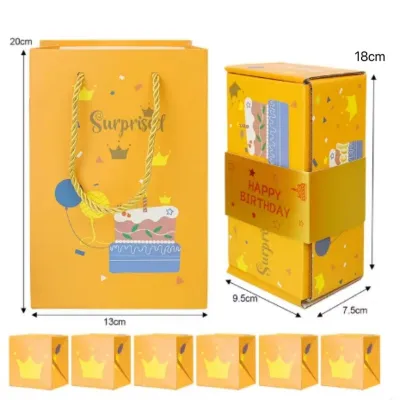
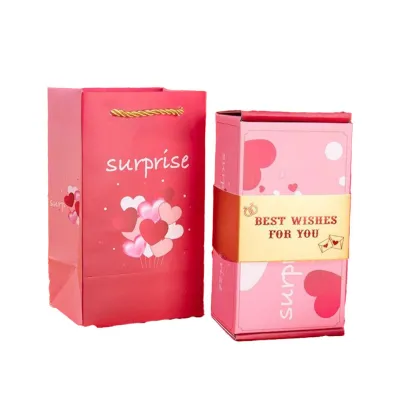
Prices are valid at publication and may change. Please refer to the product page for the latest price.
To achieve professional, crisp edges, you will need a few specialized stationery tools. A self-healing cutting mat protects your work surface, while a heavy metal ruler ensures cuts remain straight. A precision craft knife is necessary for clean edges, as standard scissors can tear thick cardstock. For folding, a scoring board paired with a bone folder is indispensable. Scoring creates a precise indentation along the fold line, guiding the paper to bend cleanly without cracking.
Safety is paramount when working with sharp cutting tools and adhesives. Always cut away from your body, keeping your non-dominant hand clear of the metal ruler’s edge. Work on a stable, flat surface in a well-ventilated room if using solvent-based adhesives, and keep a damp cloth nearby to wipe away accidental skin contact.
Measuring and Assembling the Cascading Box Layers
The cascading effect of a birthday explosion box surprise relies on precise mathematical scaling. Each nested layer must be slightly smaller than the one surrounding it to ensure they fold up together without binding. A classic three-layer design is highly recommended. For this setup, the outermost layer begins as a 12×12 inch square of heavy cardstock. The middle layer should be cut to 10.5×10.5 inches, and the innermost layer should measure 9×9 inches. This consistent 1.5-inch reduction ensures a clean, uniform step-down between each cascading wall.

Once your cardstock sheets are cut to size, score them to define the box walls. For the 12×12 inch outer layer, place the cardstock on your scoring board and make vertical scores at the 4-inch and 8-inch marks. Rotate the paper 90 degrees and repeat. This creates a perfect grid of nine 4×4 inch squares. Use your precision craft knife and metal ruler to carefully cut out the four corner squares, leaving only the center square and the four outer flaps. Repeat this process for the middle layer (10.5×10.5 inches), scoring at 3.5 inches and 7 inches to create a grid of 3.5-inch squares, and cut out the corners. For the inner layer (9×9 inches), score at 3 inches and 6 inches to create a grid of 3-inch squares, and remove the corners.
Before assembling, use your bone folder to crease every score line. Fold each flap inward toward the center, then press the bone folder firmly along the crease to set a sharp, permanent fold. Unfold the layers so they lie flat. To assemble the nest, apply double-sided tape or quick-drying adhesive to the underside of the middle layer’s center square. Carefully align this center square directly over the center square of the outer layer, ensuring the flaps line up symmetrically. Press down firmly to secure the bond. Repeat this step to adhere the innermost layer’s center square to the middle layer’s center. Allow any liquid adhesive to cure completely before folding the walls upward.
Wrapping the Layers and Integrating Ribbons
Wrapping and decorating the individual panels is where your birthday explosion box surprise comes to life. To keep the box functioning smoothly, do not wrap the paper around the edges of the cardstock flaps. Instead, cut individual panels of decorative wrapping paper that are slightly smaller than the cardstock squares they will cover. For example, for the 4×4 inch outer flaps, cut wrapping paper panels that measure 3.75×3.75 inches. This leaves a neat 1/8-inch border of the base cardstock visible around the edges, which looks professional and prevents the decorative paper from catching or peeling at the fold lines.
Ribbons serve both an aesthetic and a structural purpose. When selecting ribbons, consider how they will interact with the folding mechanism. A wide, stiff ribbon can prevent the box from collapsing neatly, while a ribbon that is too thin may fail to hold the weight of the walls. A 1-inch wide satin or grosgrain ribbon is ideal for wrapping the outer lid, while 3/8-inch or 1/2-inch ribbons are perfect for creating internal closures, pull-tabs, or decorative bows. To secure ribbons structurally, sandwich the ribbon ends between the cardstock base and the decorative wrapping paper panels. Apply a strong adhesive to the ribbon end, press it flat against the cardstock, and then glue the decorative paper panel directly over it to hide the raw edge.
Integrating interactive elements within the layers adds an extra layer of excitement. You can use leftover cardstock and wrapping paper to craft small pockets, accordion-style photo pull-outs, or sliding tabs on the vertical flaps. For a simple pocket, cut a piece of cardstock slightly wider than the panel, fold the extra width backward to create mounting tabs, and glue only the tabs to the panel. This leaves the top open to hold gift cards, handwritten notes, or small photos. Always test the movement of these interactive elements while the box is flat to ensure they slide or open without resistance.
Crafting the Outer Lid and Staging the Surprise
The outer lid is the key structural component that holds the entire explosion box together until the big reveal. Because the lid must slide smoothly over the folded outer walls without crushing them, its dimensions must be calculated with a small amount of clearance. If your folded outer box measures 4×4 inches, a lid cut to exactly 4×4 inches will be too tight to fit. To solve this, add approximately 1/8 inch (or 3 mm) of clearance to the top square of the lid, making it 4.125×4.125 inches. Decide on the height of the lid’s side walls—1 inch is standard and provides excellent stability. Add this wall height to all four sides of your top square, resulting in a total paper size of 6.125×6.125 inches.
To assemble the lid, place the cut paper on your scoring board and score 1 inch inward from all four outer edges. This creates a 4.125×4.125 inch center square surrounded by four 1-inch borders. At each of the four corners, you will see a 1×1 inch square. Use your precision cutter to make a single cut along one side of each corner square, creating a tab. Fold all the score lines inward using your bone folder. Apply a strong adhesive to the outer face of the four tabs, fold them inside the adjacent side walls, and press firmly until the glue sets. This forms a sturdy, shallow box lid.
Decorate the exterior of the lid with matching wrapping paper, ensuring the paper does not wrap around the bottom edge where it could snag on the box walls. You can wrap a band of ribbon around the sides of the lid or top it with a classic bow. To stage the final surprise, fold all the cascading layers of the box upward to form a compact cube. Hold the walls together with one hand while gently sliding the completed lid over the top with the other. The friction of the lid should hold the walls securely in place. When the recipient lifts the lid upward, the walls will instantly fall open, revealing the beautifully decorated interior layers.
Fixing Friction, Warping, and Clearance Issues
Even with careful planning, handmade paper crafts can sometimes experience minor mechanical issues. If your inner layers do not cascade outward smoothly when the lid is removed, the culprit is usually layer friction. Check the edges of your cardstock panels for any rough spots or fibers that may be catching. You can use a fine-grit sanding block or a clean nail file to gently smooth down the edges of the cardstock. If the layers are still binding, verify that your folds are completely flat; use your bone folder to re-crease every fold line with firm pressure to ensure the paper lies as flat as possible.
Warping and buckling are common challenges, particularly when crafting in humid tropical environments. If you notice your panels curving or bubbling, it is likely due to excess moisture from liquid adhesives or the natural humidity in the air softening the paper fibers. To prevent this, always prioritize dry adhesives like double-sided tape. If a panel has already warped, you can often correct it by placing the flat box under a heavy, flat object—such as a stack of heavy textbooks—in a dry, air-conditioned room for 12 to 24 hours. This helps flatten the fibers as the adhesive cures completely.
Finally, pay close attention to ribbon and embellishment clearance. It is tempting to add thick 3D decorations, heavy foam tape, or large plastic gems to the inner panels, but these can easily prevent the box from closing or stop the lid from seating fully. Keep your inner decorations relatively flat, ideally under 1/8 inch in thickness. If you are adding photos, print them on lightweight photo paper rather than heavy cardstock to minimize bulk. Test the fit of the lid frequently as you add decorations to ensure the box can still be closed easily without forcing the sides.
Community discussion
Share your experience or ask a question. Comments are reviewed before publication.