
Gifting money has evolved beyond the traditional red envelope or cash-stuffed card. In the Philippines, where celebrations like debuts, weddings, and milestone birthdays are grand affairs, the money cake has become a highly sought-after centerpiece. However, traditional money cakes often require gluing or taping bills directly to a structure, which can tear the currency or leave behind a sticky, unusable mess.
Creating a reusable money cake solves this issue by using a protected, durable frame and non-destructive fastening methods. This step-by-step guide walks you through building a sturdy base from wrapping supplies and stationery essentials, ensuring the recipient can easily retrieve their cash while you keep a pristine frame ready for your next celebration.
Essential Materials and Wrapping Supplies for a Reusable Frame
To build a reliable, reusable money cake, you need a combination of structural bases, protective wraps, and delicate fasteners. Selecting the right weight and type of paper is crucial for a clean look that survives multiple events.
Products mentioned in this guide
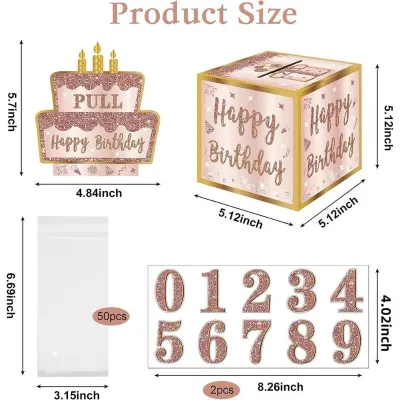
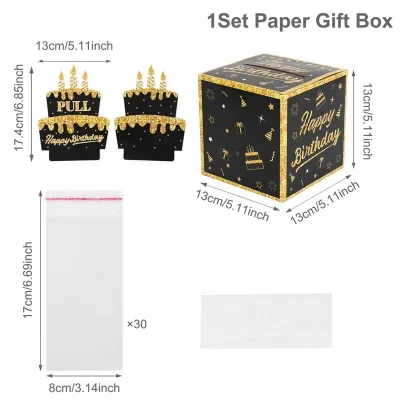
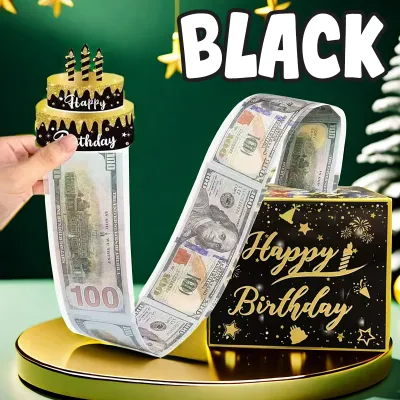
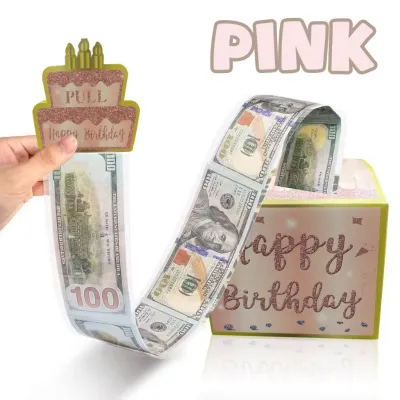
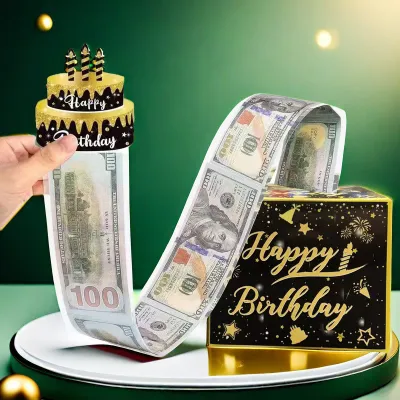
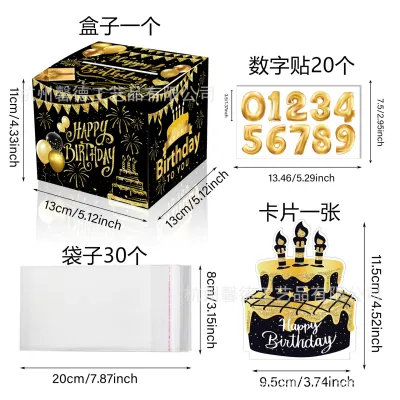
Prices are valid at publication and may change. Please refer to the product page for the latest price.
Base Materials The core of your cake must be lightweight yet rigid. Styrofoam dummy cakes (typically sold in craft stores in graduated sizes like 4-inch, 6-inch, and 8-inch diameters) are the easiest to work with because they accept pins easily. Alternatively, you can cut thick corrugated cardboard into circular tiers or use a multi-tiered acrylic dessert stand.
Wrapping Paper and Protective Wraps Standard wrapping paper with a weight of 80 to 120 gsm (grams per square meter) offers the best balance of flexibility and strength. Avoid ultra-thin newsprint-grade papers, which tear easily when stretched over edges, and overly thick cardstock, which resists neat folding. Clear cellophane wrap or kitchen-grade cling wrap is also essential to act as a primary protective barrier over your base.
Adhesives and Fasteners To keep this project reusable, you must separate the adhesives used for the structure from those used for the money. For the structural frame, use strong, permanent double-sided tape or hot glue. For the currency, rely on removable glue dots (specifically labeled as low-tack or easy-peel), small rubber bands, clear plastic bill sleeves (OPP plastic bags), or thin satin ribbons. If you are using a styrofoam base, pearl-headed corsage pins are excellent for mechanical fastening.
Stationery Tools Gather a pair of sharp craft scissors, a metal ruler for precise centering, and a bone folder to create crisp, professional creases on your wrapping paper.
Currency Preparation For the best visual impact, use crisp, uncirculated banknotes. In the Philippines, you can request new Philippine peso notes from your local bank branch. Crisp bills hold their shape much better than worn, folded currency and are significantly easier to roll uniformly.
Building and Wrapping the Reusable Cake Base
Creating a flawless tiered frame requires patience and precise wrapping. The goal is to build a beautiful, cohesive structure where the adhesive never touches the core materials or the money directly.

Selecting the Tiers A classic three-tier design provides the most dramatic presentation. Choose circular bases that decrease in diameter by two inches per tier—for example, an 8-inch bottom tier, a 6-inch middle tier, and a 4-inch top tier. Ensure each tier is at least 3 inches tall, which matches the height of rolled Philippine peso notes perfectly.
Wrapping the Base Before applying your decorative wrapping paper, wrap each styrofoam or cardboard tier tightly in clear cellophane or cling wrap. This layer acts as a shield, preventing any permanent glue or tape from sticking to your reusable base. Once the protective layer is secure, wrap each tier in your chosen decorative wrapping paper. Place the tier center-down on the paper, cut a circle roughly two inches wider than the base, and make small, evenly spaced radial cuts along the excess paper.
Securing the Tiers Fold these paper tabs over the edges of the tier and secure them to the flat top and bottom surfaces using double-sided tape. Use your bone folder to smooth out any air bubbles or puckers along the curved sides. This technique ensures a tight, wrinkle-free finish that mimics real cake fondant.
Assembling the Structure To stack the tiers securely without making them permanent, insert three wooden dowels or bamboo skewers vertically into the bottom styrofoam tier, leaving about two inches exposed. Carefully press the middle tier down onto the exposed dowels. Repeat this process for the top tier. This dowel system keeps the cake perfectly centered and stable during transport, yet allows you to disassemble the tiers easily for flat, space-saving storage later.
Preparing and Securing the Bills Without Damage
The most critical phase of building a reusable money cake is preparing the currency. You must secure the banknotes firmly enough to withstand movement, while ensuring they remain completely undamaged and easy to remove.
Rolling vs. Folding Rolling is the preferred method for beginners because it preserves the integrity of the banknotes. Avoid complex origami folds, which create sharp, permanent creases that weaken the paper fibers of the bills. To roll the bills uniformly, wrap each note around a clean wooden dowel or a thick marker. Slide the rolled bill off the marker and secure it immediately.
Using Protective Sleeves The safest way to attach money to a reusable frame is to slide each bill into an individual OPP (oriented polypropylene) plastic sleeve before rolling. These clear sleeves are inexpensive and widely available in stationery shops or online marketplaces. Once the bill is inside the sleeve, roll the plastic-wrapped bill and secure it with a small piece of clear tape on the plastic itself. This guarantees that no adhesive ever touches the actual paper currency.
Alternative Ribbon Bands If you prefer not to use plastic sleeves, you can wrap a thin strip of paper or a small loop of ribbon around the center of each rolled bill. Secure the ends of the ribbon loop to each other with a tiny piece of double-sided tape, creating a snug collar. The bill can then be slid out of the collar easily.
Adhesive Warning Never apply liquid school glue, hot glue, or heavy-duty permanent tape directly to the bills. In the Philippines, the Bangko Sentral ng Pilipinas (BSP) enforces a clean note policy. Defacing, gluing, or tearing banknotes can render them demonetized or unacceptable for transactions. Always prioritize physical preservation.
Achieving Uniformity Before assembling, group your prepared bills by denomination. Ensure all rolls are wrapped to the exact same diameter and that the historical portraits on the Philippine peso notes face outward in the same direction. This attention to detail elevates the cake from a simple craft project to a professional-looking gift.
Assembling the Tiers and Decorating the Cake
With your wrapped base assembled and your bills neatly rolled, you are ready to construct the final presentation. This step requires a methodical approach to maintain symmetry.
Placement Strategy Always begin attaching the bills from the bottom tier and work your way up. This bottom-up approach allows you to rest the weight of the upper rows on the tiers below, preventing slipping. Space the rolled bills tightly against one another around the circumference of each tier.
Attachment Methods
- For Pearl Pins on Foam: If you used a styrofoam base wrapped in paper, slide a pearl-headed pin through the outer ribbon collar or the edge of the plastic sleeve holding the bill. Push the pin at a downward 45-degree angle directly into the foam. Do not pierce the actual banknote. The decorative pinhead will sit neatly on the outside, adding a beaded look to the cake.
- For Glue Dots on Hard Bases: If your base is made of cardboard or acrylic, apply a single removable glue dot directly to the wrapped base paper. Press the plastic-sleeved or ribbon-banded bill firmly against the glue dot. Removable glue dots provide a surprisingly strong shear hold but release easily when pulled outward.
Adding Elegant Decorations Once all the money is attached, you will likely see small gaps, exposed pins, or tape lines. Cover these by wrapping a thick, coordinating satin or grosgrain ribbon around the center of each tier, over the middle of the rolled bills. Tie a large, elaborate bow at the front of the cake or place a cluster of artificial flowers on the very top tier. You can also use decorative shredded paper or metallic tinsel to fill any open spaces on the flat steps of the tiers.
Final Verification Before packing or transporting the cake, perform a gentle shake test. Tilt the cake slightly to ensure no bills slide out of their positions. Try gently pulling one bill to verify that it detaches without ripping the decorative wrapping paper underneath.
Guiding the Recipient: Safe Removal and Frame Storage
A reusable money cake is only successful if the recipient knows how to disassemble it safely without destroying the underlying frame.
Gentle Removal Instructions When presenting the gift, gently explain that the cake frame is designed to be kept and reused. Instruct the recipient to pull the bills outward slowly. If you used pearl pins, advise them to pull the pins straight out first and store them safely in a container. For glue-dot attachments, a slow, steady peeling motion will release the sleeve or ribbon band from the wrapped base without tearing the paper.
Cleaning the Frame After all the cash is removed, some minor adhesive residue may remain on the wrapping paper. To clean the frame for future use, gently dab the sticky areas with a cotton swab lightly moistened with rubbing alcohol or a mild adhesive remover. Always test this on a small, hidden area of the wrapping paper first to ensure the ink does not bleed or discolor.
Storing the Base Store the wrapped tiers in a cool, dry place. In the humid tropical climate of the Philippines, excess moisture can cause paper to warp or mold to develop on styrofoam. Placing the frame inside a clean plastic storage bin with a few silica gel packets will preserve the wrapping paper and structural integrity, keeping it ready for the next birthday, wedding, or graduation.
Frequently Asked Questions (FAQ)
Can I use real buttercream or fondant on a reusable money cake base?
No, real buttercream, royal icing, or fondant should never be used on a reusable money cake. In humid climates, real frosting will melt, attract ants and other pests, and quickly ruin both the reusable paper wrapping and the paper currency. If you want a realistic cake texture, use lightweight spackling compound mixed with acrylic paint to mimic frosting, or stick to high-quality decorative wrapping paper and ribbons.
Will removable glue dots leave a mark on the bills?
While high-quality removable glue dots are designed to peel off cleanly, they can occasionally leave a slight oily residue or pull fibers from paper currency over time, especially in warm temperatures. To guarantee your bills remain in pristine condition, always place the adhesive dot onto a protective barrier—such as a clear plastic sleeve, a paper band, or a ribbon loop wrapped around the bill—rather than directly onto the banknote itself.
Community discussion
Share your experience or ask a question. Comments are reviewed before publication.