
Crafting a custom Halloween mask at home is a rewarding project that allows you to design a unique costume accessory tailored perfectly to your face. By utilizing accessible stationery supplies like heavy cardstock or flexible craft foam, you can build a durable, comfortable base that serves as a canvas for your creativity. The construction process involves selecting a design, scaling it to your facial proportions, cutting precise eye openings for safety, and securing the mask with a reliable elastic band. Taking the time to build your own mask ensures a lightweight, breathable fit that far surpasses generic, mass-produced plastic alternatives.
In tropical climates where humidity and heat are daily factors, choosing materials that resist moisture and sweat is essential for a mask that lasts through an entire evening of festivities. Proper preparation, careful tool handling, and a few simple troubleshooting techniques will help you achieve a polished, wear-ready result. Whether you are crafting a classic spooky character or an intricate fantasy creature, this step-by-step guide will walk you through the essential techniques of mask construction.
Essential Materials and Tools for DIY Halloween Masks
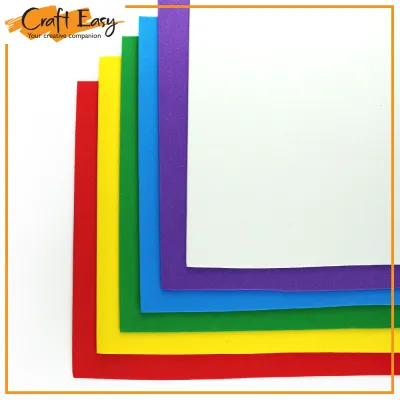
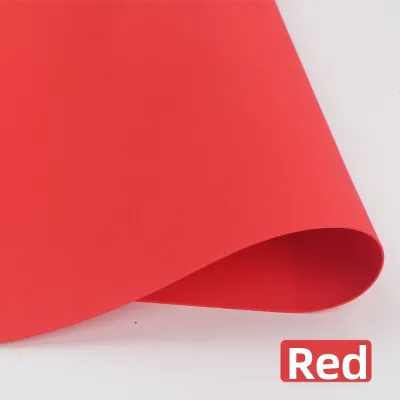
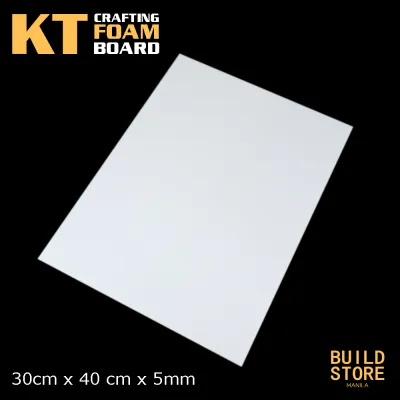
Selecting the right base material determines the durability, flexibility, and overall comfort of your mask. Heavy cardstock, ideally between 200 gsm and 300 gsm, offers excellent rigidity and clean, sharp folds, making it perfect for geometric or origami-style designs. However, cardstock can absorb moisture and soften when exposed to sweat or high humidity. Flexible craft foam sheets, typically 2mm to 3mm thick, provide a water-resistant, soft alternative that contours comfortably to the curves of your face, making it highly resilient for active wear.
Products mentioned in this guide
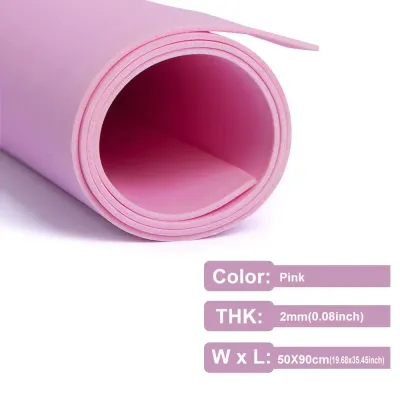
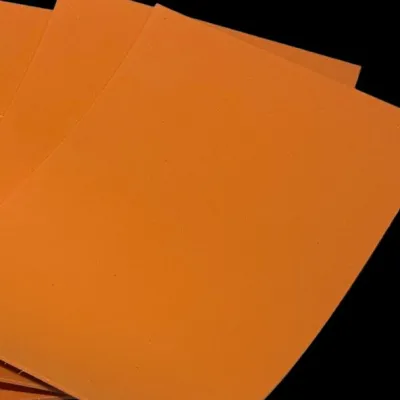
72 Lazada user ratings
cute ng gawa ko hahaa. maganda colors vibrant sya. madali lang din gamitin. medyo mabilis na dumating.
helpful specially when it rains
helpful especialy when it rains
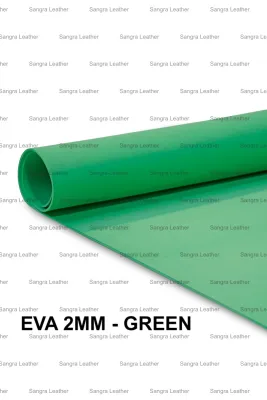
19 Lazada user ratings
Tama lang kapal at color na dumatung. magandang quality. Tama lang din ung sukat 8ftx4ft. recommended seller. thanks seller
Ideal for DIY crafts, Lightweight and safe,
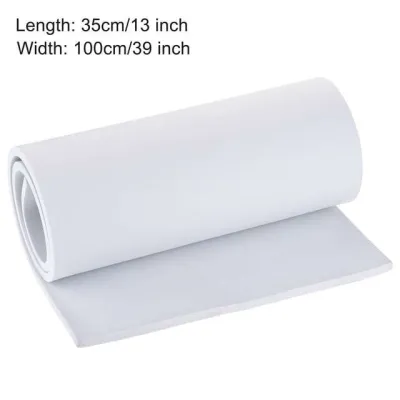
36 Lazada user ratings
High-quality recycled paper., Perfect for crafts!, Vibrant colors!, Durable foam sheets., Items were packed well and delivered immediately. …Read full reviewShow less
High-quality recycled paper., Perfect for crafts!, Vibrant colors!, Durable foam sheets., Items were packed well and delivered immediately. Thank you the the seller and lazada for the great service. Keep it up
It's a good purchase and.The quality is good as well.The items inside are very useful for art and craft activities in the school. Thank you …Read full reviewShow less
It's a good purchase and.The quality is good as well.The items inside are very useful for art and craft activities in the school. Thank you seller.
Versatile craft material., Vibrant colors!, Environmentally friendly material., High-quality recycled paper., Great for kids' projects.,
Great for kids' projects., Good value for money., Assorted colors are a plus., Easy to cut and shape., will order again 😉
Vibrant colors!, Good value for money., High-quality recycled paper., High-quality recycled paper., Perfect for crafts!,
17 Lazada user ratings
Easy to cut, Large size paper, gonna use for props for a cosplay. its thin enough to stack and put wire in between!
Perfect for crafts, High-quality EVA material, wonderful product for DIY projects. I like it very much!
73 Lazada user ratings
Terrible product came bent. They should ship these boards in a box so that they don’t get bent up. It looks like other commenters said the s…Read full reviewShow less
Terrible product came bent. They should ship these boards in a box so that they don’t get bent up. It looks like other commenters said the same thing. Do not order.
Smooth surface for effortless erasing., Convenient size for crafting projects., Lightweight and easy to move around.,
Product quality is good. Perfect for my son's projects. Package was secured, and delivered on time.
Shipping was fast. The foam was dented and wasnt properly pack though. Still thank you so much!!
Versatile and lightweight! Perfect for presentationsEasy to clean and durable surface
Prices are valid at publication and may change. Please refer to the product page for the latest price.
To achieve clean cuts and precise details, you will need a reliable set of cutting tools. Standard craft scissors are ideal for long, sweeping outer edges, while a precision craft knife is indispensable for intricate interior cutouts like eyes, nostrils, or decorative filigree. Always pair your craft knife with a self-healing cutting mat to protect your tabletop and keep your blades sharp. A standard single-hole punch is also necessary to create clean, tear-resistant anchor points for your elastic band.
Securing your mask requires durable adhesives and fastening supplies that can withstand movement. Standard white PVA glue works exceptionally well for paper and cardstock layers, but a low-temperature glue gun or a specialized contact adhesive is recommended for bonding craft foam. Masking tape or paper tape is highly useful for temporarily holding pieces in place during assembly and reinforcing high-stress seams on the interior of the mask.
Sourcing these supplies is straightforward and budget-friendly. You can find cardstock, craft foam, elastic cord, and adhesives at local neighborhood stationery shops, school supply stores, or online marketplaces. A complete set of basic materials for a single mask project typically costs between ₱100 and ₱300, making this an affordable holiday activity for families and craft enthusiasts alike.
Preparing and Scaling Your Mask Template
A successful mask begins with an accurate template that matches the wearer’s facial proportions. You can draw a custom design freehand on a sheet of plain paper or download a printable outline to use as a starting point. For a standard adult face, a mask width of 16 to 18 centimeters across the temples generally provides comfortable temple-to-temple coverage, while children’s masks typically measure between 13 and 15 centimeters.

If your printed template does not match these measurements, you can easily scale it using your printer’s percentage settings. If a printer is unavailable, use the classic manual grid method to enlarge your design. Draw a grid of 1-centimeter squares over your original sketch, then draw a corresponding grid of larger squares—such as 1.5 centimeters—on a blank sheet of paper, copying the design square by square to scale it up accurately.
Before transferring the design to your final material, cut out the scaled paper template to create a quick mock-up. Hold this paper draft against your face to verify that the outer edges align with your temples and the overall shape covers your face comfortably. Once you are satisfied with the fit, place the template over your cardstock or craft foam and trace the outline lightly with a soft pencil, keeping the lines faint to ensure a clean final appearance.
Cutting the Base and Positioning Eye Openings
When cutting the outer boundary of your mask, use long, continuous scissor strokes rather than short, choppy snips. This technique prevents jagged edges and maintains the structural integrity of the cardstock or foam. For tight curves or internal details, keep your scissors or craft knife steady and slowly rotate the material itself to guide the blade smoothly along your traced lines.
Accurate eye placement is the most critical factor for comfort, safety, and wearability. To find your precise pupil alignment, gently hold your paper mock-up over your face and have a helper mark the center of your eyes with a soft pencil. If crafting alone, you can lightly feel for your brow bone and the bridge of your nose to mark the approximate center points. The average distance between pupils for adults is about 60 to 65 millimeters, while children’s measurements are closer to 50 to 55 millimeters.
Once you have marked the center points, draw eye openings that are significantly larger than your actual pupils. An opening measuring at least 3 centimeters wide and 2 centimeters high is recommended to preserve your peripheral vision. Adequate peripheral vision is essential for navigating dark neighborhoods, staircases, or crowded indoor venues safely during Halloween events.
Safety must be your top priority during the cutting phase. Always cut away from your body on a stable, flat surface protected by a self-healing mat, and never rush the process. If children are participating in this craft, an adult must handle all craft knives and sharp scissors, or closely supervise the use of safety scissors to prevent accidental slips and injuries.
Attaching the Elastic Cord and Edge Finishing
To secure the mask comfortably to your face, punch a single hole on each side, roughly 1.5 centimeters inward from the outer edge and aligned horizontally with the eye line. If you are using cardstock, reinforce these areas by applying a small piece of clear tape or a paper reinforcement ring over the spot before punching. This simple step prevents the elastic cord from tearing through the paper under tension.
Measure a length of elastic cord, starting with a standard length of 30 to 35 centimeters. Thread one end of the cord through the left punched hole and tie a secure double knot, such as a figure-eight knot, on the inside of the mask. Pull the cord around the back of the wearer’s head to determine the exact tension needed for a snug but comfortable fit, then thread and knot the other side, trimming any excess cord.
To prevent the knots from slipping or fraying over time, apply a small drop of craft glue or low-temperature hot glue directly onto the knotted ends. Ensure the glue is completely dry and cool before trying the mask on. This adhesive seal locks the fibers of the elastic cord in place, ensuring the mask remains secure during active movement.
Unfinished edges can cause skin irritation or catch on hair during prolonged wear. If you are using craft foam, run a piece of fine-grit sandpaper gently along the cut edges to smooth out any sharp ridges or imperfections. For cardstock masks, fold thin strips of paper tape or masking tape over the raw outer edges to create a smooth, comfortable border that rests gently against your skin.
Decorating and Customizing Your Halloween Mask
Decorating is where your mask truly comes to life, but you must choose coloring mediums that are compatible with your base material. Acrylic paint is highly recommended for both cardstock and craft foam because it dries to a flexible, water-resistant finish that will not crack easily. Because high humidity can slow down drying times, apply thin coats of paint and allow each layer to dry completely—typically 20 to 30 minutes—before applying the next.
Before using markers, pens, or inks over your base coat, conduct a quick trial on a scrap piece of your material to verify bleed resistance and drying speed. Permanent markers work exceptionally well on craft foam for fine details, while gel pens or metallic markers add vibrant accents to cardstock without soaking through the fibers. Avoid heavy oil-based paints, which can soften craft foam and warp thin cardstock.
Add lightweight embellishments to build texture and character without making the mask front-heavy. Sequins, feathers, lightweight fabric scraps, and thin paper cutouts are excellent choices that can be secured with small dabs of craft glue. Ensure that no adhesive or heavy decorations spill over into the eye openings or weigh down the top of the mask, which could cause it to sag or slip down your nose.
Testing the Fit and Troubleshooting Common Issues
Before wearing your mask to an event, conduct a thorough wear test for at least five minutes. Walk around the room, look up and down, and turn your head side to side to verify that your peripheral vision is unobstructed and that the mask remains stable. Ensure there is adequate clearance around your nose and mouth so your breathing remains completely unrestricted and comfortable.
If the mask presses uncomfortably against your forehead or the bridge of your nose, you can easily add custom cushioning. Glue small pieces of leftover craft foam or soft makeup sponges to the inside surface of these contact points. This modification creates a comfortable cushion and provides a small air gap that helps reduce sweat buildup in warm weather.
If a strap hole begins to tear or a structural seam weakens during your test, do not panic. Reinforce the damaged area immediately by gluing a small patch of scrap craft foam or heavy cardstock over the back of the tear, then re-punch the hole once the adhesive has fully cured. However, if the main body of the mask becomes severely bent or structurally compromised, it is best to stop and rebuild that specific section to ensure safety and durability throughout your Halloween celebrations.
Community discussion
Share your experience or ask a question. Comments are reviewed before publication.