
Transforming plain paper bags into custom racing-themed loot bags is an affordable and highly creative way to elevate any children’s birthday party or automotive-themed event. By utilizing basic stationery items like kraft paper bags, checkered wrapping paper scraps, colorful cardstock, and markers, you can craft personalized party favors that capture the high-octane excitement of the racetrack. This DIY approach not only saves money compared to pre-printed plastic bags but also allows you to customize each bag with individual guest names and custom racing numbers.
Gathering Your Materials and Wrapping Supplies
To begin your DIY crafting project, you will need to gather a few essential stationery and wrapping supplies. The foundation of your loot bags starts with the base bags themselves. Plain kraft paper bags or white paper bags are excellent choices, typically available in standard sizes such as 15 cm x 21 cm with an 8 cm gusset. These plain bags are highly affordable, often costing only a few ₱ per piece when bought in bulk from local packaging suppliers. Opt for bags with a paper weight of at least 80 GSM to 120 GSM to ensure they can hold party favors without tearing. White bags make bright colors pop, while brown kraft bags offer a classic, vintage racing aesthetic.
Next, collect your decorative elements to bring the racing theme to life. Look for checkered wrapping paper scraps, patterned washi tape, and sheets of colored cardstock in red, yellow, black, and white. A cardstock weight of 180 GSM to 220 GSM is ideal for creating sturdy decals and tags that will not bend easily. You will also need satin or grosgrain ribbons, preferably in black, red, or yellow, to create dynamic racing stripes and handles.
Products mentioned in this guide
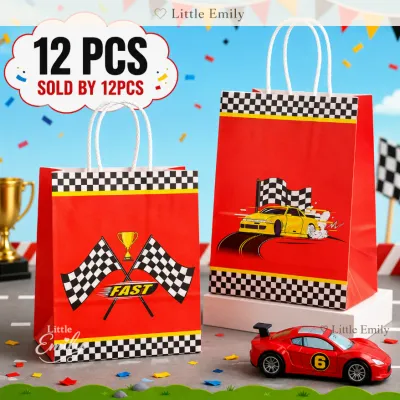
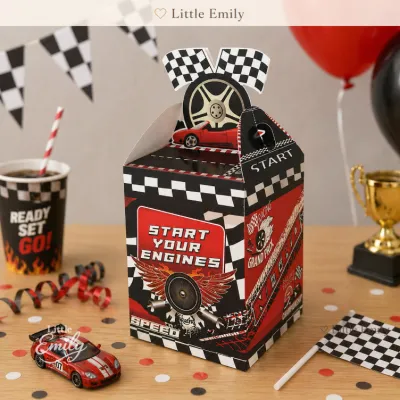
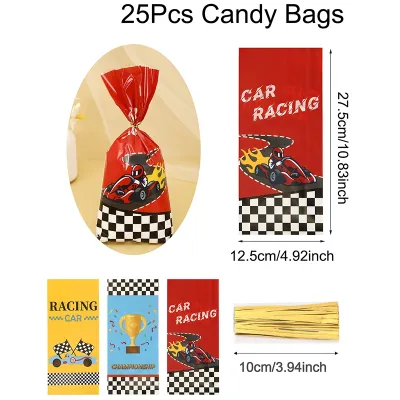
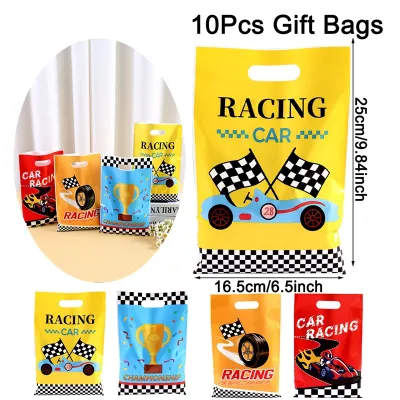
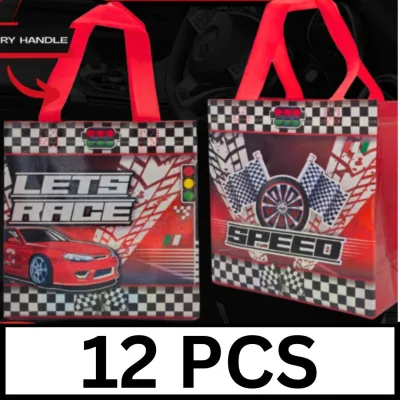
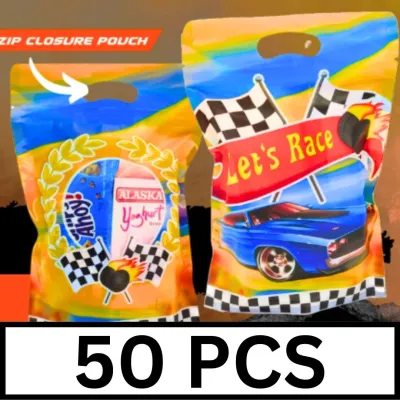
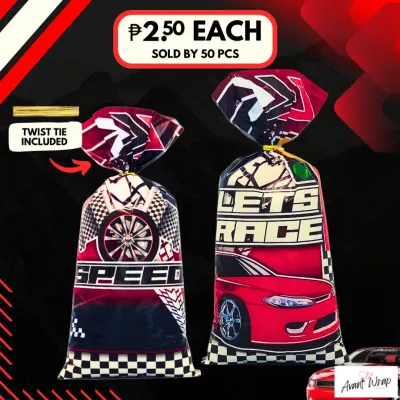
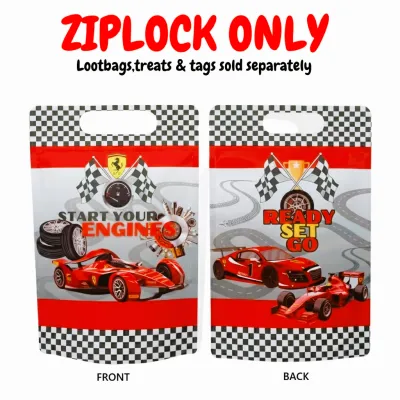
Prices are valid at publication and may change. Please refer to the product page for the latest price.
Finally, prepare your crafting tools and adhesives. You will need a reliable metal ruler for precise measurements, sharp craft scissors, a pencil for drafting layouts, and your chosen adhesives. For paper crafts in tropical climates, choosing the right adhesive is crucial. Double-sided tissue tape and high-quality glue sticks are highly recommended over liquid school glue, as they provide a strong bond without introducing moisture that can warp or wrinkle thin paper bags.
Preparing the Plain Paper Bags
Before applying any decorative elements, you must prepare the paper bags to ensure a clean, professional finish. Lay each bag flat on a clean, dry work surface. Gently press down on the folds and gussets to flatten the face of the bag, removing any creases that might prevent stickers or tape from adhering smoothly. Taking the time to flatten the bags now makes it much easier to measure and apply your designs symmetrically.

If you plan to fill the bags with heavier treats—such as small juice boxes, toy cars, or heavy candies—reinforcing the bottom is a necessary step. Cut a piece of thick cardboard or chipboard slightly smaller than the bag’s bottom dimensions, such as 14.5 cm x 7.5 cm. Slide this insert flat into the bottom of the bag. This simple addition distributes weight evenly, prevents the paper from sagging, and ensures the bag stands upright on your display table.
Once the bags are flattened and reinforced, plan your design layout. Use a pencil and a ruler to lightly mark where your stripes, checkered borders, and decals will go. Measuring and marking beforehand prevents alignment mistakes and ensures consistency across all your party bags. Keep these pencil marks very light so they can be easily erased or covered by your decorative elements.
Applying Racing Theme Design Elements
Creating a cohesive racing theme requires a careful balance of bold patterns and clean, solid accents. Too many checkered patterns can overwhelm the eye, while too few elements might make the bag look unfinished. The key is to use the iconic black-and-white checkered pattern as a border or a focal stripe, complemented by solid red, yellow, or blue racing stripes.
Ensure all decorative elements are securely attached to withstand handling by children. When applying paper cutouts or ribbons, press down firmly across the entire surface, paying special attention to the edges and corners. These are the areas most prone to peeling when bags are packed, transported, or handled by excited guests.
Creating Checkered Flag Patterns
The checkered flag is the ultimate symbol of racing, and there are several ways to recreate it using simple stationery. One of the easiest methods is using patterned black-and-white checkered washi tape. You can run a strip of this tape along the top or bottom border of the bag for an instant, clean racing accent. Alternatively, you can cut scraps of checkered wrapping paper into uniform strips and adhere them using double-sided tape.
If you prefer a hand-drawn look, you can create a custom grid using a black permanent marker and a ruler. Draw a grid of 1.5 cm squares on a piece of white cardstock or directly on a white paper bag, then color in alternating squares. Before coloring the entire batch, perform a quick test on a scrap piece of the bag material to check for ink bleed and drying speed. In humid conditions, some alcohol-based markers may spread beyond your pencil lines or smudge if handled too quickly. Let the ink dry completely before moving to the next step.
Adding Racing Stripes and Accents
Racing stripes instantly convey a sense of speed and motion. To apply these, you can use colored paper strips, wide washi tape, or satin ribbons in bold colors like red, yellow, or royal blue. Align the stripes vertically down one side of the bag or diagonally across the front face. A classic layout features one wide stripe flanked by two thinner stripes on either side.
If you are using ribbon, apply a strip of double-sided tape directly to the paper bag, then press the ribbon firmly onto the tape, smoothing out any air bubbles. Cut the ribbon slightly longer than the bag’s height, fold the excess over the top and bottom edges, and secure them on the inside of the bag. This technique prevents the ribbon ends from fraying and ensures the stripes stay perfectly aligned even when the bag is fully packed.
Designing Number Decals and Driver Tags
Personalizing each bag with a custom racing number or a “driver tag” makes every guest feel like part of the racing team. To make these decals, cut circles, shields, or retro racing number plates from white or yellow cardstock. Use a thick black marker to write bold, stylized numbers—such as the guest’s age or a favorite racing number—in the center of each shape.
To give the bags a dynamic, premium look, attach these decals using double-sided foam tape or small folded loops of thick paper. This lifts the decal slightly off the surface of the bag, creating a subtle 3D shadow effect that makes the design pop. You can also write the guest’s name under the number, transforming the decal into a personalized driver tag that helps identify whose bag is whose during the party.
Assembling and Finishing the Loot Bags
Once all the flat decorations are applied and dry, you can assemble the final structure of the loot bags. If your plain bags do not have pre-installed handles, you can easily create your own. Fold the top 2 cm of the bag inward to reinforce the opening. Use a standard single-hole punch to make two holes on the front panel and two on the back panel, spacing them about 8 cm apart.
Thread a piece of black grosgrain ribbon or sturdy jute twine through the holes, tying a secure double knot on the inside of the bag to hold it in place. To prevent the paper from tearing under tension, place a small piece of clear tape or a reinforcing sticker over the punch holes before threading the ribbon. Grosgrain ribbon is particularly excellent for handles because its ribbed texture prevents knots from slipping.
For a final touch of trackside flair, tie a miniature paper checkered flag or a custom thank-you tag to one of the handles. You can also seal the top of the bag with a themed sticker or a strip of checkered tape if you prefer a closed-bag presentation. These small details elevate the overall look, making the bags feel like premium, custom-made merchandise rather than simple paper crafts.
Filling and Presenting the Racing Loot Bags
When filling your DIY racing loot bags, balance is key to maintaining both the aesthetic and structural integrity of your hard work. Place heavier items, such as small bottled drinks or toy cars, flat on the reinforced cardboard bottom first, then layer lighter treats like popcorn bags, candies, and stickers on top. Avoid overfilling the bags to the point where they bulge, as this can stretch the paper and cause the seams or handles to fail.
At the party venue, arrange the completed loot bags in a dedicated “Pit Stop” or “Starting Grid” display area. You can set up a checkered tablecloth, use toy traffic cones as props, and line the bags up in neat rows like race cars waiting for the green flag. This thematic presentation turns the party favors into a major decor highlight before they are handed out to the young racers at the end of the event.
Before handing the bags out, do a quick final check of all handles and decorations. Ensure that no adhesive edges are sticky to the touch, which could cause bags to stick to one another on the display table. A quick inspection ensures that every child receives a sturdy, beautiful favor bag that they can safely carry home.
Frequently Asked Questions (FAQ)
What type of glue works best for paper bags without causing wrinkles?
When working with thin paper bags (typically under 100 GSM), liquid white school glue or craft glue can easily saturate the fibers, causing the paper to swell, buckle, and wrinkle as it dries. To maintain a perfectly smooth, professional finish, dry adhesives are highly recommended. High-quality glue sticks with low water content work well for small paper-to-paper attachments, provided you apply them evenly and smooth the paper down immediately. For larger surface areas, long borders, or heavier materials like ribbons and cardstock, double-sided tape or tissue tape is the ideal choice. It provides an instant, strong bond with zero moisture, completely eliminating the risk of paper wrinkling or warping, even in humid tropical climates.
How can I make the loot bags more durable for heavier treats?
Standard paper bags can easily tear if loaded with heavy party favors like metal toy cars, juice boxes, or small books. To increase their load capacity, start by reinforcing the bottom gusset with a custom-cut insert made from corrugated cardboard or thick chipboard. This prevents the bottom of the bag from sagging and tearing under concentrated weight. Additionally, reinforce the handle attachment points. If you are punching holes for ribbon handles, apply a layer of heavy-duty clear packing tape or cardstock reinforcement rings to both the inside and outside of the bag before punching. Using a wider, textured ribbon like grosgrain instead of slippery satin or thin twine also helps distribute the weight more comfortably across the handles and prevents them from pulling through the paper.
Can I use regular printer paper for the checkered patterns?
Yes, regular 70 GSM to 80 GSM printer paper can be used for creating checkered patterns, especially if you are printing a custom design from a computer. However, because printer paper is relatively thin, it requires careful handling to prevent tearing and wrinkling during the cutting and gluing process. When cutting small squares or thin strips, use a sharp utility knife and a metal ruler on a cutting mat rather than scissors, as this ensures clean, crisp edges without fraying. When adhering the thin printer paper to the bag, use a dry glue stick or double-sided tape rather than liquid glue to prevent the ink from bleeding or the paper from stretching. For a more durable and premium finish, printing your designs on 120 GSM to 160 GSM matte presentation paper or light cardstock is highly recommended.

Community discussion
Share your experience or ask a question. Comments are reviewed before publication.