
Matching and cutting polka dot fabric requires a systematic approach that begins with understanding the pattern repeat, preparing the fabric, and modifying your paper templates. When sewing garments or home decor items with geometric prints, achieving seamless alignment at the seams separates amateur projects from professional-grade creations. Misaligned polka dots can disrupt the visual flow of a design, drawing the eye to mismatched seam lines rather than the beauty of the finished piece. By adopting specific layout, cutting, and sewing techniques, you can ensure that the classic aesthetic of your polka dot fabric remains uninterrupted across every seam.
Understand the Polka Dot Pattern Repeat
To achieve perfect alignment, you must first master the concept of the pattern repeat. The pattern repeat is the distance between a specific point on one polka dot and the exact same point on the next identical dot as the design repeats across the fabric. Polka dot fabric typically features either a straight grid layout or a staggered, half-drop layout. In a straight grid, the dots align perfectly in both horizontal and vertical rows. In a staggered layout, the dots in alternating rows are offset, creating a diagonal pattern.
Measuring this repeat is a critical first step. Lay your fabric flat on a clean surface and use a clear acrylic sewing ruler to measure the distance between the centers of two adjacent dots along the horizontal grain (weft) and the vertical grain (warp). Write down these measurements, as they represent your pattern repeat size.
Products mentioned in this guide
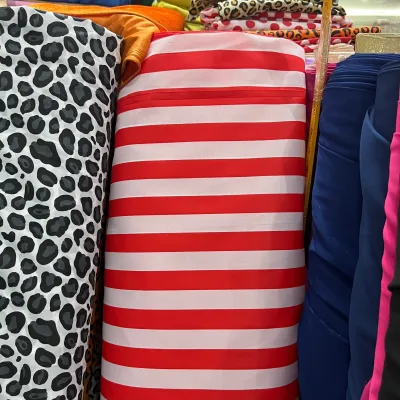
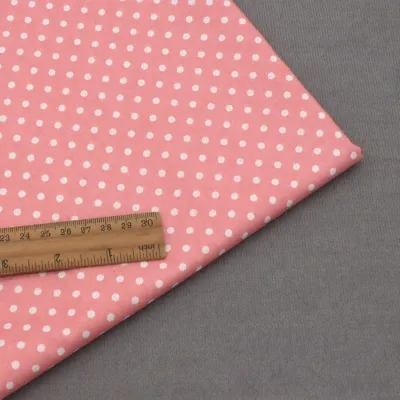
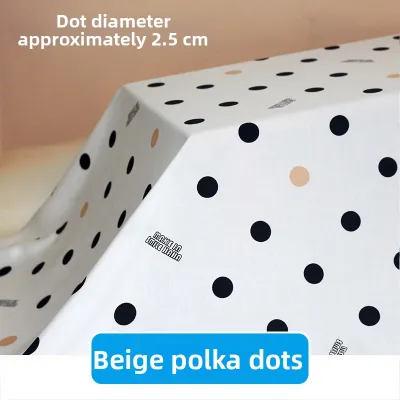
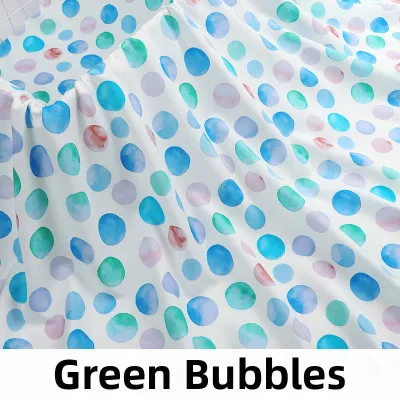
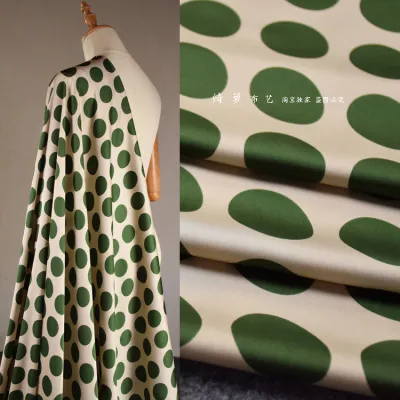
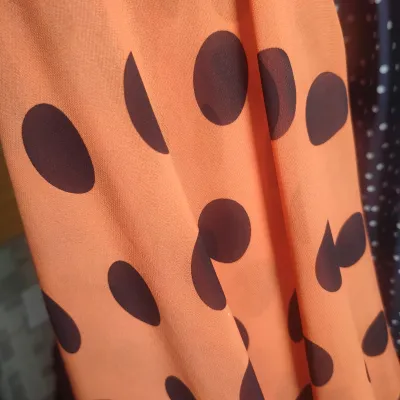
Prices are valid at publication and may change. Please refer to the product page for the latest price.
Understanding these dimensions allows you to calculate how much fabric you need and how to position your pattern pieces. A larger repeat means you will need more space to shift your paper templates to find matching points. When purchasing your polka dot fabric, always factor in this repeat size. If your pattern repeat is 5 centimeters, you will need to allow extra fabric to accommodate the necessary shifting of pieces during the layout phase.
Prepare the Fabric and Modify the Sewing Pattern
Proper preparation of both your fabric and your pattern templates is essential before you even think about picking up your fabric shears.

First, pre-wash and press your polka dot fabric. Many fabrics, particularly cotton, linen, and rayon, are prone to shrinkage during their first wash. In tropical, high-humidity environments like the Philippines, fibers can expand and contract significantly based on moisture levels. Pre-washing stabilizes the fibers, ensuring that your perfectly matched dots do not shift or shrink unevenly after the garment is completed. Once dry, press the fabric thoroughly with a steam iron, ensuring the grainline is perfectly straight and there are no wrinkles that could distort the print during cutting.
Next, you must modify your paper pattern templates. Standard sewing patterns often instruct you to cut pieces “on the fold” to save space and paper. However, cutting on the fold makes it virtually impossible to guarantee that the polka dots on the front and back layers align perfectly. To overcome this, trace your “cut-on-fold” pattern pieces onto a flat sheet of pattern paper, kraft paper, or translucent tracing paper to create a full, single-layer template.
Once you have traced your full pattern pieces, draw the seam allowance lines directly onto the paper templates. Commercial patterns usually include a 1.5-centimeter seam allowance. Because pattern matching occurs at the stitching line—not the raw cut edge—visualizing this line is critical. Use a tracing wheel and carbon paper or a fine-tip marking pen to mark these lines. Always perform an erasability, drying speed, and bleed test with your marking pens on a scrap piece of your fabric first. High humidity can affect how ink dries and washes out, so verifying that your markings will disappear without staining is a vital quality-control step.
Layout and Pinning for Seamless Pattern Matching
With your prepared fabric and single-layer pattern templates, you are ready to begin the layout process. The golden rule of matching patterned fabrics is to cut your pieces in a single layer. Lay your polka dot fabric completely flat on a large cutting table, right side up. This allows you to visually align the print directly against your pattern templates.
Begin by aligning the grainline arrow on your pattern template with the straight grain of the fabric. With polka dot fabric, you have a built-in visual guide: the printed rows of dots should run perfectly parallel or perpendicular to your grainline. Use a clear ruler to measure from the grainline arrow on your paper pattern to the edge of a row of dots at multiple points, ensuring the template is perfectly straight.
To match adjacent pieces—such as a front and back bodice at the side seam—you must align them at their seam lines. Take your front bodice template and fold back the seam allowance along the drawn stitching line. Place this folded edge directly over the stitching line of the back bodice template. Slide the templates together until the polka dots match continuously across the seam line. Once you are satisfied with the visual flow, note the position of the dots relative to key landmarks on the pattern, such as the armhole join or the waistline.
Mark these specific dot placements on the edges of your paper templates using a pencil. If you cannot get every single dot to match perfectly due to pattern drafting constraints, prioritize matching the most visible areas. The center front seam, the bust line, and shoulder seams are high-visibility zones where matching is critical, while the underarm seams are less conspicuous.
Once your templates are positioned, secure them to prevent any shifting. Instead of using pins, which can distort the fabric and lift it off the table, use heavy pattern weights or smooth, flat objects to hold the paper templates in place. If you must use pins, select extra-fine glass-head pins and insert them strictly within the seam allowance areas. This prevents pinholes from damaging the visible portions of your polka dot fabric and keeps the fabric flat against the cutting surface.
Cut the Fabric Without Shifting the Print
Cutting is the point of no return, so precision is paramount. The goal is to cut through the fabric without causing the material to shift or stretch, which would immediately ruin your careful alignment.
Using the correct cutting tools is essential for a clean, accurate edge. A rotary cutter equipped with a fresh, sharp blade paired with a self-healing cutting mat is the ideal setup for cutting patterned fabrics. The rotary cutter rolls smoothly over the fabric, applying downward pressure without lifting the material. If you prefer using fabric shears, ensure they are professionally sharpened. When cutting with shears, keep the lower blade flat against the cutting table at all times. Avoid lifting the fabric off the table as you cut; instead, let the shears glide underneath the flat fabric.
As you cut out each piece, do not move the fabric or the paper templates until all markings are fully transferred. Use tailor’s chalk or a water-soluble fabric pen to mark notches, darts, and matching points on the wrong side of the fabric. In humid conditions, ensure your chalk or pen markings do not smudge. A quick test on a scrap piece will confirm how long the markings remain visible and how easily they can be removed. Transferring these reference points accurately ensures that when you move to the sewing machine, you have clear guides to align your fabric pieces.
Secure and Sew the Matched Seams
Once your pieces are cut, the final challenge is joining them at the sewing machine without allowing the layers to slip. Even a shift of a few millimeters can cause the polka dots to look misaligned on the finished garment.
Begin by pinning the matching seams together with high precision. Place your pins perpendicular to the seam line. To ensure perfect alignment, insert a pin directly through the center of a polka dot on the top fabric layer, and check that it emerges precisely through the center of the corresponding dot on the bottom layer. Repeat this process at every major pattern repeat along the seam.
For high-visibility or curved seams, pinning alone may not prevent fabric creep. In these cases, hand-basting is highly recommended. Use a fine hand-sewing needle and contrasting basting thread to sew a temporary running stitch along the seam allowance, just inside the stitching line. Hand-basting locks the two layers of polka dot fabric together, preventing any movement when the fabric passes under the sewing machine’s presser foot.
When machine sewing, the feeding mechanism of the machine can naturally cause the top layer of fabric to slide forward while the feed dogs pull the bottom layer. To counteract this, install a walking foot (also known as an even feed foot) on your sewing machine. The walking foot moves the top layer of fabric at the exact same speed as the bottom layer, eliminating fabric creep. If you do not have a walking foot, slightly reduce the presser foot pressure and hold the fabric gently, allowing the machine to feed the layers naturally without pulling.
Before pressing your seams, perform a quick verification check. Turn the garment to the right side and inspect the seam line. If any dots are misaligned, unpick only that specific section, realign, and re-sew. Once perfect alignment is confirmed, press the seams open or to one side according to your pattern instructions, using a pressing cloth to protect the printed design.
Frequently Asked Questions (FAQ)
What if the polka dots are printed off-grain?
Sometimes, lower-quality or poorly printed fabrics have designs that are printed slightly crooked relative to the woven grain of the fabric. You can identify this by comparing the horizontal rows of dots to the selvage or the weft threads. If the rows of dots run at an angle, the print is off-grain.
When dealing with off-grain prints, you face a trade-off: do you align your pattern pieces with the printed dots or with the fabric’s grainline? For major structural garment pieces (like pants, skirts, or structured bodices), you must prioritize the fabric’s grainline. If you ignore the grainline, the garment will twist, drape poorly, and fit incorrectly. For smaller, less structured elements like pockets, cuffs, or collars, you can prioritize matching the printed dots to maintain visual consistency.
Do I need to buy extra fabric for pattern matching?
Yes, you will almost always need to purchase extra fabric when working with repeating patterns like polka dots. Standard pattern envelopes calculate fabric requirements based on solid colors or non-directional prints where pieces can be tightly nested together.
As a general rule of thumb, buy an additional 10% to 20% of fabric (typically an extra 0.5 to 1 meter) depending on the size of the pattern repeat. If the polka dots are large and widely spaced, you will need more extra fabric to allow for shifting the pattern templates. For small, densely packed polka dots, a smaller amount of extra fabric will suffice. Always calculate this before purchasing to avoid running out of matching sections mid-project.
Community discussion
Share your experience or ask a question. Comments are reviewed before publication.