
Choosing the right Nimbot label sticker designs for your journaling style depends on aligning the sticker’s visual traits—such as color, pattern, and finish—with your specific journaling aesthetic and practical layout needs. Whether you use a thermal label printer to generate custom designs or purchase pre-printed rolls, these versatile labels can elevate your spreads from simple notes to highly organized works of art. By matching the physical properties of the labels to your creative habits, you ensure that every sticker serves a clear purpose, whether functional or decorative.
Identify Your Core Journaling Aesthetic
Before browsing the vast array of label designs, it is helpful to define your primary journaling style. This step narrows down your choices and prevents you from purchasing rolls that will sit unused in your stationery drawer.
A minimalist approach focuses on clean lines, neutral tones, and functional text labels. If you practice bullet journaling or structured habit tracking, you likely prefer layouts with plenty of negative space, where labels serve to categorize information rather than decorate it.
Products mentioned in this guide
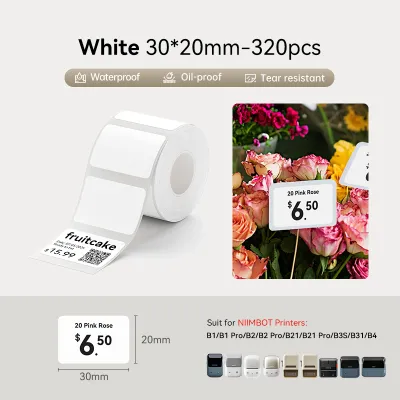
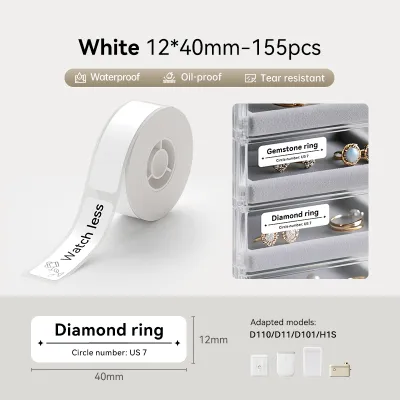
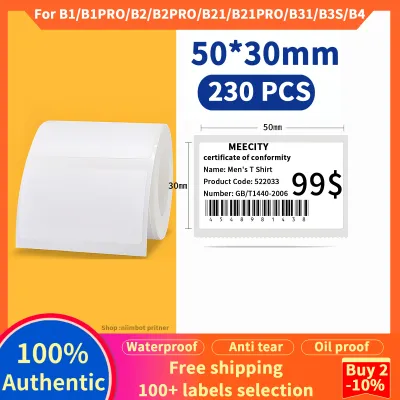
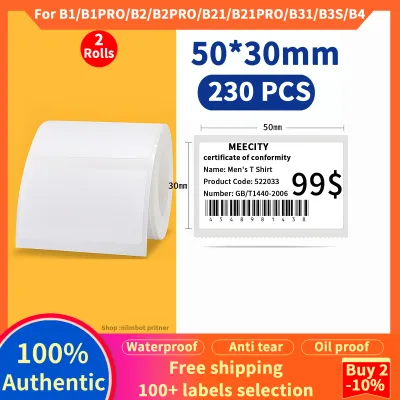
Prices are valid at publication and may change. Please refer to the product page for the latest price.
Conversely, a colorful and vibrant approach prioritizes bold patterns, bright colors, and decorative elements. This style treats the journal page as a canvas for visual impact, using stickers to express moods, highlight memories, or simply add a splash of joy to a daily log.
A themed approach builds cohesive spreads around specific motifs, such as vintage ephemera, botanical illustrations, or seasonal color palettes. Writers who enjoy narrative journaling often use these cohesive designs to tell a visual story that complements their written entries.
To pinpoint your dominant style, ask yourself these quick self-assessment questions:
- Do you prefer structured grids and clean columns, or freeform collages and layered elements?
- Do you stick to a single ink color, or do you use a rainbow of gel pens and highlighters?
- Do you want your labels to organize your schedule, or do you want them to serve as decorative focal points?
- Does your eye naturally gravitate toward neutral kraft paper tones, pastel gradients, or bright primary colors?
Match Nimbot Sticker Designs to Your Aesthetic
Once you have identified your journaling style, you can begin translating that aesthetic into specific sticker features. The material finish, color palette, and cut style of a label roll dictate how it will interact with your journal pages and overall layout.

Minimalist and Functional Layouts
For clean and organized spreads, look for solid-colored labels, clear typography, and simple grid or line designs. These elements blend seamlessly with handwritten text without drawing too much attention away from your actual notes.
Prioritize matte finishes when selecting your labels. Matte surfaces reduce glare under desk lamps and, more importantly, allow you to write directly over the sticker surface using standard gel pens, fine liners, or ballpoint pens without worrying about immediate smudging.
Choose rectangular or uniform die-cut shapes. These straight edges align perfectly with grid lines, dot matrices, and rulers, helping you maintain a structured, professional-looking layout for your trackers and daily schedules.
Colorful and Expressive Pages
If your journaling style is vibrant and energetic, select gradient colors, illustrated motifs, and mixed shapes to create dynamic focal points on your pages. These designs can break up blocks of text and add a playful rhythm to your spreads.
Consider experimenting with holographic, glossy, or transparent PET materials. These specialty finishes catch the tropical light beautifully and add a distinct tactile texture to your pages, making your journal feel more like an interactive scrapbook.
To keep your pages looking intentional rather than cluttered, mix large decorative labels with smaller accent stickers. This balance of visual weight ensures that your eye is guided naturally across the page, highlighting key memories or dates without overwhelming the layout.
Themed and Narrative Journals
For narrative-driven journals, seek out curated label sets that feature vintage textures, botanical illustrations, or character-based designs sharing a unified color palette. Using a single cohesive set across a weekly spread creates a polished, book-like feel.
Look for thematic icon packs that reinforce your daily or weekly logs. For example, weather icons, coffee cups, or book symbols can visually represent your activities, adding a charming storytelling element to your written reflections.
Always verify that the theme’s color scheme complements your journal’s paper color and your primary ink choices. Warm, cream-colored paper pairs beautifully with vintage sepia and botanical greens, while bright white paper makes pastel and neon themes pop.
Check Paper Compatibility and Adhesive Types
Choosing the right design is only half the battle; you must also ensure the stickers perform well on your specific journal paper. The weight and texture of your paper play a significant role in how well a label adheres and whether it can be removed safely.
Check your journal’s paper weight and texture before applying stickers. Smooth, high-gsm (grams per square meter) papers generally hold adhesives better and resist warping, whereas highly textured, rough, or very thin papers may react unpredictably to strong adhesives.
Verify the sticker backing type by reading product descriptions carefully. Some labels feature permanent adhesives designed to stay put indefinitely, while others use repositionable formulas that allow you to adjust their placement if you make a mistake.
Before committing a sticker to an important layout, test its adhesion and removal on a scrap page or the very back cover of your journal. This simple test helps you observe how the adhesive interacts with your specific paper fibers over a few hours.
In warm, humid tropical climates like the Philippines, paper can absorb moisture from the air, which sometimes softens paper fibers or alters adhesive behavior. Avoid placing heavy, multi-layered, or thick PET stickers on very thin paper, as the weight and moisture-barrier properties of the plastic can cause the thin pages to warp or tear when turned.
Plan Your Layout and Sticker Sizing
To create balanced and practical journal pages, it is essential to plan your layout and understand how sticker sizes interact with your available writing space. Measuring your journal before purchasing label rolls prevents the frustration of buying stickers that are too large for your columns.
Measure the width and height of your standard journal columns or grid sections. If you use a compact A6 journal, large focal labels might take up too much writing space, whereas an A5 or B6 layout can easily accommodate wider decorative banners and functional tags.
Understand the difference between die-cut and kiss-cut formats. Die-cut labels are cut entirely through both the sticker and the backing paper, making them great individual pieces to tuck into a journal pocket, while kiss-cut rolls or sheets keep the backing intact for easier peeling and organized storage.
Plan a clear visual hierarchy on your pages by mixing different sticker sizes. Use large labels for main titles or headers, medium-sized tags for subheadings or daily tasks, and small icon stickers as decorative accents or bullet points.
Consider how the sticker size interacts with your handwriting scale. If you have small, neat handwriting, delicate and thin labels will complement your style, while larger, bolder labels are better suited for expressive, sweeping script or brush lettering.
Source Genuine Nimbot Stickers Safely
To ensure you get the best print quality and adhesive performance, it is important to source genuine Nimbot products. Low-quality counterfeits often suffer from blurry printing, inaccurate colors, and adhesives that either fail to stick or ruin your paper.
Always purchase from the official brand store or authorized stationery retailers on reputable online marketplaces. This reduces the risk of receiving old stock with degraded adhesive or poorly printed imitation rolls.
Read recent buyer reviews carefully, paying close attention to comments regarding print clarity, color accuracy, and adhesive strength. Real-world feedback from fellow journalers in your region can provide valuable insights into how the labels perform in local humidity.
Compare bundle deals versus single rolls in ₱ to find the best value for your budget. While single rolls are great for testing a new aesthetic, purchasing multi-roll bundles of basic functional designs often yields a lower cost per label, with options typically ranging from ₱100 to ₱300 depending on the roll length and design complexity.
Finally, check the seller’s ratings and return policies before finalizing your purchase. This ensures you have a clear path to a replacement or refund in the rare event that your stickers arrive with manufacturing defects or damaged packaging.
Frequently Asked Questions (FAQ)
Can I reposition Nimbot label stickers if I make a mistake?
Whether you can reposition a sticker depends entirely on the specific adhesive type used on the backing and the strength of your journal paper. Some label rolls are specifically designed with removable or repositionable adhesive, while others use a strong, permanent bond. To avoid tearing your page, always check the product description for repositionable claims, and if you must adjust a sticker, peel it back slowly and gently using a craft spatula or tweezers to lift the edge.
Do Nimbot stickers leave residue when removed from journal pages?
High-quality stationery labels typically use clean-removal adhesives that leave little to no residue, but results can vary based on your paper type and how long the sticker has been applied. If a sticker remains on a page for months, the adhesive may bond more deeply with the paper fibers. If you are concerned about long-term removal, test a sample sticker on an inconspicuous page first, and if you encounter a stubborn label, applying gentle heat from a hairdryer for a few seconds can help soften the adhesive for a cleaner lift.

Community discussion
Share your experience or ask a question. Comments are reviewed before publication.