
Matching ribbons and bows to a gift bag is an easy way to elevate a simple present into a stunning, professional-looking package. The secret lies in balancing colors, textures, and proportions so that the bag and its embellishments look like they were designed together. In warm, humid climates like the Philippines, selecting the right materials and attachment methods is also practical, as moisture in the air can affect how ribbons drape and how adhesives hold over time. By taking a few moments to analyze your gift bag’s design, you can choose accessories that enhance its overall look.
Whether you are preparing a gift for a birthday, a wedding, or a holiday celebration, a thoughtful presentation shows the recipient that you cared about every detail. A well-coordinated gift bag not only looks beautiful but also builds anticipation for what is inside.
Assessing Your Gift Bag's Base Design
Before reaching for any ribbon, take a close look at the gift bag itself to establish a design foundation. Start by identifying the dominant color of the bag, as well as any secondary accent colors hidden in the patterns or illustrations. If your bag features a busy print, choosing one of the minor accent colors for your ribbon will create a cohesive look without clashing. For solid-colored or metallic bags, you have more freedom to choose a bold, contrasting ribbon or a matching tone that relies on texture for visual interest.
Products mentioned in this guide
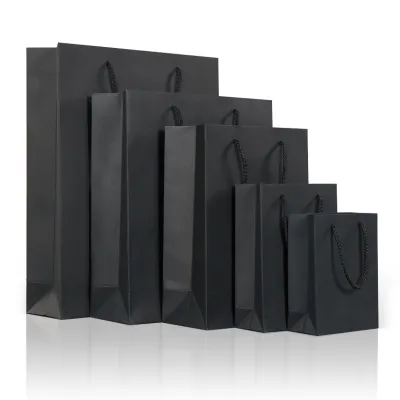
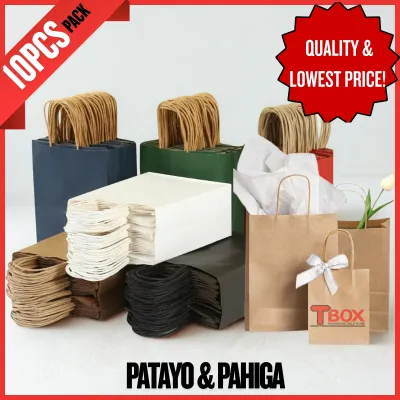
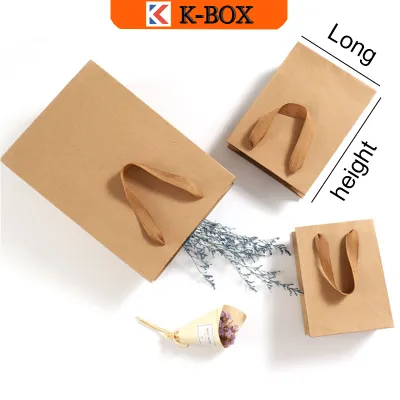
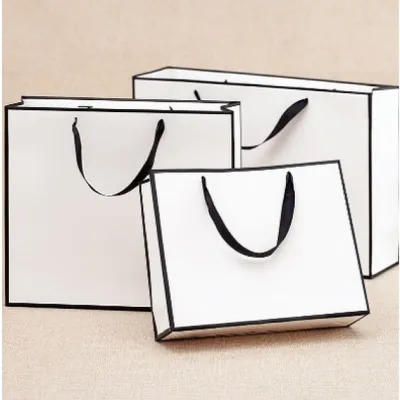
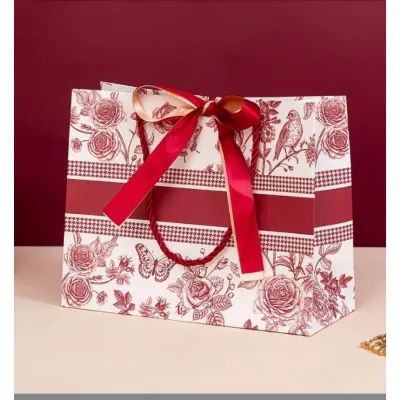
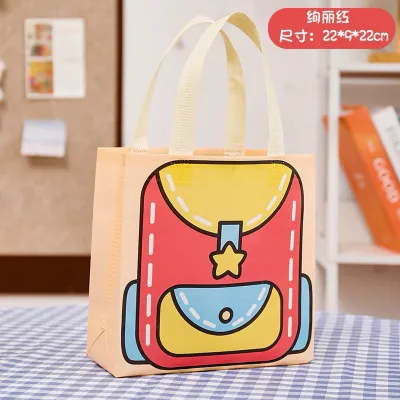
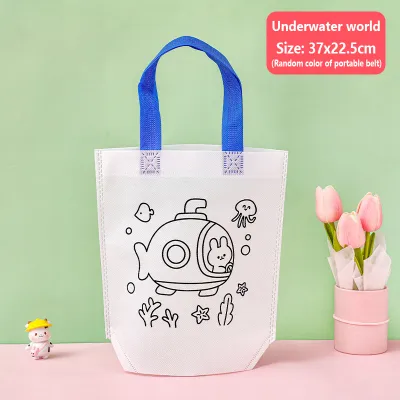
Prices are valid at publication and may change. Please refer to the product page for the latest price.
Next, evaluate the surface texture of the gift bag. Matte paper, rustic kraft paper, glossy laminate, and textured cardstock all interact differently with ribbon materials. A rustic kraft bag pairs beautifully with organic, textured ribbons like cotton, jute, or grosgrain, whereas a high-gloss or metallic bag demands a smooth, reflective ribbon like satin or organza to match its polished sheen.
Finally, inspect the bag’s handles and their attachment points. Gift bags come with various handle styles, including twisted paper, soft cotton rope, satin ribbon, or simple die-cut handles. The strength and material of these handles will dictate how and where you can secure your ribbon. Heavy rope handles can support larger, heavier bows, while delicate paper handles require lightweight ribbon treatments to prevent tearing or distorting the bag’s shape.
Coordinating Ribbon Colors and Textures
Once you understand your bag’s design, you can begin coordinating the ribbon’s color and texture. A classic approach is monochromatic matching, where you select a ribbon in a slightly lighter or darker shade than the bag itself. This creates a sophisticated, subtle look that works well for formal occasions. Alternatively, you can use complementary contrast, pairing opposite colors on the color wheel—such as a deep navy bag with a warm copper ribbon—to make the presentation pop.

Texture plays a vital role in how premium the final package feels. In tropical environments, high humidity can cause lightweight, low-quality ribbons to limp or sag. Opting for high-quality polyester satin, stiffened grosgrain, or wired-edge ribbons ensures that your bows maintain their shape and crispness. Combining contrasting textures, such as a rough jute twine against a smooth matte paper bag, adds tactile depth that makes the gift feel more personalized and handmade.
Proportion is the final element of coordination. The width of your ribbon should match the scale of the gift bag. A tiny jewelry-sized gift bag will look overwhelmed by a wide two-inch ribbon, while a large, heavy-duty shopping bag will make a thin quarter-inch ribbon look sparse and unfinished. As a general guideline, use narrow ribbons (under half an inch) for small bags, medium ribbons (one to one-and-a-half inches) for standard bags, and wide ribbons (two inches or more) for large, dramatic presentations.
Selecting and Styling the Right Bow
Choosing between a pre-made bow and a hand-tied option depends on your schedule, skill level, and the desired formality of the gift. Pre-made bows, such as classic peel-and-stick star bows, offer incredible convenience and speed, making them ideal for quick preparations. However, hand-tied bows provide a custom, high-end finish that immediately elevates the presentation. If you choose hand-tied, practicing a basic bow or a simple flat knot can yield beautiful results with minimal effort.
The size of the finished bow should always be proportional to the bag’s overall dimensions. Ideally, the bow’s width should not exceed two-thirds of the width of the gift bag. A bow that is too large can make the bag tip over or completely obscure the design, while a bow that is too small will get lost visually. Aim for a balanced look where the bow acts as an elegant accent rather than a distracting focal point.
Different occasions call for different bow styles. A lush, multi-loop bow or a classic double-loop bow is perfect for festive celebrations, weddings, or milestone birthdays where a sense of abundance is welcome. For professional settings, masculine gifts, or modern aesthetics, a minimalist flat knot or a clean, tailored single-loop bow offers a sleek, sophisticated alternative that looks intentional and refined.
Assembly and Layering Techniques
Where you place your bow can completely change the character of the gift bag. A classic placement is tying the ribbon directly to the base of one of the handles, allowing the tails to drape elegantly down the front of the bag. Alternatively, you can pinch the top of the bag closed and tie a ribbon around the entire upper collar, which keeps the contents secure and hidden. For a modern look, try centering a flat bow directly on the face of the bag using a clean, horizontal band of ribbon.
When securing your ribbons and bows, prioritize non-damaging attachment methods. Avoid using heavy hot glue on delicate paper bags, as the heat can warp the paper, melt glossy coatings, or leave unsightly lumps. Instead, use high-quality double-sided tape designed for paper crafts, or rely on physical tying techniques around the handles. If you are using adhesive-backed pre-made bows on glossy bags, ensure the surface is clean and dry so the adhesive can grip properly despite any ambient humidity.
For an extra touch of luxury, try layering multiple ribbons of different widths and textures. You can lay a narrow, metallic gold cord directly over a wider, solid-colored grosgrain ribbon to create a beautiful bordered effect. Another technique is to tie a simple satin bow and then add a few strands of thin curling ribbon or a small sprig of dried local foliage behind the knot. This adds layers of visual interest while keeping the overall presentation clean and uncluttered.
Common Pairing Mistakes to Avoid
One of the most frequent styling errors is clashing patterns. If your gift bag features a vibrant, busy print with multiple colors, pairing it with a patterned or heavily textured ribbon can create visual chaos. In these cases, a solid, smooth ribbon in a single coordinating color is always the safer and more elegant choice. Save patterned ribbons for solid-colored or simple kraft paper bags where they can serve as the main attraction.
Another common mistake is ignoring the physical weight and balance of the presentation. An oversized, heavy bow attached to the top of a lightweight paper bag can cause the bag to sag, fold, or even tip over when set down. Always ensure the structural integrity of the bag matches the weight of the embellishments you add to it.
Finally, remember that more is not always better. It can be tempting to add multiple bows, layers of curling ribbon, gift tags, and decorative clips all at once. However, over-embellishing often cheapens the look of the gift. If you find yourself unsure, embrace a minimalist approach; a single, perfectly tied satin ribbon around a high-quality gift bag often carries more elegance and impact than a cluttered design.
Frequently Asked Questions (FAQ)
Can I reuse ribbons and bows from previous gifts?
Yes, reusing ribbons and bows is an excellent way to reduce waste, provided they are still in good condition. Before reusing, inspect the material for noticeable creases, fraying edges, or sticky adhesive residue that cannot be hidden. You can easily refresh wrinkled fabric ribbons, such as satin or grosgrain, by running them through a hair straightener on a low-heat setting or holding them over steam for a few seconds, making sure to check the material’s heat tolerance first.
How do I keep a hand-tied bow from unraveling on a gift bag?
To keep a hand-tied bow secure, try tying the ribbon directly around the bag’s handles or through reinforced grommets, which provides a natural anchor. If you are tying a bow around the body of the bag, placing a small piece of double-sided tape directly under the center knot will prevent it from sliding or loosening. For slippery materials like satin or organza, pulling the initial knot firmly and adding a tiny, discreet dab of clear-drying craft glue to the underside of the knot will lock it in place without damaging the ribbon’s visible surfaces.
Community discussion
Share your experience or ask a question. Comments are reviewed before publication.