
Organizing large-format A3 documents—such as architectural blueprints, engineering schematics, graphic design portfolios, and fine art prints—requires a systematic approach to prevent damage and ensure easy retrieval. Because A3 sheets measure 297 x 420 mm, they are highly susceptible to creasing, tearing, and warping if stored loosely or folded. Utilizing a dedicated A3 binder is the most effective way to preserve these oversized documents while keeping them accessible for presentations or daily reference.
To achieve a professional setup, you must select the correct binder style, use compatible protective materials, and implement an intuitive indexing system. Proper preparation and storage techniques will safeguard your work from physical wear and environmental damage over time.
Selecting the Right A3 Binder for Your Specific Needs
Choosing the right a3 binder depends on the nature of your documents, how often you need to access them, and whether you can safely punch holes in them. In the market, options range from budget-friendly utility binders around ₱300 to professional-grade archival systems costing over ₱1,500.
Products mentioned in this guide
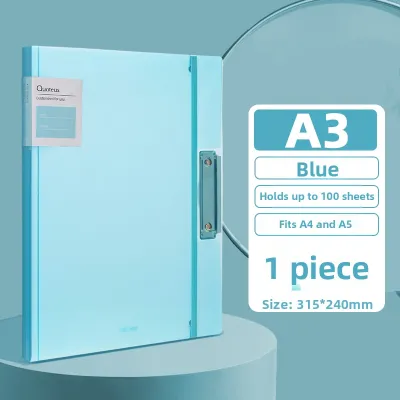
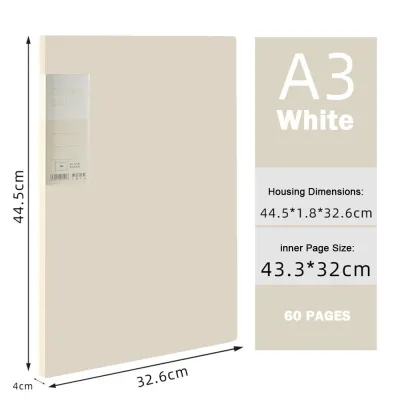
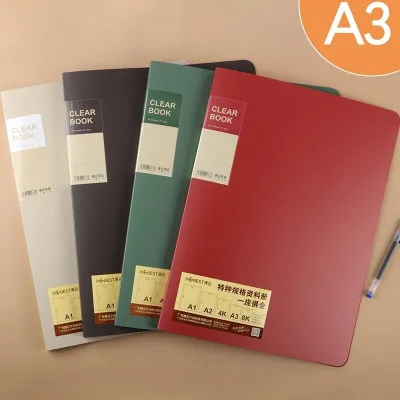
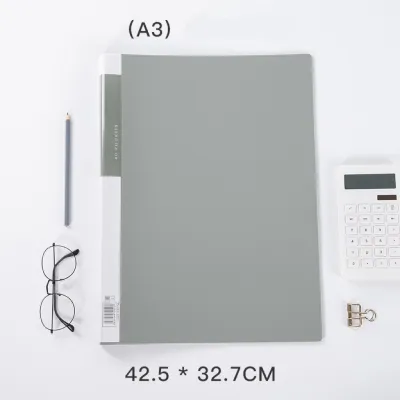
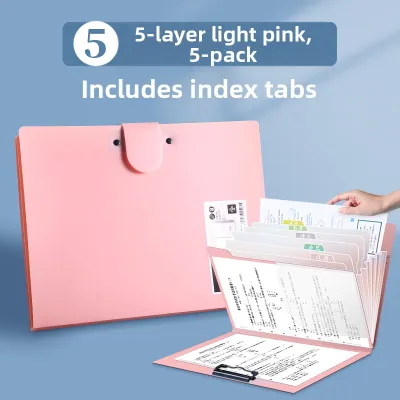
Prices are valid at publication and may change. Please refer to the product page for the latest price.
Ring Binders: D-Ring vs. O-Ring
For heavy reports, project portfolios, or high-volume document storage, ring binders are the standard choice. D-ring binders are highly recommended for large-format storage because the straight edge of the “D” allows pages to lie completely flat and stack evenly on one side. This design minimizes stress on the page holes and prevents the sheets from curling near the spine. In contrast, O-ring binders are better suited for lighter, thinner portfolios. While O-ring options allow for smooth page-turning, the curved ring means the documents ride up the side of the ring, reducing the usable capacity and potentially causing paper to sag when stored upright.
Punch Binders vs. Non-Punch Options
If you are organizing original watercolor paintings, delicate architectural renderings, or official certificates, you must avoid hole-punching. For these items, non-punch options such as A3 display books or portfolio binders with built-in, non-removable clear plastic sleeves are ideal. These sleeves allow you to slide documents in and out safely without altering the original paper. If you require the flexibility of a ring binder but still want to protect your documents from punches, you can use heavy-duty A3 sheet protectors inserted into a standard multi-ring binder.
Spine Width and Ring Capacity
Before purchasing, verify the binder’s spine width and ring diameter against your projected document volume. A binder with a 25mm ring diameter typically holds around 150 to 200 sheets of standard 80gsm paper, whereas a 50mm spine can accommodate up to 400 sheets. Overstuffing a binder strains the locking mechanism, leads to misaligned rings, and causes the pages to tear during handling.
Essential Tools and Materials for A3 Organization
Before you begin sorting and assembling your documents, gather the necessary tools to ensure an efficient, damage-free workflow. Having the right supplies on hand prevents interruptions and ensures your filing system remains uniform.

- A3 Binder: Select a sturdy D-ring binder or a display book based on your punch preferences.
- A3 Sheet Protectors: Opt for polypropylene or polyester sleeves; avoid PVC, which can degrade and damage ink over time.
- Heavy-Duty A3 Hole Punch: Essential if you are using ring binders without plastic sleeves. Ensure it has an adjustable paper guide for precise alignment.
- A3 Divider Tabs: Extra-wide or extended tabs are necessary if you are using sheet protectors, as standard-width dividers will be hidden behind the wider plastic sleeves.
- Labeling Tools: A digital label maker or fine-tip permanent markers for clear spine and cover identification.
- Acid-Free Interleaving Paper: If you are storing original graphite sketches, charcoal drawings, or photographs, placing acid-free glassine or tissue paper between sheets prevents smudging and chemical degradation.
Step-by-Step Guide to Preparing and Loading Your Binder
Preparing and Protecting the Documents
Before inserting any document into your binder, take time to prepare the medium. Lay folded papers flat on a clean, dry surface. If the documents have been rolled in tubes, gently flatten them by placing clean, heavy books on the corners for 24 to 48 hours in a low-humidity room. Carefully brush away any loose dust, graphite smudges, or eraser shavings using a soft draft brush or a clean microfiber cloth.
Moisture is the primary enemy of stored paper, particularly in tropical climates. Ensure that all prints, especially those from inkjet printers, are completely dry and cured before placing them into plastic sleeves. If you insert a damp or freshly printed document into a plastic sleeve, the moisture can trap air, causing the ink to transfer to the plastic or creating a breeding ground for mold and mildew.
Punching and Loading into a Ring Binder
If you have decided to punch your A3 documents directly, precision is critical to prevent off-center binding. Set the paper guide on your heavy-duty hole punch specifically to the A3 setting. Align the short edge of the paper (for portrait binding) or the long edge (for landscape binding) flush against the guide. Double-check the margins of your documents before punching to ensure that critical text, borders, scale bars, or artwork details are not cut off by the holes.
Open the binder rings fully using the side levers rather than pulling the rings apart manually, which can misalign the locking teeth over time. Load the documents or sleeved pages in small, manageable batches of 15 to 20 sheets to prevent tearing the punched holes. Keep the pages parallel to the rings as you slide them down. Once all pages are loaded, close the rings firmly and turn a few pages to verify that they glide smoothly without catching on the ring joints.
Indexing and Labeling for Quick Document Retrieval
An unorganized binder is simply a stack of loose papers bound together. To make your A3 binder a functional reference tool, implement a clear indexing and labeling system.
Using Extended Divider Tabs
Standard divider tabs are designed for bare paper. If your A3 documents are housed in clear plastic sleeves, standard tabs will be obscured by the wider dimensions of the sleeves. Always purchase “extra-wide” or “extended” A3 dividers. Organize your documents chronologically, by project phase, by client, or by subject matter to make navigation intuitive.
Creating a Master Index
Place a comprehensive master index page at the very front of the binder. This sheet should list the section names, tab numbers, and a brief description of the contents within each division. If you frequently update the binder, maintain this index as a digital file so you can print a clean, updated version whenever documents are added or removed.
Spine and Cover Labeling
To make the binder easily identifiable on a shelf, print large, legible labels for both the spine and the front cover. Include the project name, volume number, and the date range or version. Use clear, bold fonts that can be read from a distance of several feet, ensuring you do not have to pull every binder off the shelf to find the correct one.
Storing and Maintaining Binders in Humid Climates
In the Philippines, high relative humidity and tropical temperatures pose unique challenges for long-term stationery storage. Without proper care, paper can warp, plastic sleeves can stick together, and metal binder rings can rust.
Upright Storage
Always store your A3 binders upright on sturdy shelves rather than stacking them flat on top of one another. Stacking heavy A3 binders puts immense pressure on the bottom units, causing the spines to warp, the cardboard covers to bend, and the metal ring mechanisms to distort. Upright storage ensures even weight distribution and allows air to circulate around each binder.
Climate Control and Ventilation
Position your shelving units in well-ventilated areas away from direct sunlight, which can fade inks and degrade plastic materials. Avoid placing shelves directly against exterior concrete walls, as these walls can transfer moisture during the rainy season, leading to localized humidity spikes. If possible, store high-value portfolios in air-conditioned rooms or utilize dehumidifiers. For budget-friendly moisture control, place silica gel packets or moisture-absorbing tubs inside the storage cabinets.
Mechanical Maintenance
Periodically inspect your binders. Open and close the rings to ensure the spring mechanism remains tight. Wipe the metal rings with a dry microfiber cloth to remove accumulated dust and moisture, which helps prevent rust. If you notice early signs of corrosion, replace the binder to prevent rust stains from transferring to your valuable documents.
Frequently Asked Questions (FAQ)
Can I use a standard A4 hole punch for A3 documents?
No, standard A4 hole punches are generally designed with fixed spacing and guide margins optimized for 210 x 297 mm paper. Attempting to punch A3 paper with a standard A4 punch will result in incorrect hole intervals and misaligned margins, making it impossible to fit the sheets cleanly onto standard A3 binder rings. To ensure clean, consistent holes, use a dedicated A3 hole punch or an adjustable multi-hole punch equipped with a sliding paper guide set specifically to A3 dimensions.
How do I prevent clear plastic sleeves from sticking to my artwork?
Sleeves made from cheap PVC (polyvinyl chloride) contain plasticizers that can migrate over time, causing the plastic to stick to ink, toner, or delicate art mediums. To prevent this, always select acid-free, archival-quality polypropylene or polyester (Mylar) sleeves. For highly delicate mediums like charcoal, soft pastels, pencil sketches, or fresh inkjet prints, place a protective sheet of semi-translucent glassine paper directly over the face of the artwork before sliding it into the plastic sleeve.
Community discussion
Share your experience or ask a question. Comments are reviewed before publication.