
A professional presentation relies heavily on the physical delivery of your documents. When handing over a proposal, report, or application to a client, supervisor, or government official, the organization of your paperwork speaks volumes about your attention to detail and professionalism. A disorganized stack of papers can distract from your message, whereas a meticulously structured binder or folder builds immediate trust. Achieving a polished filing document presentation requires systematic preparation, the right stationery choices, and a careful assembly process.
Preparation: Sorting and Structuring Your Documents
Before you select a folder or punch a single hole, you must define the presentation’s objective and understand your audience. A corporate client might want a high-level executive summary followed by financial projections and technical specifications. A government official in a local agency might require strict adherence to a checklist of regulatory forms and certified photocopies. Tailoring your document selection to the audience ensures you do not overwhelm them with irrelevant details.
Gather all potential documents and lay them out on a clean, wide workspace. Remove intermediate drafts, duplicate prints, and outdated reference sheets. Keep only the final, approved versions of each page. If you have supporting documents that are not central to the presentation, set them aside for an appendix or a separate reference folder rather than cluttering the main presentation.
Products mentioned in this guide
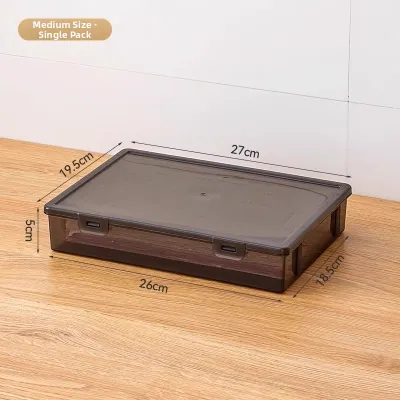
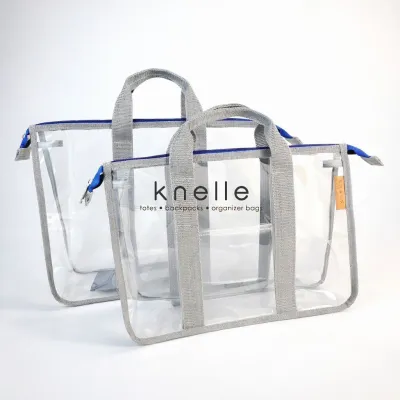
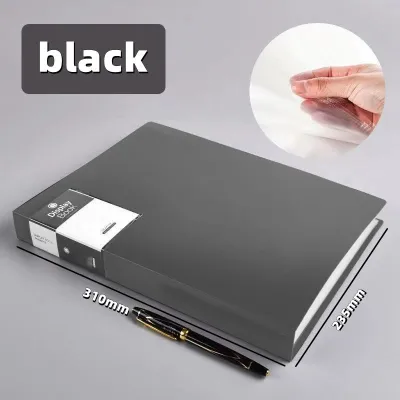
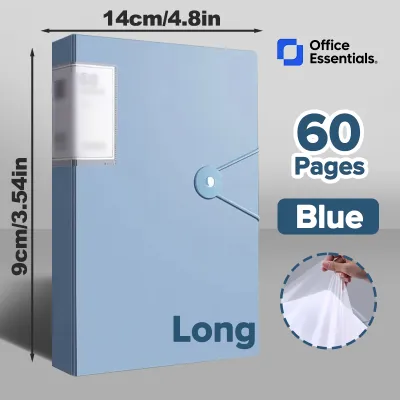
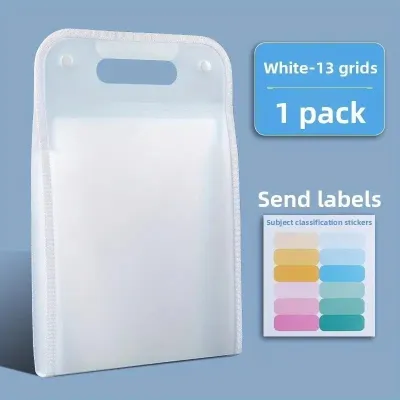
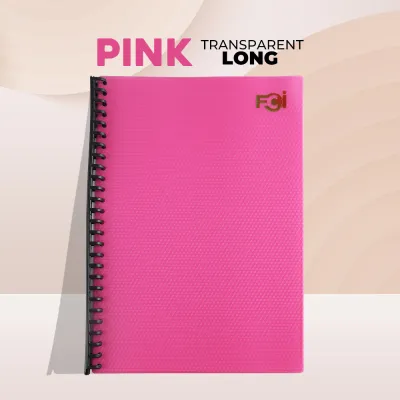
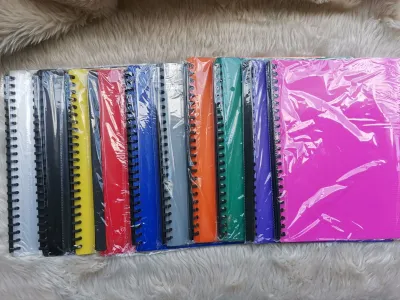
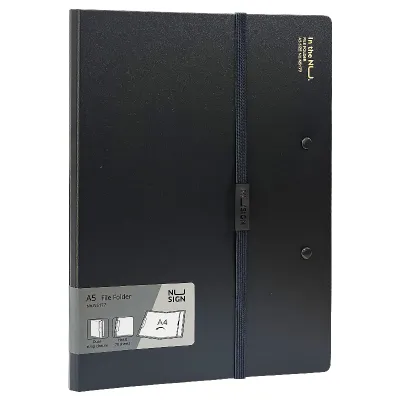
Prices are valid at publication and may change. Please refer to the product page for the latest price.
Once you have your core documents, choose a logical grouping method that matches your content’s purpose:
- Chronological order: Best for project timelines, historical financial reports, or case histories.
- Alphabetical order: Ideal for directories, client lists, or geographic data sheets.
- Thematic grouping: Grouping by topic (such as marketing, operations, or finance) works well for business proposals and comprehensive company profiles.
- Priority-based sequencing: Placing the most critical, decision-impacting documents first, followed by supporting evidence and details. This is often preferred by busy executives who need to see the core value proposition immediately.
With your grouping established, draft a master index or table of contents. This serves as the roadmap for your reader. It should clearly list the major sections, corresponding tab numbers or letters, and a brief description of what each section contains. A well-crafted index allows a supervisor or client to jump directly to the information they need without flipping aimlessly through pages.
Selecting the Right Folders, Binders, and Accessories
Your choice of stationery must align with your document volume, paper size, and the professional context of the meeting. Using the wrong binder can lead to damaged pages, difficult handling, and an unprofessional appearance.

Compare the primary filing options to determine the best fit for your presentation:
- Presentation folders: Slim, lightweight, usually with two internal pockets or a single prong fastener. Best for brief proposals, brochures, or resumes ranging from 5 to 15 pages.
- Ring binders: Excellent for medium to large documents ranging from 30 to 200 pages. O-ring binders are common but can cause pages to ride up and curl when closed. D-ring binders, which mount the rings on the back cover, allow pages to lie completely flat, prevent page wear, and hold more paper than an O-ring binder of the same spine size.
- Lever arch files: Heavy-duty binders with a large metal locking mechanism. Best for archival purposes or extremely thick reference documents (200 to 500 pages) presented during audits or regulatory reviews.
Match the binder spine capacity to your document thickness to prevent overstuffing and page damage. A 1-inch (25mm) binder comfortably holds about 175 sheets of standard 80gsm paper. Overstuffing a binder makes it difficult to turn pages and can tear the hole-punched margins. Underfilling a binder causes pages to sag and look sloppy.
Verify paper size compatibility before purchasing your filing supplies. In the Philippines, the standard office paper landscape includes A4 (210mm x 297mm), Letter (8.5″ x 11″), and Legal/Long bond paper (8.5″ x 13″). Ensure your folder or binder is wide enough to accommodate the largest paper size you are using. If you are using Legal-sized documents, you must purchase specific long-sized folders or binders; standard A4 or Letter binders will allow the bottom of Legal pages to protrude and bend, immediately ruining the professional aesthetic.
Evaluate material choices based on your presentation environment:
- Polypropylene (Plastic): Durable, water-resistant, and modern. Great for everyday client meetings, field presentations, or environments where spills might occur.
- Cardboard/Paperboard: Eco-friendly and rigid, but susceptible to moisture and warping in humid climates. Best for dry, air-conditioned office environments.
- Leatherette/Vinyl: Offers a premium, executive look. Ideal for high-stakes board presentations, major client pitches, or submitting documents to high-ranking officials.
Enhance your organization with functional accessories. Tabbed dividers are essential for separating sections. Sheet protectors are clear plastic sleeves that protect pages from fingerprints, dirt, and moisture. Ensure they are acid-free to prevent ink transfer over time. Adhesive pockets can be added to the inside covers of binders to hold business cards, digital media drives, or loose brochures.
Step-by-Step Guide to Assembling Your Presentation
Once you have gathered your documents and selected your stationery, follow these steps to physically assemble your presentation.
Step 1: Prepping the Pages
Before placing any paper into a folder, remove all old staples, paperclips, and sticky notes. Use a staple remover carefully to avoid tearing the paper. Smooth out any dog-eared corners or creases. Align all pages by tapping the stack gently on a flat surface, ensuring all edges are perfectly flush.
Step 2: Inserting Dividers and Labels
Place your tabbed dividers at the predetermined logical breakpoints. Avoid handwritten labels on the tabs, as they look unprofessional. Use a label maker or print on the template sheets provided with your dividers. Ensure the text is centered, clear, and uses a professional font like Arial or Calibri in a legible size (10pt to 12pt).
Step 3: Securing the Documents
If you are using a ring binder without sheet protectors, use a heavy-duty, adjustable hole punch. Set the paper guide accurately to match your binder’s ring configuration (usually 2-ring or 3-ring). Punch small batches of paper (5 to 10 sheets at a time) to ensure the holes are perfectly aligned and clean; punching too many pages at once results in jagged, misaligned holes. If using slip-in sheet protectors, insert the pages so the open edge of the protector faces upward or toward the binder spine. This prevents pages from sliding out when the binder is handled or turned upside down.
Step 4: Loading the Binder
Open the binder rings carefully. Load the documents in your pre-established sequence, starting from the back and working your way to the front, or vice versa, depending on what is most comfortable. Double-check that every page is oriented correctly—no pages should be upside down, backward, or out of order. Close the rings firmly, ensuring they align perfectly without leaving gaps that could catch and tear the paper.
Step 5: Adding the Front Matter
The first thing your audience sees upon opening the presentation must be the front matter. Place a high-quality cover page at the very front. This should include the presentation title, the recipient’s name/organization, your name/organization, and the date. Follow this immediately with the Table of Contents (or Master Index) and a concise, one-page Executive Summary that outlines the core purpose and key takeaways of the document package.
Final Verification: Ensuring a Flawless Presentation
A single error can undermine hours of preparation. Perform a physical audit of your completed binder before your meeting.
Flip slowly through every single page of the assembled presentation. Look for blank pages that were accidentally printed, upside-down sheets, or missing sections. Ensure that the pages turn smoothly on the rings without catching or sticking.
Compare each tabbed divider against your Table of Contents. If Tab 3 is labeled “Financial Projections,” verify that the very first page behind that tab is indeed the financial projection sheet. Ensure the page numbers printed on the documents correspond exactly to the page numbers listed in your index.
Check for physical imperfections. Look for stray ink smudges, toner streaks, or bent corners. If you used sheet protectors, inspect them for glare, scratches, or static buildup that makes them stick together. Replace any damaged or dirty components immediately.
Close the binder and inspect the outside. The cover should be clean and free of dust, fingerprints, or adhesive residue from old price tags or retail stickers. If the binder has a clear plastic overlay on the front and spine, slide in custom-printed cover and spine inserts rather than leaving them blank or using handwritten paper slips.
Common Filing Mistakes to Avoid in Professional Settings
Avoiding common filing pitfalls ensures your presentation maintains its polished appearance throughout the meeting.
Overstuffing binders is a frequent mistake. Trying to squeeze 250 pages into a 1-inch binder is a recipe for disaster. The rings will not close properly, pages will tear at the punched holes, and the presentation will look bulky and cheap. Always leave at least a 10% margin of free space on the rings.
Using mismatched or low-quality sheet protectors can ruin your layout. Mixing different brands of sheet protectors can result in varying heights and widths, making the presentation look uneven. Low-quality, highly reflective plastic sleeves create harsh glare under office fluorescent lights, making the text difficult to read. Opt for matte or non-glare, uniform sheet protectors.
Handwritten tab labels look rushed and unprofessional. Take the extra five minutes to print clean, uniform labels.
Failing to update the Table of Contents after making last-minute changes is another common issue. If you add a page or remove a section at the eleventh hour, you must reprint the Table of Contents and index pages to reflect the new structure. A mismatch here immediately signals a lack of preparation.
Frequently Asked Questions (FAQ)
How do I protect documents from humidity during outdoor or transit presentations?
In tropical climates like the Philippines, high humidity and sudden rain showers can easily warp paper or cause ink to bleed. To protect your documents, always use high-quality, water-resistant polypropylene sheet protectors for every page. Keep the entire binder inside a zipped, waterproof briefcase or document bag during transit. Avoid exposing the documents to open-air environments or non-air-conditioned spaces for prolonged periods before the presentation. If you must print on uncoated paper, choose a higher weight (such as 100gsm) which resists moisture-induced curling better than standard 70gsm or 80gsm copy paper.
What is the best way to present double-sided printed documents in a binder?
When printing double-sided (duplex), paper opacity is critical. Standard lightweight paper will allow ink to bleed through, making the text on both sides difficult to read. Use high-opacity paper (at least 90gsm to 100gsm) or verify with a quick test print. If you use sheet protectors, insert the double-sided page so both sides are visible when the sheet is turned. Ensure the page orientation is correct: when the reader turns the page, the reverse side should read from top to bottom, not upside down. If you are hole-punching double-sided pages directly, adjust your margins on both sides (mirror margins) so the holes do not cut into the text on either page.
Community discussion
Share your experience or ask a question. Comments are reviewed before publication.