
Pairing 3D stickers with washi tape transforms a flat journal page into a tactile, multi-dimensional work of art. By using flat washi tape as a grounding background layer and placing raised 3D stickers as focal points, you create visual depth that draws the eye. The key to success lies in balancing the physical thickness of your embellishments with the structural limits of your journal, ensuring the pages remain beautiful and the book closes neatly.
Achieving this balance requires a mix of design planning, material compatibility checks, and proper layering techniques. Whether you are documenting daily memories, planning your week, or creating an art journal, understanding how these two popular stationery items interact will elevate your layouts. With the right approach, you can build stunning, textured spreads that stand the test of time without damaging your favorite notebooks.
Planning Your Journal Spread Layout
Before peeling the backing off any adhesive, you must plan where your elements will sit. A successful multi-dimensional layout relies on a clear division of labor between your flat background elements and your raised focal points. If you place too many heavy elements without a plan, your pages can quickly become cluttered and difficult to write on.
Products mentioned in this guide
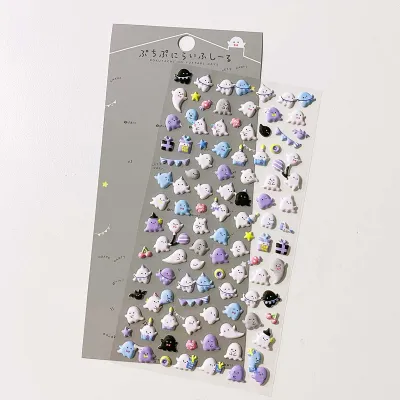
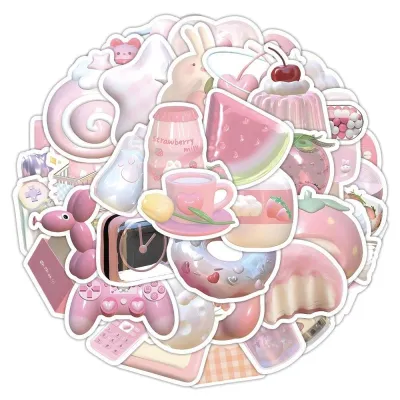
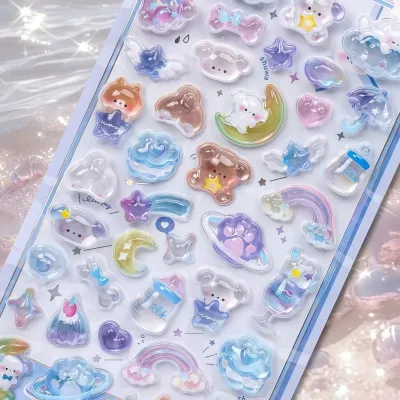
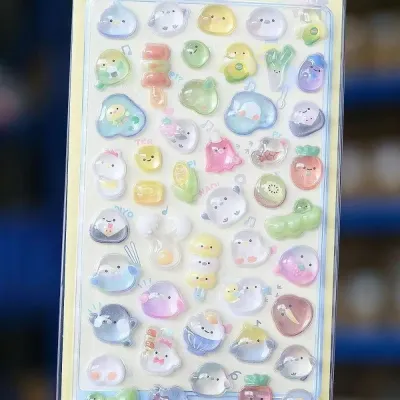

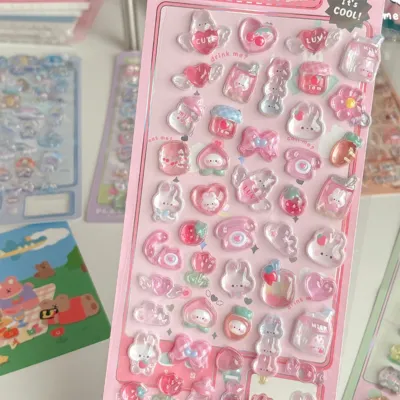
Prices are valid at publication and may change. Please refer to the product page for the latest price.
Start by identifying your focal points. Because 3D stickers physically rise off the page, they naturally draw the viewer’s eye first. Use these dimensional pieces to highlight key areas, such as the start of a new weekly section, a special photo, or a central theme. Flat washi tape should serve as the background anchor, framing these focal points and guiding the reader’s eye across the page.
Next, check your journal’s page thickness and binding clearance. Thread-bound and case-bound journals have a fixed spine that can only accommodate a certain amount of physical bulk before the book begins to flare open. Spiral-bound or disc-bound journals offer slightly more flexibility but are still subject to warping if one side of the page becomes significantly thicker than the other. Assess how much space you have near the outer edges of the pages, as these areas are more forgiving of extra thickness than the center spine.
Always sketch a basic layout or perform a dry run before applying any adhesive. Lay your washi tape strips and 3D stickers onto the page without removing their backings. This step is especially crucial in warm, humid climates like the Philippines, where paper fibers can absorb ambient moisture and become more delicate. Repositioning a sticky element after it has bonded with warm, humid paper can easily tear the page surface, ruining your layout before it is even finished.
Layering Techniques for Depth and Texture
Layering is the secret to making your 3D stickers look integrated rather than simply stuck on top of a page. By creating a transition from the flat paper to the raised sticker, you make the entire design feel cohesive and intentional.

One effective method is using washi tape to create frames, borders, or faux shadows behind your 3D stickers. To create a faux shadow, place a strip of dark, solid-colored washi tape slightly offset from where your sticker will sit. When you place the bright 3D sticker on top, the exposed sliver of dark tape mimics a physical shadow, enhancing the three-dimensional illusion. You can also crisscross thin strips of washi tape to form a grid or frame, placing the 3D sticker directly in the center to give it a dedicated home.
Overlapping flat tape edges is another excellent way to build a textured base layer. Start by applying wider, neutral-toned washi tapes directly to the paper. Layer thinner, patterned tapes on top of the wider strips at slight angles. This builds a visual staircase of patterns and colors. Once your flat base is secure, place your 3D stickers over the intersections of the tape. This technique anchors the raised elements, making them look like they are emerging from the background collage.
Adjusting how you cut your washi tape also changes the visual texture under your stickers. Tearing the tape by hand creates soft, fibrous, and organic edges that work beautifully with vintage, floral, or cozy themes. Conversely, cutting the tape with scissors or a tape dispenser provides clean, sharp lines that suit modern, geometric, or minimalist layouts. Match the edge style of your tape to the overall aesthetic of your 3D stickers to maintain design harmony.
Adhesive and Paper Compatibility Checks
Not all papers and adhesives are created equal. When you begin adding weight and physical depth to your journal, you must ensure that your materials can support each other without warping, bleeding, or peeling over time.
First, evaluate your journal’s paper weight, which is measured in grams per square meter (GSM). Standard notebook paper (around 80 GSM to 100 GSM) is thin and flexible, meaning it can easily buckle under the weight of heavy 3D stickers or wet adhesives. For spreads featuring heavy embellishments, a journal with 120 GSM to 160 GSM paper is highly recommended. This thicker stock provides the structural integrity needed to hold raised elements flat without sagging or wrinkling.
Choosing the right adhesive for your 3D elements is equally important. While many 3D stickers come with pre-applied adhesive backings, some DIY dimensional pieces or heavier plastic, wood, or epoxy embellishments require extra reinforcement. Avoid standard liquid school glues, as their high water content will warp the paper and can dissolve the mild adhesive on the washi tape underneath. Instead, opt for dry, pressure-sensitive adhesives such as double-sided tape runners, high-tack glue dots, or thin foam mounting squares.
Before committing to your final layout, always test your adhesives on a scrap page or an inconspicuous back page of your journal. Apply a small strip of your chosen washi tape, place your adhesive of choice on top, and let it sit for 24 hours. Check the page for any signs of oil bleeding, paper warping, or loss of adhesion. This simple test ensures your hard work won’t peel off or ruin the surrounding pages after a few weeks on the shelf.
Common Pairing Mistakes to Avoid
While experimenting with dimensional journal spreads is highly rewarding, a few common pitfalls can ruin your design or damage your notebook. Being aware of these mistakes will help you keep your journals in pristine condition.
Overcrowding the page with too many raised elements is the most common error. It is easy to get carried away when you have a beautiful sheet of 3D stickers, but adding too much bulk makes the journal uneven. This unevenness makes it incredibly difficult to write on subsequent pages, as your pen will constantly bump against the hidden ridges underneath. Limit yourself to one or two primary 3D clusters per spread, keeping the rest of the page relatively flat.
Using wet glues is another mistake that can quickly ruin a layout. Liquid craft glues introduce moisture that stretches paper fibers, leading to permanent warping once dry. Furthermore, this moisture can seep under your washi tape, causing the edges to curl up and lose their grip. Stick to dry adhesives, tape runners, and specialized glue dots to keep your pages flat and your washi tape secure.
Finally, avoid placing 3D stickers too close to the binding gutter. The center spine of a journal requires clearance to fold and flex naturally. Placing thick, rigid items near this fold puts immense leverage on the binding every time you open or close the book. Over time, this pressure can crack the spine, loosen the stitching, or cause pages to tear away from the binding entirely. Keep all dimensional elements at least one to two centimeters away from the center gutter.
Frequently Asked Questions (FAQ)
Can I use regular glue sticks for 3D stickers?
Regular glue sticks are not recommended for securing 3D stickers. Glue sticks are designed for light, paper-to-paper bonding and lack the high-tack strength required to hold heavy, rigid, or uneven dimensional materials like epoxy, wood, or thick foam. While a glue stick is perfectly fine for securing the loose edges of thin washi tape, 3D elements require stronger, pressure-sensitive adhesives. Use high-tack glue dots, double-sided tape runners, or thin foam mounting squares to ensure your dimensional pieces stay firmly attached to your pages.
How do I store journals with thick 3D spreads?
To protect your dimensional pages from getting crushed, store your journals flat on a desk or shelf rather than upright. Storing them upright can cause gravity to pull at the heavy pages, warping the spine over time. You can use a built-in elastic band or an external journal band to keep the book closed, but avoid wrapping it so tightly that it compresses and flattens your 3D stickers. Additionally, place a blank sheet of cardstock or a plastic pencil board opposite your heavy 3D spreads to distribute pressure evenly and prevent the raised stickers from leaving indentations on the facing pages.

Community discussion
Share your experience or ask a question. Comments are reviewed before publication.