
Pairing glitter sticker paper with your daily journal supplies requires a thoughtful balance between high-shine focal points and quiet, matte backdrops. Because glitter paper naturally commands attention, integrating it successfully depends on treating it as a deliberate design anchor rather than a random embellishment. By combining these reflective sheets with low-gloss washi tapes, plain paper stickers, and compatible inks, you can design vibrant, multi-dimensional spreads that remain clean and highly readable. The key lies in managing texture contrast, controlling visual clutter, and verifying how different adhesives interact under local environmental conditions.
Establishing Glitter Sticker Paper as the Visual Anchor
A balanced journal layout needs a clear hierarchy, and glitter sticker paper possesses a high visual weight. When you open a spread, your eyes naturally dart toward the most reflective element first. To prevent your pages from feeling chaotic, balance this intense sparkle with generous areas of negative space, or blank paper. Leaving open areas around your glitter elements allows the eye to rest and ensures your written thoughts remain highly readable.
Positioning your glitter elements strategically can transform a cluttered page into a structured layout. Utilizing design principles like the rule of thirds or central framing helps ground these heavy visual elements. For instance, placing a single glitter sticker in the outer third of a page creates an asymmetrical balance, while centering a glitter frame showcases a central quote or photo. To maintain a cohesive look, limit the number of distinct glitter zones to one or two per two-page spread. Spreading small flecks of glitter randomly across the layout dilutes its impact and makes the page look disorganized.
Products mentioned in this guide
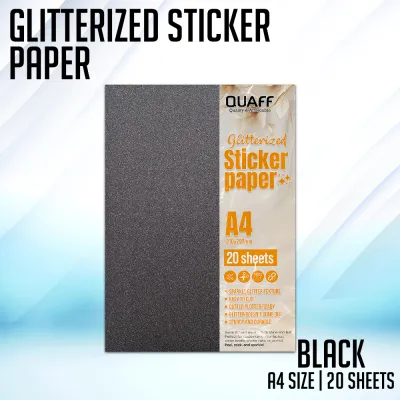
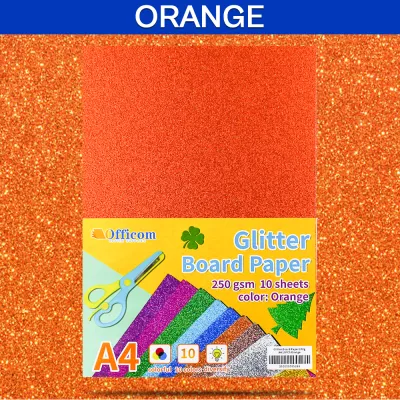
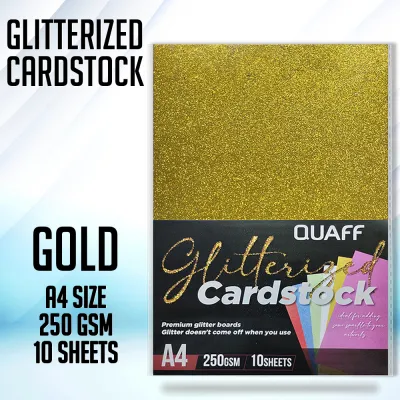
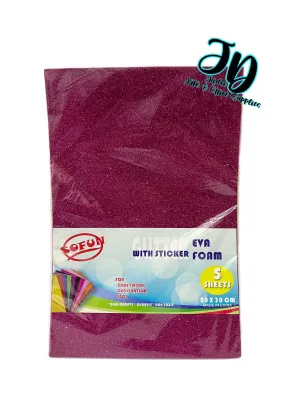
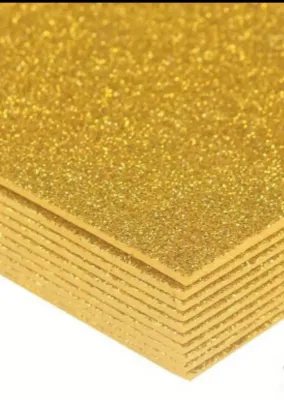
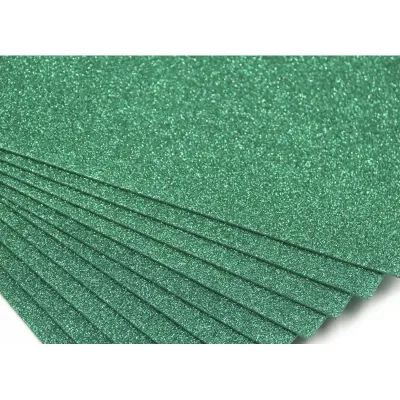
Prices are valid at publication and may change. Please refer to the product page for the latest price.
Layering Strategies with Washi Tape and Plain Stickers
Layering different stationery materials creates physical depth, but it requires a systematic approach to prevent bulk and peeling. When building a multi-layered spread, work from the flattest, most expansive base layers up to the thickest, most textured top accents. Glitter sticker paper, which is often thicker and stiffer than standard paper, performs best when applied as a middle or top layer rather than a background foundation. Before committing to a complex layered design, consider how different adhesives interact with various paper finishes. Standard sticker backings may not bond securely to highly textured or coated surfaces, leading to lifting edges over time.

Framing and Bordering with Washi Tape
Washi tape serves as a practical transition tool between the intense sparkle of glitter sticker paper and the flat surface of your journal pages. To avoid visual clashing, select solid-colored tapes or those with very subtle, minimalist patterns that complement the colors in your glitter paper. A busy, multi-colored patterned tape placed directly next to a glitter sticker can create visual noise that distracts from your writing.
Using washi tape to create physical borders is a practical way to contain glitter zones and separate them from your dedicated writing areas. By framing a glitter sticker with a clean, matte border, you establish a clear boundary that keeps the layout looking intentional and neat. This technique is particularly useful for separating decorative collages from your daily task lists.
Because washi tape uses a relatively weak, pressure-sensitive adhesive, it may struggle to stick directly to the rough, textured surface of some glitter papers. Test a tiny strip of tape on a scrap piece of your glitter paper first. If the tape peels away easily, plan your layout so the washi tape sits underneath or alongside the glitter paper, rather than overlapping on top of the textured surface.
Balancing Textures with Matte Plain Stickers
To offset the high shine of glitter sticker paper, incorporate matte plain stickers made from uncoated paper or flat vinyl. This stark contrast in textures creates a sophisticated look that prevents the spread from appearing flat. Matte stickers also function as essential visual resting spots within a busy, high-contrast layout. Placing a simple, solid-colored matte sticker adjacent to a glitter element provides a clean canvas where you can write a date, a small caption, or a simple icon, ensuring that your functional journaling elements remain highly legible.
When combining multiple sticker types, always monitor the cumulative thickness of your pages to prevent your journal from bulking excessively. Thick vinyl stickers layered on top of heavy glitter paper can create uneven bumps, making it difficult to write on the reverse side of the page. Opt for thin, uncoated paper stickers for your matte layers to keep the page profile as slim and flat as possible.
Choosing Complementary Pens and Inks
Writing near or directly on glitter sticker paper requires careful selection of your writing instruments to avoid smudging and illegibility. Many glitter papers feature plastic-based coatings or dense textures that do not absorb liquid inks as quickly as standard wood-pulp journal pages. In humid tropical climates, such as the Philippines, high ambient moisture can further prolong ink drying times, making quick-drying formulas essential. If you plan to write directly onto a glitter surface, choose highly opaque, pigment-based pens, such as acrylic paint markers or specialized metallic gel pens, rather than standard water-based dye inks that will bead up or smear.
For the primary text on your adjacent matte pages, stick to reliable fine-liners, gel pens, or fountain pens that offer good bleed resistance and sharp contrast. Keeping your main written entries on the matte portions of the spread ensures maximum readability. This approach allows you to enjoy the decorative sparkle of the glitter paper without sacrificing the practical, functional purpose of your journal.
Common Pairing Mistakes and How to Avoid Them
One of the most common mistakes when working with glitter sticker paper is creating visual overload by mixing too many high-shine materials in a single spread. Combining glitter paper, holographic tapes, and metallic foils all at once can overwhelm the eyes and make the layout look chaotic. To maintain a cohesive aesthetic, let your glitter paper be the single shining star of the spread, and keep all other decorative elements matte or semi-gloss. Additionally, failing to manage page thickness can lead to long-term damage to your journal’s binding, so distribute your heavy glitter layouts evenly throughout the journal.
Adhesive failure is another frequent issue, especially when attempting to secure heavy glitter paper with standard school glue sticks. The moisture in water-based glue sticks can cause thin journal pages to warp, and the bond is often too weak to hold down stiff, high-weight glitter backings over time. Instead of wasting sheets that can cost upwards of ₱50 per pack, rely on high-quality double-sided tape runners or acid-free liquid craft glues applied sparingly to help secure a flat, lasting bond.
Step-by-Step Layout Building Process
Constructing a balanced, cohesive spread is much easier when you follow a structured, step-by-step assembly process. Start by planning your layout entirely dry; arrange your glitter sticker paper, washi tapes, and matte stickers on the page without removing any adhesive backings. This allows you to adjust the composition, check the visual balance, and mark light pencil guidelines before making any permanent placements.
Once you are satisfied with the dry arrangement, apply your base layers first, such as background washi tape strips or large, flat paper elements that will sit underneath other items. Next, carefully peel and secure your glitter sticker paper onto its designated focal spot, pressing firmly from the center outward to eliminate air bubbles. Finally, layer your top-level matte stickers, write your journal entries with compatible pens, and add minor decorative accents to tie the entire spread together harmoniously.
Frequently Asked Questions (FAQ)
Can I write directly on glitter sticker paper?
Whether you can write directly on glitter sticker paper depends largely on its surface coating and texture. Smooth, film-coated glitter papers generally require permanent, oil-based markers or highly opaque acrylic paint pens, as standard water-based gel pens will bead up and smear. Rough, textured glitter papers are highly abrasive and can quickly ruin the delicate felt tips of fine-liners or clog fountain pen nibs. Always conduct a quick trial write on a small scrap piece of your specific glitter paper to verify ink compatibility, drying speed, and legibility before writing on your final layout.
How do I prevent glitter sticker paper from peeling off journal pages?
To prevent glitter sticker paper from peeling, start by ensuring your journal page is clean, dry, and free of any natural oils from your hands. If the built-in adhesive on the glitter paper feels weak or stiff, reinforce the edges with a high-tack double-sided tape runner or a thin layer of acid-free liquid craft glue. After applying the sticker, place a clean sheet of scrap paper over the layout and rub it firmly with a bone folder or the side of a plastic card to secure the bond. Closing your journal and placing a heavy book on top of it overnight will also help set the adhesive flat and prevent the edges from curling up in humid conditions.

Community discussion
Share your experience or ask a question. Comments are reviewed before publication.