
Applying a vinyl sticker smoothly without bubbles or wrinkles requires patience, proper surface preparation, and the right physical technique. When a sticker is pressed onto a surface, air can easily become trapped in pockets between the adhesive backing and the substrate, resulting in unsightly bumps. By understanding how pressure-sensitive adhesives interact with different surfaces, you can achieve a clean, paint-like finish on your first attempt. Whether you are customizing a water bottle, decorating a laptop, or applying large decals to a window, the key is to control the rate of contact and use systematic pressure to push air out as the adhesive bonds.
Essential Tools and Materials for Vinyl Sticker Application
Before beginning your application, gathering the correct tools will prevent interruptions that could lead to alignment mistakes or dust contamination. A dedicated vinyl squeegee is the most effective tool for applying even pressure, but a stiff plastic card, such as an old gift card, works well as a substitute. To protect the vinyl from scratches during application, wrap the edge of the plastic card in a clean microfiber cloth.
You will also need a high-quality microfiber cloth and rubbing alcohol or mild, additive-free dish soap to clean the target surface. For positioning, low-tack masking tape or painter’s tape is essential because it holds the design in place without leaving a sticky residue or peeling away existing paint. Finally, keep a sharp craft knife or utility scissors nearby to trim excess backing paper or transfer tape. When using blades, always cut away from your body and work on a stable, flat surface to ensure safety.
Products mentioned in this guide
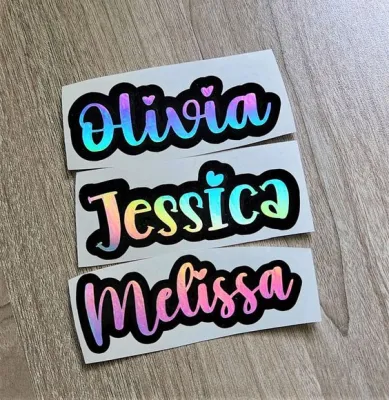
1,371 Lazada user ratings
Waterproof and durable, Great value for the price, 2nd order ko na to sa shop na to maganda pagkakagawa at my pa freebies pang sticker..gand…Read full reviewShow less
Waterproof and durable, Great value for the price, 2nd order ko na to sa shop na to maganda pagkakagawa at my pa freebies pang sticker..ganda ng hologram tamang tama lang din ang laki nya sa mga maleta ko..
Customized just the way I wanted!, Perfect for personalizing my laptop, Easy to apply and remove, Highly recommended for customization, Grea…Read full reviewShow less
Customized just the way I wanted!, Perfect for personalizing my laptop, Easy to apply and remove, Highly recommended for customization, Great quality stickers!,
Vibrant colors, love it!, Versatile stickers for different surfaces, Highly recommended for customization, Adds a fun touch to my tumbler,
maganda at bagay sa rhumbler ko. I hope magtagal. ThaNkyou so much seller and kuya Reider. God bless.
Highly recommended for customization, Great quality stickers!, And may pa-freebies pa☺️ thank you!
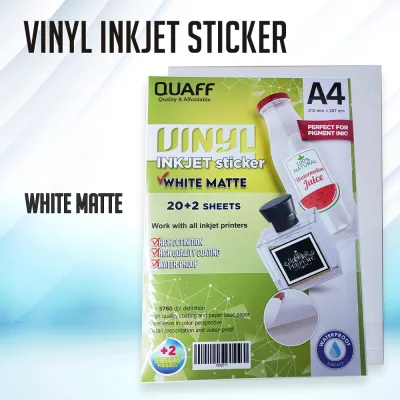
1,051 Lazada user ratings
High-quality vinyl material, Semi-clear finish for a professional look, Waterproof and weather-resistant, Great value for money, Ideal for c…Read full reviewShow less
High-quality vinyl material, Semi-clear finish for a professional look, Waterproof and weather-resistant, Great value for money, Ideal for crafts and DIY projects, Perfect for labeling and organizing,
Semi-clear finish for a professional look, High-quality vinyl material, Great value for money, Perfect for labeling and organizing,
Great value for money, Perfect for labeling and organizing, Durable and long-lasting stickers, Easy to apply and remove,
Great value for money, Durable and long-lasting stickers, Easy to apply and remove, fast shipping.
4,034 Lazada user ratings
High-quality vinyl material., Easy to use and apply., Great value for money., Ideal for both indoor and outdoor use., The glossy finish look…Read full reviewShow less
High-quality vinyl material., Easy to use and apply., Great value for money., Ideal for both indoor and outdoor use., The glossy finish looks amazing!, The glossy finish looks amazing!,
Perfect to use for acrylic medals and other file for label. Easy to use! Very fast shipping and All items are correct & complete!
package arrived LATE but in good condition and complete. but it did not arrived in given ETA. but all in all everythings great.
Good quality and fast delivery. Item matches the pic and description. Secured packaging. Satisfied with my purchase!
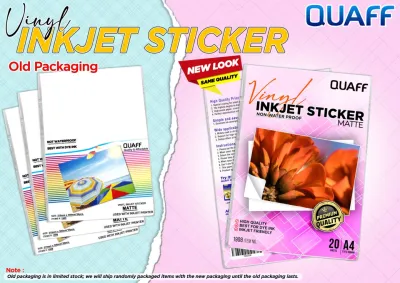
290 Lazada user ratings
Professional-looking results, Perfect for inkjet printers, Variety of options available, Versatile for different surfaces, Versatile for dif…Read full reviewShow less
Professional-looking results, Perfect for inkjet printers, Variety of options available, Versatile for different surfaces, Versatile for different surfaces, Easy to use and apply, Great for DIY projects,
Excellent value for money, High-quality vinyl material, Durable and long-lasting, Easy to use and apply, salamat seller sa mabilis na pag de…Read full reviewShow less
Excellent value for money, High-quality vinyl material, Durable and long-lasting, Easy to use and apply, salamat seller sa mabilis na pag deliver
Perfect for inkjet printers, Professional-looking results, High-quality vinyl material, works with Canon Pixma G1010
Quality is good. It looks durable and clean. We will be using it next week. Then will compare
Excellent value for money, High-quality vinyl material, for labels and brand stickers!
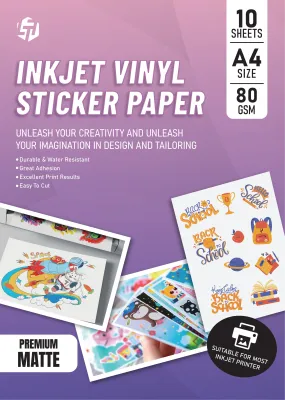
358 Lazada user ratings
Transparent sticker sheets, Perfect for office use, the sticker is so nice super high quality of the product thank you so much
Transparent sticker sheets, Perfect for kinds of print! Natry ko sya sa picture and super ganda ng lapat ng ink sa sheet!
best reason for buying this stuff it is compatible with inkjet printer. and tear resistant and high durable vinyl.
Perfect for office use, Transparent sticker sheets, super nice ng photo paper na to, legit yung claims
Prices are valid at publication and may change. Please refer to the product page for the latest price.
Preparing the Surface for a Clean Bond
The longevity and smoothness of your vinyl sticker depend heavily on how thoroughly you clean the target surface. Even invisible oils from your fingers, microscopic dust particles, and wax residues can act as tiny barriers, preventing the adhesive from making full contact and causing the edges to lift over time. Begin by wiping down the area with a microfiber cloth dampened with rubbing alcohol or a mild soapy water solution. Avoid using household glass cleaners that contain ammonia or silicone, as these chemicals often leave a slippery film that compromises the adhesive bond.

Once the surface is clean, it must dry completely before you attempt to apply the vinyl. Trapped moisture under a sticker will prevent proper adhesion and can lead to bubbling as the liquid tries to evaporate. If you are working on a textured or porous surface, perform a quick compatibility check by applying a small piece of scrap vinyl to an inconspicuous area. This trial allows you to observe how well the adhesive grips the material and whether the texture causes visible bumps before you commit to applying your main design.
Step-by-Step Dry Application Method
The dry application method is the standard technique for small to medium-sized vinyl stickers and decals. This process relies on a hinge method to maintain perfect alignment throughout the application. Start by placing the sticker—with its backing paper and transfer tape still attached—onto the clean surface. Use pieces of painter’s tape to secure the top edge or the center of the sticker to the surface, creating a secure hinge that prevents the design from shifting.
Once the sticker is aligned and hinged, flip the decal upward along the tape line and slowly peel away the backing paper at a sharp, 45-degree angle. Ensure the vinyl design remains firmly attached to the clear transfer tape. If any part of the design clings to the backing paper, press it back down and rub it firmly before trying to peel it again.
With the backing paper removed, hold the transfer tape taut and slightly elevated above the surface. Starting from the hinged edge, use your squeegee or wrapped plastic card to press the vinyl down. Work in slow, overlapping strokes from the center outward to the edges. This outward motion systematically pushes air out from under the vinyl, preventing bubbles from forming.
After the entire design is firmly pressed down, let it sit for a few minutes to allow the adhesive to grip the surface. Then, begin peeling the transfer tape away. Pull the tape back slowly, keeping it flat against the surface at a 180-degree angle rather than pulling it straight up. This technique minimizes upward tension on the newly applied vinyl, ensuring the delicate edges stay firmly bonded to the substrate.
When and How to Use the Wet Application Method
For large decals, complex graphics, or slightly curved surfaces, the wet application method offers a forgiving alternative to the dry technique. This method uses a temporary slip agent to prevent the adhesive from bonding instantly, allowing you to slide and reposition the vinyl until it is perfectly aligned. It is particularly useful for glass windows, vehicle panels, and large plastic surfaces where a single dry mistake could ruin the entire sticker.
To prepare the slip solution, fill a clean spray bottle with water and add one or two drops of mild liquid dish soap. Avoid using soaps with moisturizers, scents, or heavy degreasers, as these additives can degrade the adhesive. Lightly spray the target surface and the exposed adhesive side of the vinyl sticker with the soapy water mixture. The liquid barrier will allow you to place the sticker down and slide it freely into the correct position.
Once the decal is positioned correctly, use a squeegee to squeegee out the water and air bubbles from under the vinyl. Start from the center of the design and push outward with firm, even pressure. Wipe away the escaping liquid with a dry microfiber cloth as you work. Because the water temporarily reduces the adhesive’s tack, you must leave the transfer tape in place until the moisture evaporates completely. Depending on the ambient temperature and humidity, this drying process can take anywhere from a few hours to a full day. Do not attempt to peel the transfer tape until the vinyl is completely dry and firmly bonded.
Troubleshooting Common Application Mistakes
Even with careful preparation, application errors like bubbles, wrinkles, or minor misalignments can still occur. If you notice a small air bubble after removing the transfer tape, do not try to rub it flat with force, as this can stretch and distort the vinyl material. Instead, use a fine sewing needle to gently prick the edge of the bubble. Press down on the bubble with your finger, pushing the trapped air out through the tiny hole toward the puncture point.
For minor wrinkles or creases, especially on curved surfaces, gentle heat can help the vinyl conform to the shape. Use a handheld hairdryer on its lowest heat setting to warm the wrinkled area for a few seconds. The heat softens the vinyl, making it more pliable and allowing you to smooth out the crease with a squeegee or soft cloth. Always use caution and keep the heat source moving to avoid melting the vinyl or damaging the underlying surface.
If you realize the sticker is misaligned during a dry application, you may be able to save it if you act immediately. Carefully lift the edge of the vinyl and peel it back slowly. However, keep in mind that pulling permanent vinyl can stretch the material out of shape and weaken the adhesive. If the sticker has already been pressed down firmly or has sat on the surface for more than a few minutes, attempting to reposition it will likely ruin the design.
Post-Application Care and Maintenance
Once your vinyl sticker is successfully applied, proper post-application care ensures the adhesive cures fully and remains durable over time. Pressure-sensitive adhesives require time to flow microscopically into the pores of the substrate to establish a strong bond. Avoid exposing the newly applied sticker to water, extreme temperature fluctuations, or direct sunlight for at least 24 to 48 hours after application.
When cleaning the surface in the future, always wash the area gently by hand using a soft cloth and mild soap. Avoid high-pressure water sprays, abrasive scrubbing pads, and harsh chemical cleaners, which can degrade the vinyl material or lift the delicate edges of the design. Periodically inspect the edges of your sticker; if you notice any minor lifting, gently press the edge back down with a clean finger to prevent dirt and moisture from getting underneath and ruining the bond.
Frequently Asked Questions (FAQ)
Can I reuse a vinyl sticker if I apply it incorrectly?
Most standard vinyl stickers are designed for single-use application and cannot be easily reused if applied incorrectly. Permanent adhesive vinyl stretches, distorts, and loses its bonding strength when peeled off a surface, making it nearly impossible to reapply cleanly. However, specialty repositionable vinyl or static-cling decals are designed with low-tack adhesives or static properties that allow them to be removed and reused, provided the adhesive side is kept free of dust and debris.
How long should I wait before washing a surface with a new vinyl decal?
You should check the manufacturer’s specific guidelines on the product packaging, as curing times can vary depending on the adhesive type. As a general rule, wait at least 24 to 48 hours before exposing the applied vinyl to water or washing the surface. For wet application methods, it is best to wait up to 72 hours to ensure all moisture trapped beneath the vinyl has fully evaporated and the adhesive has reached its maximum bonding strength.
Is it safe to apply vinyl stickers on freshly painted walls?
Applying vinyl stickers to freshly painted walls is not recommended until the paint has fully cured. While paint may feel dry to the touch within a few hours, the curing process—where solvents evaporate and the paint hardens completely—takes much longer. Applying a sticker too early can trap outgassing solvents, leading to bubbling under the vinyl, and may cause the paint to peel off when you eventually remove the decal. Check the paint manufacturer’s guidelines, but generally, wait at least three to four weeks before applying vinyl to a newly painted wall.

Community discussion
Share your experience or ask a question. Comments are reviewed before publication.