
Printing your own calendar planner at home is a highly rewarding way to organize your schedule, track personal goals, and design a layout that fits your daily routine. By choosing your own templates and paper, you can create a customized system that matches your exact planning style. In tropical climates like the Philippines, where high humidity can affect paper texture and ink drying times, printing your own planner also allows you to select materials that resist warping and ink bleeding. This step-by-step guide walks you through the entire process, from selecting the right template and configuring your printer to assembling a durable, functional planner.
What You Need Before You Start
Before you begin printing, gathering the correct tools and materials will ensure a smooth assembly process and prevent common printing errors. Your choice of printer plays a significant role in the final look of your planner. Inkjet printers are excellent for vibrant color layouts and decorative designs, while laser printers offer crisp, smudge-resistant text and fast printing speeds. Before starting, run a quick maintenance cycle to clean the print heads on an inkjet printer or wipe down the paper feed rollers on a laser printer to prevent paper slippage.
Paper selection is critical to the durability and usability of your planner. Standard copy paper, typically around 70 gsm to 80 gsm, is widely available but can feel limp in humid weather and may bleed when using gel pens or highlighters. For inner planner pages, upgrading to a heavier paper weight like 100 gsm or 120 gsm provides a smoother writing surface and better bleed resistance. For covers and dividers, select a sturdy cardstock around 200 gsm to 250 gsm to protect your pages from daily wear and tear.
Products mentioned in this guide
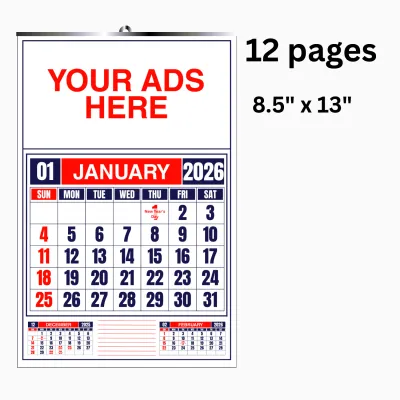
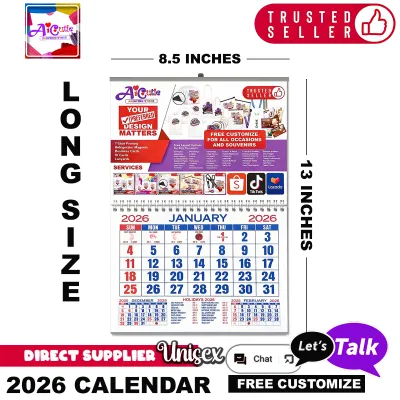
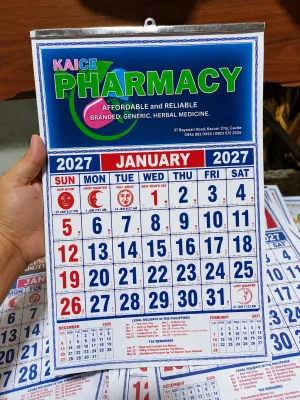
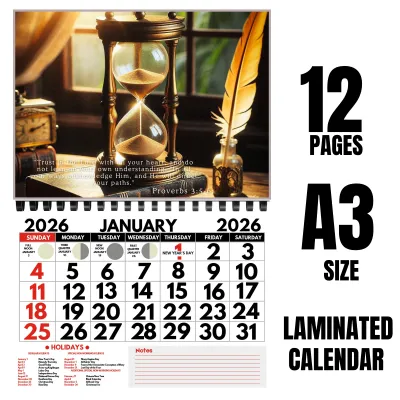

Prices are valid at publication and may change. Please refer to the product page for the latest price.
You will also need basic assembly tools to turn your printed sheets into a functional book. A reliable paper trimmer or a craft knife paired with a metal ruler is essential for achieving clean, straight edges. A bone folder helps crease folded pages smoothly without tearing the paper fibers. For binding, you will need a hole punch compatible with your chosen system, along with binding rings, discs, or a binder to hold everything together.
Choosing and Customizing Your Calendar Template
Selecting the right layout is the foundation of an effective planner system. Consider how you plan your days and weeks to determine which layout suits your scheduling habits. A monthly layout works well for high-level overviews and tracking major events. Weekly spreads offer a balance between daily tasks and weekly goals, while daily layouts provide ample space for detailed hourly scheduling and extensive to-do lists. Choose a layout size that matches your desk space and portability needs, such as A5 for on-the-go planning or A4 for a stationary desk setup.

When downloading or designing templates, pay close attention to the margins and bleed areas in the document settings. Ensure there is at least a 15mm margin on the binding side of the page to prevent your hole punches from cutting into your text or calendar grids. If your design features background colors or graphics that extend to the very edge of the page, adjust the document’s bleed settings to allow for a clean trim without white borders.
One of the greatest advantages of DIY printing is the ability to insert custom pages that standard planners omit. You can easily integrate habit trackers, monthly budget sheets, meal planners, or blank dot-grid pages directly into your calendar sequence. This customization allows you to build a comprehensive organizational tool tailored to your specific lifestyle, whether you are tracking fitness goals, managing household chores, or planning academic assignments.
Configuring Your Printer and Paper Settings
To ensure your digital document translates accurately to physical paper, you must configure your printer settings correctly. Start by matching the software page size to the physical paper loaded in your printer tray. If you are printing on A5 paper, select “A5” in your print dialog rather than leaving it on the default Letter or A4 size, which can cause severe alignment errors and cut-off text.
Adjust the media type and print quality settings in the printer dialog to optimize ink or toner application. Selecting “Heavy Paper” or “Cardstock” in the settings slows down the feed mechanism, allowing the printer to apply the correct amount of ink or toner without jamming. For inkjet printers, choosing a “High” or “Fine” print quality setting ensures crisp grid lines and vibrant colors, though it may require slightly longer drying times to prevent smudging.
Always select “Actual Size” or “Scale 100%” in your PDF reader or printing software. Avoid options like “Fit to Page” or “Shrink Oversized Pages,” as these settings will automatically alter the dimensions of your template. This automatic scaling can result in uneven margins, misaligned grids, and pages that do not fit properly within your binding system.
Step-by-Step Printing Process
Before printing an entire year’s worth of pages, run a single-page test print on a sheet of scrap paper. Use this test to verify that the margins are correct, the colors print as expected, and the text is legible. Hold the test print up to the light to check how the front and back pages align, ensuring that the binding margins match up perfectly on both sides.
Planner pages are most functional when printed double-sided (duplex). If your printer has an automatic duplexing feature, select “Print on Both Sides” and choose “Flip on Short Edge” or “Flip on Long Edge” depending on your layout orientation. For manual duplexing, print only the odd pages first, then reinsert the printed sheets into the paper tray following your printer’s specific feed direction to print the even pages on the back. It is helpful to mark a test sheet with an arrow to understand how your printer feeds and flips paper before running the full batch.
Once printed, keep your pages organized in their correct chronological order. Lay them flat on a clean, dry surface to allow the ink to cure completely. In humid environments, moisture can delay drying times, so letting the pages sit for a few hours before handling them prevents ink transfer and keeps the sheets from sticking together.
Assembling and Binding Your Planner
If you printed multiple pages on larger sheets, such as two A5 pages on a single A4 sheet, you will need to trim them down to size. Use a paper trimmer for quick, straight cuts, or a craft knife paired with a metal ruler on a dedicated cutting mat. When using a craft knife, always keep your fingers well away from the blade’s path, apply steady, even pressure, and make multiple light passes rather than trying to cut through thick paper in a single stroke.
Align your pages carefully before punching holes. If using a multi-hole planner punch, test the alignment on a scrap piece of paper first to ensure the holes are centered and even. Punch only a few sheets at a time to prevent the punch mechanism from jamming or creating ragged edges, which can make page turning difficult.
Thread your punched pages onto your chosen binding system to complete your planner. Disc-bound systems allow you to easily add, remove, or rearrange pages throughout the year without damaging the paper. Ring binders offer classic durability and easy page turning, while spiral coils provide a permanent, lay-flat binding solution. Securely attach your heavy cardstock covers to the front and back to protect your pages and give your DIY planner a professional, finished look.
Troubleshooting Common Printing Issues
Heavy cardstock can sometimes fail to feed properly through standard printer rollers, leading to paper jams. If you experience frequent jams, try feeding the cardstock one sheet at a time through the printer’s manual feed tray or rear paper slot, which typically offers a straighter paper path. Cleaning the rubber feed rollers with a slightly damp, lint-free cloth can also improve grip and prevent feeding errors.
If you notice ink smudging or smearing, your paper may not be absorbing the ink quickly enough, or the humidity levels may be too high. Try changing your print quality setting from “Best” to “Normal” to reduce the amount of ink deposited on the page, or allow the printed sheets to dry individually for several hours before handling or binding them. Using water-resistant pigment inks instead of dye-based inks can also improve durability against accidental spills.
Misaligned double-sided prints are often caused by loose paper guides in the printer tray. Ensure that the guides are snug against the paper stack to prevent the sheets from shifting as they feed into the printer. Even a slight shift of a millimeter can cause double-sided layouts to print crookedly, so double-checking the tray alignment before starting a large print job is always recommended.
Frequently Asked Questions (FAQ)
What is the best paper weight for a DIY planner?
For the inner pages of your planner, a paper weight of 100 gsm to 120 gsm is highly recommended. This thickness provides a smooth writing experience, minimizes ink ghosting or bleeding, and holds up well to daily handling. For the front and back covers, choose a heavier cardstock between 200 gsm and 250 gsm to ensure structural durability. Always check your printer’s user manual to verify the maximum paper weight it can safely feed without causing mechanical damage.
Can I use a standard office hole punch for my planner?
A standard two-hole or three-hole office punch can work if you are binding your planner in a traditional ring binder. However, if you are using a specialized system like a six-ring personal planner or a disc-bound notebook, you will need a dedicated planner punch designed for those specific hole configurations. Consistent hole spacing and precise margin depth are essential for allowing the pages to turn smoothly without catching or tearing over time.
Community discussion
Share your experience or ask a question. Comments are reviewed before publication.