
Applying dimensional embellishments to a scrapbook page adds striking visual depth, but larger accents present unique structural challenges. If you have ever turned the page of a cherished album only to find a bare spot where a beautiful gem used to be, you know the frustration of weak adhesion. Securing an 8mm rhinestone—which is significantly heavier and thicker than standard 2mm or 3mm flatback gems—requires more than just a standard adhesive. To ensure these substantial embellishments remain permanently bonded to your scrapbook layouts, you must select a high-tack, flexible adhesive, prepare the paper surface meticulously, and allow the bond to cure fully under proper environmental conditions.
In tropical climates like the Philippines, high relative humidity can dramatically affect how adhesives dry and cure. Standard water-based glues often struggle to release moisture into the humid air, leading to weak bonds that fail under the physical leverage of a turning page. By understanding the physics of a heavier 8mm embellishment and choosing the correct tools and techniques, you can create durable, beautiful layouts that preserve your memories securely for decades of family viewing.
Choosing the Right Adhesive to Support 8mm Rhinestones
An 8mm rhinestone presents a unique structural challenge in paper crafting. Unlike tiny gems that sit flush and weigh almost nothing, an 8mm stone has a raised profile and a larger surface area. When you turn a scrapbook page, the page flexes, creating a shearing force. Because the rhinestone is rigid, it cannot flex with the paper. This physical mismatch puts immense leverage on the adhesive joint. If the glue is brittle or weak, the stone will simply pop off the page during normal handling.
Products mentioned in this guide
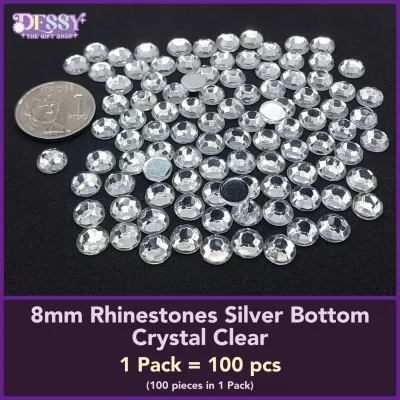
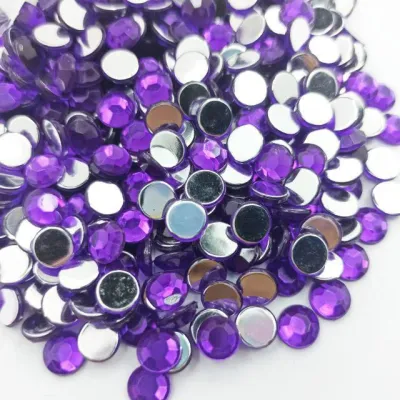
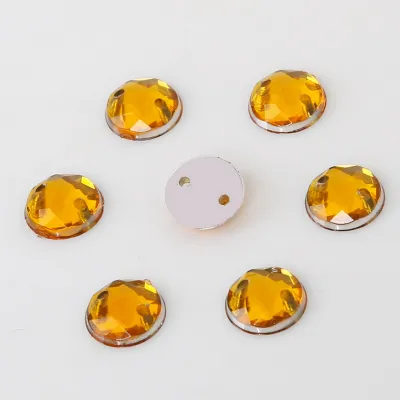
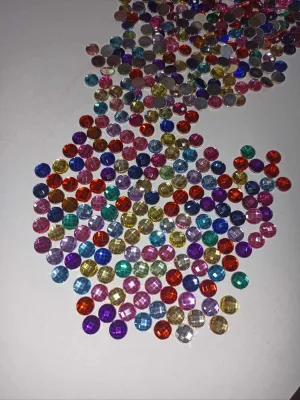
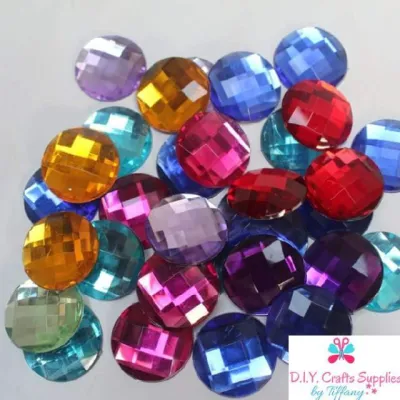
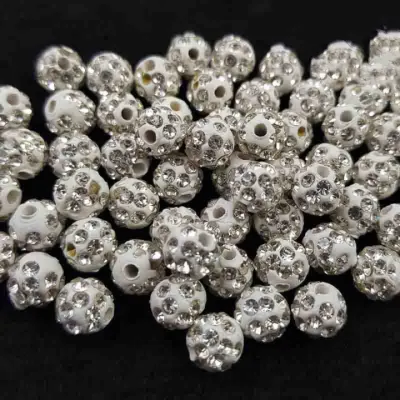
Prices are valid at publication and may change. Please refer to the product page for the latest price.
To support this weight and resist shearing forces, you must avoid standard office stationery adhesives. Standard glue sticks, thin liquid school glues, and typical tape runners do not have the structural integrity, depth, or flexibility required to hold an 8mm stone. Instead, look for specialized adhesives designed for heavy embellishments.
Premium options include specialized jewelry glues and thick, flexible polyurethane-based craft glues. These formulas are engineered to bond non-porous materials like glass, acrylic, or metal foil backings to porous surfaces like paper and cardstock. They dry clear and, crucially, remain slightly flexible when fully cured. This flexibility allows the adhesive to absorb the movement and bending of the scrapbook page without breaking the bond.
Another reliable option is high-tack, industrial-strength double-sided adhesive dots. If you choose this route, ensure the dots are specifically rated for heavy, dimensional embellishments and match the 8mm diameter of your rhinestones. These dots provide an instant, mess-free bond, which is highly convenient but leaves no room for repositioning once contact is made.
Before purchasing any adhesive, always check the product label to verify compatibility. The glue must explicitly state that it bonds non-porous materials (like acrylic, glass, or foil) to porous materials (like paper or chipboard). In the local market, high-quality craft glues typically range from ₱150 to ₱500 per bottle, making them a worthwhile investment to protect your time and creative effort.
Essential Tools and Page Preparation for Strong Adhesion
Achieving a permanent bond starts long before the glue bottle is opened. Proper surface preparation and the use of precision tools are critical to ensuring the adhesive can perform at its best.

First, gather the right handling tools. Attempting to place an 8mm rhinestone with your bare fingers is a common recipe for failure. Your fingertips naturally carry oils, moisture, and microscopic dirt. When you touch the flat backing of a rhinestone, you transfer these contaminants directly to the bonding surface, creating a barrier that prevents the glue from adhering properly. Instead, use precision tweezers, a wax-tipped dotting pen, or a clean toothpick to handle and position the stones. A wax pickup tool is particularly effective, as it gently grips the faceted face of the rhinestone and releases it easily once pressed into the glue.
Next, prepare the scrapbook paper. The bonding area must be completely clean, dry, and free of any loose particles. Dust, eraser shavings, and loose paper fibers can interfere with the adhesive. If you have recently erased pencil guidelines on your page, use a soft, clean brush to sweep away every trace of residue. If you are working on heavily textured cardstock or handmade paper, keep in mind that the uneven surface creates microscopic air gaps. In these cases, a liquid adhesive is superior to adhesive dots because the liquid can flow into the paper’s texture to maximize contact.
Finally, always dry-fit your layout before applying any glue. Use a light pencil to mark the exact placement of each 8mm rhinestone. Because high-tack glues bond quickly, attempting to slide or reposition a stone after it has touched the adhesive will smear the glue, ruin the paper fibers, and compromise the strength of the final bond.
Step-by-Step Guide to Applying and Securing Rhinestones
Executing the application with precision ensures a clean, professional finish and a bond that lasts. This process requires careful glue management and deliberate physical placement.
Applying the Adhesive Correctly
Managing the volume of your adhesive is a balancing act. You need enough glue to cover the entire flat back of the 8mm rhinestone, but not so much that it oozes out and ruins the surrounding design.
To apply the adhesive, dispense a small, controlled dot directly onto your marked spot on the scrapbook paper. Alternatively, you can apply the dot to the flat back of the rhinestone. If your glue bottle has a wide nozzle that makes precise dispensing difficult, do not squeeze it directly onto your project. Instead, squeeze a small pool of glue onto a scrap piece of plastic or silicone mat. Use a clean toothpick to transfer a precise, dome-shaped bead of glue to either the paper or the rhinestone backing.
Pay close attention to the manufacturer’s instructions regarding “open time” or “tack time.” Many high-tack craft glues perform best when allowed to sit exposed to the air for 10 to 30 seconds before assembly. This brief wait allows some of the solvent or water to evaporate, making the adhesive incredibly tacky and preventing the heavy rhinestone from sliding around once placed.
If you experience minor glue squeeze-out, act immediately. Keep a pack of dry cotton swabs or a slightly damp microfiber cloth nearby. Gently wipe away the excess glue from around the base of the stone, taking care not to smear it across the paper or onto the sparkling facets of the rhinestone. If the glue is water-soluble, a barely damp swab works wonders, but ensure it is not wet enough to warp the surrounding paper.
Placing and Securing the Rhinestones
Once the adhesive is ready, pick up the 8mm rhinestone using your wax-tipped pen or tweezers. Position it directly over the glue dot, aligning it carefully with your pencil marks.
Lower the rhinestone straight down onto the adhesive. Do not drop it from a height, and avoid sliding it horizontally once it makes contact. Sliding the stone pushes the glue away from the center, resulting in a starved joint in the middle and a messy ring of glue around the edges.
Press the stone firmly and evenly into the adhesive. Apply downward pressure using your tool or a clean, dry finger (touching only the top faceted face of the stone, not the sides or back). This pressure forces the adhesive to spread evenly across the entire flat back of the rhinestone, squeezing out any trapped air pockets and embedding the glue deep into the paper fibers.
Hold this gentle, sustained pressure for the initial set time specified by the adhesive manufacturer. This is typically between 10 and 30 seconds. In humid environments, such as during the rainy season in the Philippines, you may need to hold pressure slightly longer, as the moisture in the air slows down the initial tack development. Holding the stone steady prevents it from lifting or shifting as the adhesive begins its initial drying phase.
Common Application Mistakes That Cause Stones to Fall Off
Understanding why rhinestones fail to stay attached can help you troubleshoot your technique and avoid repeating past errors.
One of the most frequent mistakes is creating a “starved joint.” This occurs when you use too little glue out of fear of making a mess. An 8mm stone has a relatively large surface area; if only a tiny speck of glue in the center connects it to the paper, the edges remain unbonded. Any slight snag or page flex will easily pry the stone off. Conversely, using far too much glue is equally problematic. Excess liquid glue causes the rhinestone to float and slide out of position, saturating the paper fibers and causing unsightly warping or wrinkling of your scrapbook page.
Another critical error is attempting to adjust or reposition the rhinestone after the adhesive has begun to set. Once the glue starts to dry, it forms a delicate microscopic matrix of chemical bonds. If you slide or nudge the stone to correct its alignment after a minute or two, you break this forming matrix. The glue will not re-bond with the same strength, resulting in a joint that is highly prone to failing later. If a stone is misaligned, it is often better to remove it completely, clean off the wet glue, let the paper dry, and start fresh.
Finally, premature handling is a major cause of lost embellishments. It is highly tempting to close your scrapbook, stack other albums on top of it, or pack it into a bag immediately after finishing a page. Doing so before the adhesive has fully cured can transfer wet glue to the opposite page, permanently ruining your layouts, or dislodge the heavy 8mm stones from their positions.
Curing, Testing, and Protecting Your Embellished Pages
The final phase of securing your 8mm rhinestones involves patience and proper long-term preservation techniques.
It is vital to understand the difference between “set time” and “cure time.” The set time refers to the initial period (usually minutes) during which the glue dries enough to keep the stone from sliding around. The cure time is the total duration required for the adhesive to undergo its complete chemical transformation and reach its maximum structural strength. Depending on the specific adhesive and the ambient humidity, full curing can take anywhere from 24 to 72 hours. Always consult the product label for the manufacturer’s recommended curing duration. In highly humid tropical conditions, it is wise to err on the side of caution and allow the project to cure for an extra 24 hours before handling.
Once the recommended cure time has passed, perform a gentle, non-destructive test to verify the bond. Take a clean toothpick or use the edge of your fingernail to very lightly tap or nudge the side of the rhinestone. If the stone feels rock-solid and does not wiggle, lift, or slide, the bond is successful. If you notice any movement or lifting, the adhesive did not bond correctly. In this case, carefully peel the stone off, scrape away the dried glue residue, and reapply using a different adhesive or improved surface preparation.
For long-term preservation, take steps to protect your dimensional pages from physical wear. Because an 8mm rhinestone is thick, it creates a significant bump in your scrapbook. When the album is closed, this bump presses directly against the facing page. Over time, this pressure can indent or scratch neighboring photos and embellishments. To prevent this, use thick, high-quality plastic page protectors. You can also insert temporary cardstock spacer sheets or protective foam inserts between the pages when the album is stored. Finally, store your scrapbooks in a cool, dry place. Avoid exposing them to extreme heat, such as direct sunlight or storage near hot appliances, which can soften thermoplastic adhesives and cause the rhinestones to slide or fall off over time.
Frequently Asked Questions (FAQ)
Can I use a hot glue gun for 8mm rhinestones on scrapbook paper?
While a hot glue gun is a popular tool for many DIY crafts due to its instant cooling and strong initial hold, it is not recommended for applying 8mm rhinestones to scrapbook paper. The high temperature of melted glue can easily damage the delicate, reflective foil backing found on the underside of many rhinestones. When this foil backing melts, burns, or peels away, the rhinestone loses its brilliant sparkle and appears dull or cloudy. Additionally, the intense heat can scorch, warp, or buckle delicate scrapbook papers and cardstock.
Furthermore, hot glue naturally cools into a thick, bulky, and highly rigid layer of plastic. This added bulk causes the already thick 8mm rhinestones to sit exceptionally high off the paper surface. This elevated profile significantly increases the risk of the stones snagging on opposite pages, sleeves, or clothing, leading to them being ripped off and tearing the underlying paper. For a flat, durable, and safe bond, it is best to use specialized flexible craft glues or jewelry glues designed specifically for paper crafts and mixed media.
Community discussion
Share your experience or ask a question. Comments are reviewed before publication.