
Handwritten greeting messages add a deeply personal touch to gifts and greeting cards, but the quality of your message depends heavily on the surface you write on. Choosing the right paper tag prevents common frustrations like ink bleeding, feathering, or smudging, ensuring your calligraphy or handwriting looks crisp and intentional. This guide breaks down how to evaluate paper tag materials, match them to your preferred pens and inks, and verify their performance before you commit your final message to paper.
In tropical climates like the Philippines, high relative humidity can significantly affect how paper behaves. Paper fibers naturally absorb moisture from the air, which can soften the surface and alter how it interacts with liquid inks. Selecting a tag with the right balance of absorbency and surface sizing is essential to ensure your personalized gift messages look elegant and professional.
Understanding Paper Tag Materials and Finishes
The base material and surface treatment of a paper tag dictate how it absorbs ink, how quickly that ink dries, and how smoothly your pen glides across the surface. Evaluating these physical characteristics before purchasing prevents writing mishaps and ensures your gift presentation looks polished.
Products mentioned in this guide
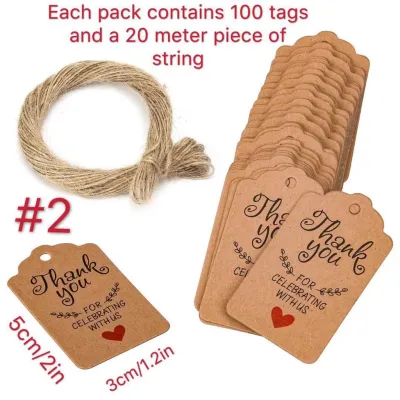
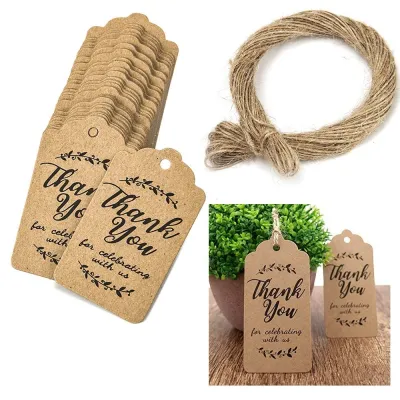
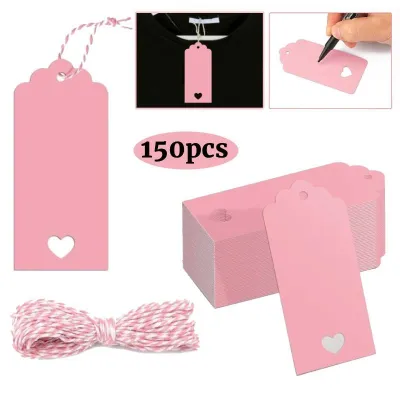
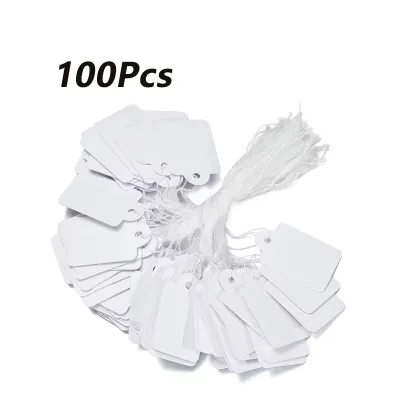
![[30pcs] 350gsm Kraft Hang Tag Kraft Paper Blank Gift Tag Thick Quality Gift Tag](https://img.lazcdn.com/g/p/0c1a0e55e37e1d8f41c08e9f58b6c291.png_400x400q80.png_.webp)
Prices are valid at publication and may change. Please refer to the product page for the latest price.
Uncoated paper tags are highly popular due to their natural, classic appearance. These papers have not been treated with a surface sealant, meaning they readily absorb liquid inks. However, the level of sizing—a chemical agent added during manufacturing to control water absorbency—varies greatly. Well-sized uncoated cardstock allows ink to dry relatively quickly without spreading, while poorly sized paper acts like a sponge, causing ink to feather outward into fuzzy lines.
Coated paper tags, which feature a glossy, semi-gloss, or satin finish, present a different set of challenges. While these coatings prevent ink from soaking into the paper fibers, they also prevent water-based inks from drying quickly. On glossy surfaces, gel pens, fountain pens, and rollerballs are highly prone to smudging, as the ink sits on top of the coating for an extended period. Matte coated papers offer a practical compromise, providing a smooth surface that accepts ink more readily than high-gloss options while still resisting bleed-through.
Textured paper tags, such as those with a laid, linen, or cold-press finish, add a tactile, premium feel to a gift. The physical tooth or grain of textured paper provides satisfying feedback for pencils and ballpoint pens. However, this texture can be problematic for fine-point pens, fountain pens, and flexible brush tips. Sharp metal nibs can catch on the paper grain, causing ink splatters, while the abrasive surface of textured paper can prematurely wear down and fray delicate felt brush tips.
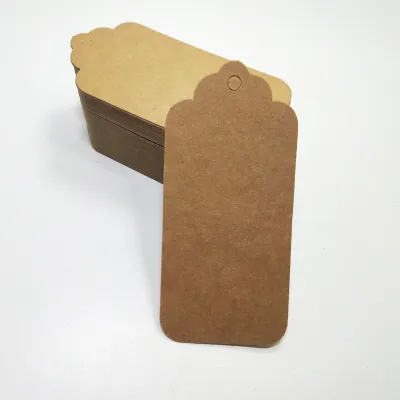
Kraft and recycled paper tags are widely used for rustic, eco-friendly, or minimalist gift wrapping. Kraft paper is typically uncoated and made from unbleached wood pulp, giving it a characteristic brown color and a slightly fibrous texture. Because recycled fibers are shorter and more porous, these tags tend to be highly absorbent, which increases the risk of ink feathering. Additionally, the darker background of kraft paper reduces the visual contrast of standard black or blue inks, requiring you to choose your writing instruments carefully.
Cardstock weight and thickness are critical indicators of quality, measured in grams per square meter (GSM). For a sturdy, premium-feeling gift tag, look for cardstock between 250 GSM and 350 GSM. Heavy cardstock resists bending when tied to a package and prevents ghosting—where the shadow of the writing is visible on the reverse side. Thinner papers, such as those under 200 GSM, easily warp when wet ink is applied and are much more likely to tear at the attachment point.
Matching Paper Tags to Your Pens and Inks
Achieving a clean, professional-looking handwritten message requires matching the chemical properties of your ink with the physical properties of your paper tag. Using the wrong combination can result in illegible writing, ruined tags, or ink transferring onto your gift wrapping.

Fountain pens and wet liquid inks require high-quality, dense cardstock with excellent sizing. Because fountain pen ink is water-based, it needs a surface that allows it to pool slightly and dry without soaking deep into the paper fibers. If you use a fountain pen on highly absorbent, unsized paper tags, the ink will feather rapidly, turning elegant cursive into blurry, illegible strokes. For these pens, look for smooth, heavy cardstock specifically rated as fountain-pen-friendly.
Gel pens and rollerballs are incredibly popular for everyday writing and card-making due to their vibrant colors and smooth flow. Gel ink consists of pigments suspended in a water-based gel, which glides effortlessly over satin or matte coated tags. However, because gel ink sits on top of the paper surface, it requires a few extra seconds to dry. In humid environments, this drying time is extended, meaning you must be careful not to drag your hand across the written message as you write.
Markers and brush pens, particularly those used for modern calligraphy, deliver a high volume of ink to the paper. Alcohol-based markers are notorious for bleeding through almost all standard paper types, often soaking completely through to the back of the tag and even staining the surface underneath. Water-based brush pens are safer, but they can still saturate thin cardstock, causing the paper to warp or pill. To use these tools successfully, select heavy, smooth cardstock of at least 300 GSM, or look for tags with a laminated or double-layered backing.
Metallic, opaque, and white pens are the ideal choice when writing on dark kraft, navy, or black paper tags. These pens use specialized pigment-based inks or acrylic paints that form an opaque layer on top of the paper rather than soaking into it. This surface-level coverage ensures high contrast and excellent legibility against dark backgrounds. When using metallic gel pens or paint markers, allow the ink to cure completely for several minutes, as these thicker formulas take longer to dry and are highly susceptible to smudging if handled too soon.
Key Features to Check Before Buying
Beyond the paper material and ink compatibility, the physical design and construction of a paper tag determine how easy it is to use and how well it holds up on a gift package. Paying attention to these structural details ensures your tags are both functional and visually appealing.
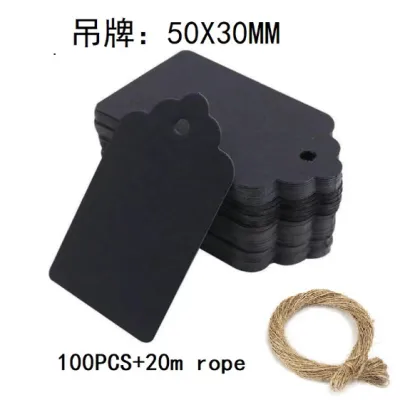
The dimensions and shape of the tag should complement the size of your gift and the length of your message. Standard rectangular tags (often around 5 by 9 centimeters) provide ample space for a short greeting, a name, and a signature. If you are attaching a tag to a small jewelry box or a delicate party favor, opt for miniature tags (around 3 by 5 centimeters) to avoid overwhelming the package. For larger gift bags or boxes, a larger tag or a unique die-cut shape, such as a circle or a scalloped edge, can serve as a beautiful focal point.
Hole reinforcement is a crucial feature that prevents the tag from tearing away from its string. The tension from a tight ribbon or the movement of a gift during transport can easily rip through plain punched paper. Look for tags that feature metal eyelets, also known as grommets, which provide maximum durability. Alternatively, tags with reinforced paper patches around the hole offer a classic, vintage look while significantly strengthening the attachment point. If you choose plain punched tags, ensure there is a generous margin of at least 5 millimeters between the hole and the top edge of the cardstock.
Deciding between pre-printed and blank layouts depends on your writing style and confidence. Completely blank tags offer total creative freedom, allowing you to experiment with layout, orientation, and decorative doodles. However, keeping your writing straight on a blank surface can be challenging. If you prefer structure, look for tags with subtle pre-printed guidelines, elegant borders, or classic “To” and “From” prompts on one side. This leaves the reverse side entirely blank for a longer, more personal message.
Finally, consider the compatibility of the tag hole with your chosen attachment material. Many paper tags come pre-packaged with jute twine, baker’s twine, or thin ribbon. If you plan to use your own thick satin ribbon or rustic cord, measure the diameter of the punched hole first. Forcing a thick ribbon through a small hole can bend the cardstock, crease the tag, or fray the ribbon fibers, detracting from the clean, elegant presentation of your gift.
How to Test and Prepare Your Paper Tags
To ensure your final handwritten message looks flawless, it is wise to establish a simple preparation and testing routine. Taking a few precautionary steps before you begin writing can save you from wasting expensive tags or ruining a beautifully wrapped gift.
The most effective way to prevent writing disasters is to perform a hidden test. Before writing on your actual gift tags, take a spare tag from the pack—or use the very bottom edge of the reverse side of a tag—and write a few test characters using your chosen pen. Observe how the ink behaves over the next two minutes. Check if the ink spreads or feathers, note exactly how long it takes to dry completely, and flip the tag over to inspect the back for any signs of ghosting or bleed-through.
Always use a clean blotter or backing sheet when writing your messages. Placing a sheet of scrap paper, cardstock, or a dedicated piece of blotting paper underneath your tag serves two important purposes. First, it protects your desk, table, or the underlying gift wrap from accidental ink transfer if the pen bleeds through. Second, it provides a slightly cushioned, level writing surface, which improves pen control, reduces hand fatigue, and ensures more consistent ink flow.
Proper handling and storage of your paper tags are essential, especially in tropical environments where humidity levels fluctuate. Store your unused tags flat inside a resealable plastic sleeve or a dedicated stationery box. Leaving paper tags exposed to open air in humid conditions allows them to absorb moisture, which softens the paper fibers, increases the likelihood of ink feathering, and can cause the cardstock to warp or curl. Keep them in a cool, dry drawer until you are ready to use them.
Recognize the warning signs of poor pen and paper compatibility and know when to stop. If your pen nib feels scratchy, if the ink pools into wet droplets that refuse to sink into the paper, or if you notice immediate feathering, do not force yourself to finish the tag. Continuing to write with an incompatible pen will only result in a messy, smudged message. Stop immediately and switch to a drier writing instrument, such as a high-quality ballpoint pen, or select a different tag with a more compatible surface finish.
Frequently Asked Questions (FAQ)
Can I use both sides of a paper tag for writing?
Using both sides of a paper tag is entirely possible, provided the cardstock is thick and opaque enough to prevent show-through. To write on both sides successfully, look for tags with a weight of at least 300 GSM. You should also avoid using wet inks, heavy markers, or highly saturated brush pens, as these are highly likely to create ghosting that makes the text on both sides difficult to read. For double-sided writing, stick to dry or quick-drying media, such as fine-point gel pens, ballpoint pens, or colored pencils, and always ensure the ink on the first side is completely dry before flipping the tag over to write on the back.
How do I fix a mistake on a paper tag without ruining it?
Correcting a mistake on a paper tag requires a gentle, creative approach, as traditional liquid correction fluids can warp the paper and leave an unsightly, uneven texture. If you are writing on thick, uncoated cardstock, you can sometimes use a fine craft blade to very gently scrape away the dried surface fibers containing the ink error, or use a specialized sand eraser designed for ink removal. For smooth, coated, or colored tags where scraping would damage the finish, it is best to cover the mistake creatively. You can place a small decorative sticker, a strip of patterned washi tape, or a small stamped design directly over the error, then rewrite your message on top of the new layer.

Community discussion
Share your experience or ask a question. Comments are reviewed before publication.