
Setting up a structured folder and binder filing system is the most reliable way to regain control over household clutter, business records, and personal archives. By establishing a physical papers documents organizer, you eliminate the stress of searching for misplaced tax forms, medical records, or utility bills. A well-planned system ensures that every document has a designated home, making retrieval effortless and keeping your workspace clean.
An effective filing system relies on matching your specific document types with the right physical storage tools. Whether you are managing active school projects, monthly household expenses, or permanent legal certificates, a combination of binders, folders, and clear labels will keep your papers secure. With a systematic approach to sorting, categorizing, and maintaining your files, you can build a durable archive that adapts to your changing needs over time.
Gather Your Supplies and Prepare Your Workspace
Before sorting a single sheet of paper, you must gather the necessary stationery tools and prepare an open, clean workspace. A large, flat surface like a dining table or a wide desk is ideal because it allows you to spread out documents without mixing different categories. Clear the area of any food, drinks, or clutter that could stain or damage your important papers.
Products mentioned in this guide
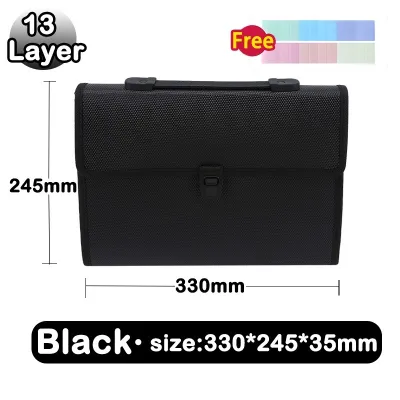
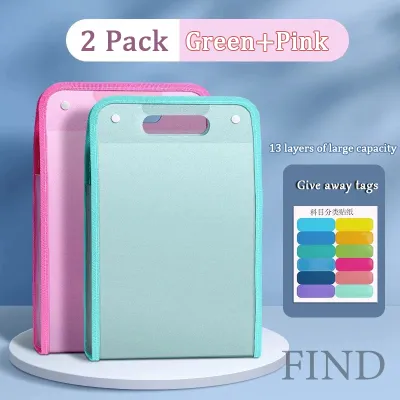
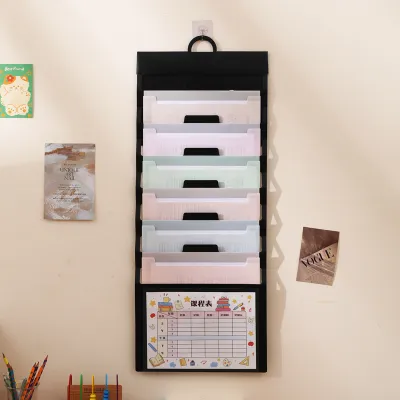
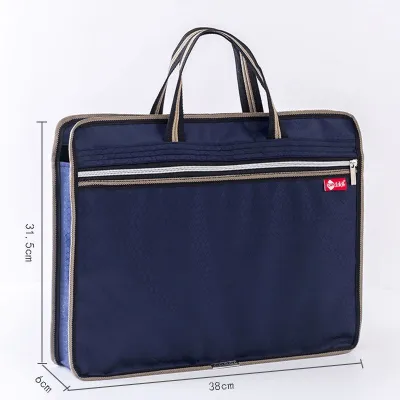
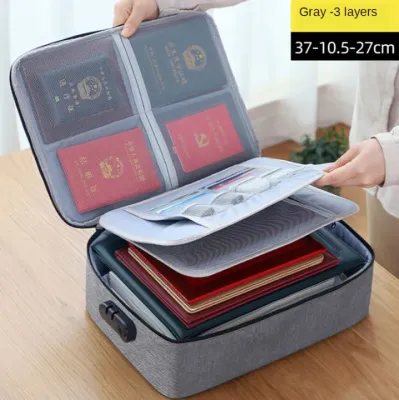
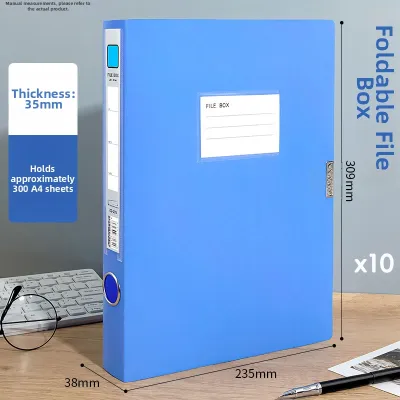
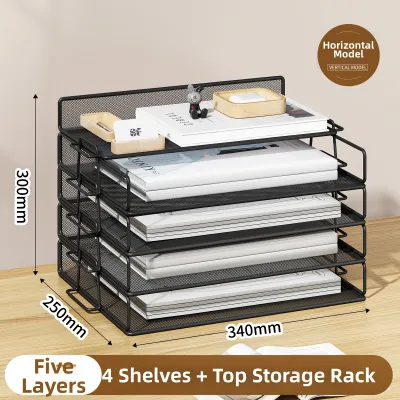
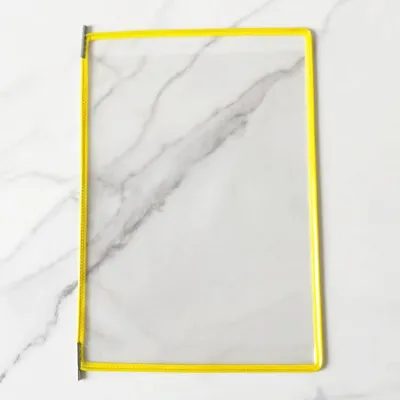
Prices are valid at publication and may change. Please refer to the product page for the latest price.
To build a highly functional papers documents organizer, compile a selection of essential stationery items. You will need heavy-duty binders, standard manila folders, colored hanging folders, tabbed dividers, adhesive labels, and reliable writing instruments. If you live in a humid tropical climate, such as in the Philippines, consider choosing moisture-resistant plastic folders and binders rather than basic cardboard options to protect your documents from warping or mold.
Before purchasing your supplies, check the manufacturer specifications for binder ring sizes and folder capacities. A standard 1-inch round-ring binder typically holds up to 175 sheets of paper, while a 2-inch D-ring binder can comfortably accommodate up to 480 sheets. Ensure that the folders you select match the paper sizes you use most frequently, such as A4, Letter, or Legal sizes, to prevent edges from sticking out and getting damaged.
Sort and Categorize Your Papers
The foundation of any successful filing system is a thorough sorting process. Begin by gathering all loose papers from around your home or office into one central pile on your workspace. Pick up each document individually and make an immediate decision on its destination, grouping similar items together to form logical categories.

To make sorting manageable, separate your documents based on their frequency of use. Create one pile for daily reference items, such as active school assignments, current project notes, or outstanding bills that require immediate payment. Set aside a second pile for monthly or quarterly documents, including bank statements, utility bills, and insurance updates. Finally, designate a third pile for long-term archives, which contain permanent records like birth certificates, marriage contracts, land titles, and tax histories.
As you sort, identify highly sensitive documents that require secure or locked storage. Items containing personal identification numbers, financial account details, or legal deeds should not be left in open desk folders. Plan to store these in a fireproof safe or a lockable filing cabinet, while general paperwork can remain in standard binders on open shelves.
Reduce physical clutter immediately by discarding or shredding outdated papers that no longer serve a purpose. Expired warranties, old grocery receipts, and duplicate printouts can be recycled or shredded to save valuable storage space. Be ruthless during this step; keeping only what is necessary makes your final papers documents organizer much easier to navigate and maintain.
Choose the Right Folders and Binders for Each Category
Matching your sorted document groups with the appropriate physical organizers is critical for long-term usability. Different types of paperwork require different storage methods depending on how often you need to handle them and how fragile they are. Choosing the wrong container can lead to torn pages, lost documents, or an disorganized system that is difficult to use.
For frequently handled or fragile documents, use heavy-duty binders paired with clear plastic sheet protectors. Sheet protectors allow you to read both sides of a document without removing it, shielding the paper from finger oils, dust, and humidity. This setup is ideal for certificates, recipes, reference manuals, and school portfolios. When buying sheet protectors, verify that they are made of acid-free, non-stick polypropylene to ensure the plastic does not lift the ink off your printed pages over time.
For bulky, multi-page categories that do not fit well in standard folders, select expanding folders or accordion files. These organizers are excellent for grouping receipts, medical records, or monthly utility bills because they expand to accommodate a high volume of paper. Many accordion files come with built-in tab dividers, allowing you to subdivide a single category by month or sub-topic without needing multiple separate folders.
For lightweight, everyday paperwork that fits neatly into filing cabinet drawers, opt for standard manila or colored folders. These folders are perfect for organizing active projects, client files, or general correspondence. If you use a filing drawer, pair these folders with hanging folders to keep them upright and prevent them from slipping beneath one another.
Label and Assemble Your Filing System
A filing system is only as good as its labeling. Without clear, consistent labels, even the most expensive binders and folders will quickly become a confusing mess. Applying uniform labels to your folder tabs and binder spines ensures that you can locate any document in seconds and return it to its proper place just as quickly.
Use a consistent naming convention across all your labels to maintain visual order. Write or print clear, concise titles that describe the exact contents of the folder, such as “Electricity Bills 2026” or “Medical Records – Family.” Avoid vague descriptions like “Misc” or “Stuff,” which lead to confusion and disorganized filing.
Incorporate color-coding to visually separate major categories of documents. For example, you can use green folders and labels for financial documents, blue for personal records, red for medical files, and yellow for work-related papers. This visual distinction allows your brain to instantly identify the correct section of your filing system, reducing search times significantly.
Once labeled, arrange your binders on sturdy shelves and your folders in drawers in a logical order. Alphabetical arrangement works best for general categories, while chronological order is ideal for financial statements, tax records, and utility bills. Ensure that binder spines face outward so the labels are fully visible at a glance.
Maintain and Update Your Paper Organizer
Creating a filing system is a one-time project, but maintaining it requires a consistent routine. Without regular upkeep, new mail, receipts, and documents will quickly pile up on your desk, undoing all your hard work. Establishing simple habits will keep your papers documents organizer functional and prevent future paper buildup.
Schedule a regular time, such as fifteen minutes every Friday afternoon or once a month, to process new incoming documents. During this designated time, open your mail, discard the envelopes, shred any junk mail, and file the important documents immediately into their respective folders or binders. Keeping an “Inbox” tray on your desk can help hold incoming papers temporarily until your scheduled filing session.
Conduct an annual review of your archived files to purge documents that have passed their retention period. Many financial documents, tax records, and utility bills only need to be kept for a specific number of years before they can be safely discarded. Shredding these outdated files once a year frees up valuable space in your binders and folders for incoming paperwork.
Be prepared to adjust your categories and supplies as your life changes and your document volume grows. You may find that a category previously stored in a single folder now requires its own dedicated binder, or that a new hobby or business venture requires an entirely new color-coded section. Regularly evaluating your storage needs ensures that your filing system remains a helpful tool rather than a source of frustration.
Frequently Asked Questions (FAQ)
How do I prevent ink from smudging on my folder labels?
To prevent ink from smudging, always allow the ink to dry completely before handling or stacking your labeled folders. If you are writing labels by hand, use smudge-resistant pens, such as pigment-based gel pens or permanent fine-tip markers, which dry faster and resist moisture better than standard dye-based ballpoint pens. For the cleanest and most durable results, consider using a dedicated label maker or printing your labels on adhesive sheets using a laser printer, as toner is highly resistant to smudging and fading.
What is the best way to store thermal paper receipts?
Thermal paper receipts, such as those from grocery stores and gas stations, are highly sensitive to heat, light, and chemical reactions. To prevent them from fading, store thermal receipts in a cool, dark, and dry place away from direct sunlight. Avoid placing them inside plastic sheet protectors made of polyvinyl chloride (PVC), as the plasticizers can react with the thermal coating and erase the print. For long-term records, the safest approach is to make a photocopy on standard paper or create a digital scan, as the original thermal print will naturally fade over time regardless of storage conditions.
Community discussion
Share your experience or ask a question. Comments are reviewed before publication.