
Paperwork has a way of quietly taking over a home. Between monthly utility bills, medical records, school report cards, and vital government certificates, loose sheets easily accumulate on dining tables, desks, and kitchen counters. Without a structured system, finding a single birth certificate or an insurance policy during an emergency can result in hours of stressful searching.
Establishing a dedicated home filing system using a high-quality documents organizer folder and robust binders is the most effective way to regain control of your household paperwork. By taking the time to sort, categorize, and safely store your physical documents, you create an orderly archive where every important paper has a designated, easily accessible home. This guide provides a practical, step-by-step approach to building a durable, climate-conscious home filing system tailored to your daily needs.
Gather Your Supplies: Choosing the Right Documents Organizer Folder and Binders
Before sorting through your paperwork, you must gather the right tools. The stationery you choose will determine how easy your documents are to access, how well they are preserved, and how much physical space your filing system occupies. Different documents require different storage formats depending on their weight, volume, and how frequently you need to retrieve them.
Products mentioned in this guide
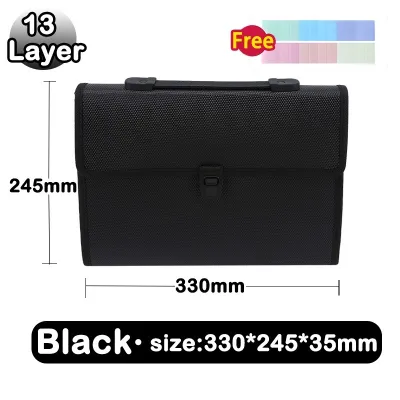
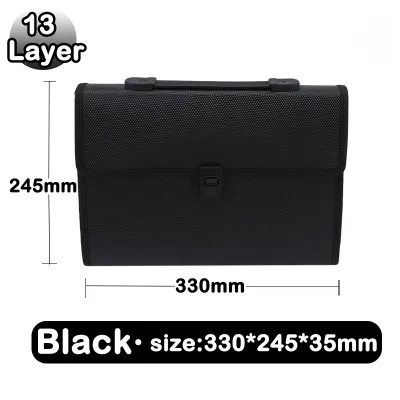

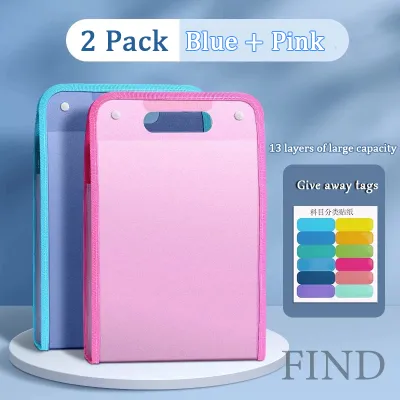
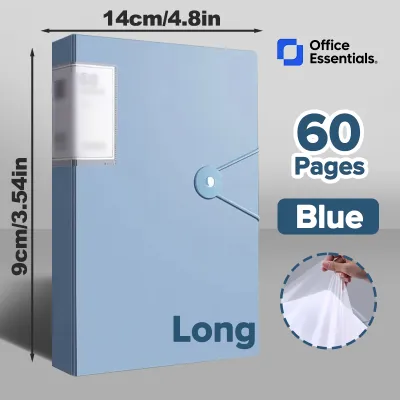
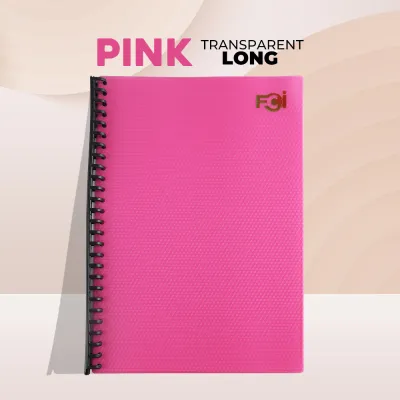
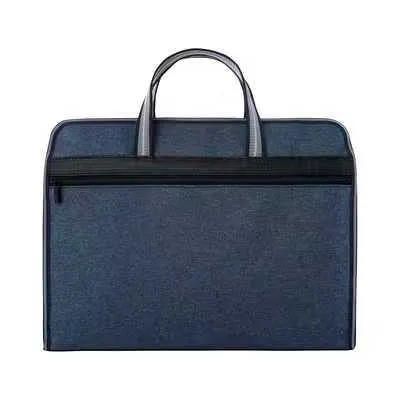
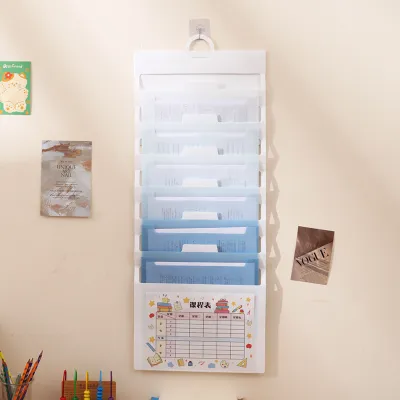
Prices are valid at publication and may change. Please refer to the product page for the latest price.
For lightweight, temporary, or highly transportable records, a multi-pocket documents organizer folder or an expandable accordion file is highly efficient. These folders are excellent for keeping active projects, monthly receipts, or travel documents in one portable place. However, for heavy-duty, long-term archiving, rigid binders are the superior choice. When selecting binders, opt for D-ring models rather than traditional round O-ring binders. D-ring binders allow pages to lie completely flat when open, which prevents the paper edges from crumpling and allows you to store up to 25 percent more documents in the same spine width.
Paper size compatibility is a crucial factor that is easily overlooked. In the Philippines, household paperwork generally comes in three standard sizes: Letter (8.5 x 11 inches), A4 (8.27 x 11.69 inches), and Legal or “long bond paper” (8.5 x 13 inches). Many local land titles, notarized contracts, and older government documents are printed on long bond paper. If you purchase standard A4 binders, these longer documents will protrude from the top or bottom, leading to bent edges and physical wear. Always check the dimensions of your binders and plastic sheet protectors to ensure they accommodate your longest documents.
To protect your papers from physical wear and environmental damage, invest in high-quality plastic sheet protectors. Look for acid-free, archival-safe polypropylene sheets. Avoid cheap PVC protectors, which can degrade over time and cause ink or toner to lift off the page and stick to the plastic. Sheet protectors also eliminate the need to punch holes in original documents, preserving their legal integrity. Plan your budget realistically: a durable, heavy-duty D-ring binder and a pack of quality sheet protectors typically cost between ₱150 and ₱600 at local office supply stores or online marketplaces.
Step 1: Sort and Purge Your Existing Documents
With your supplies ready, gather all the loose paperwork from around your home and pile it onto a large, clean flat surface like a dining table. Sorting through years of accumulated paper can feel overwhelming, but breaking the process down into distinct phases makes it highly manageable. Your first goal is to separate the clutter from the truly important records.

Begin by sorting all your papers into broad, practical categories. For a typical household, these five pillars cover almost everything:
- Personal Identification: Passports, birth certificates, marriage contracts, and government-issued IDs.
- Financial: Tax returns, bank statements, loan agreements, and investment records.
- Property: Land titles, lease agreements, vehicle registration documents, and appliance warranties.
- Medical: Vaccination cards, health insurance policies, laboratory results, and medical histories.
- Educational and Career: Diplomas, transcripts, employment contracts, and professional licenses.
Once your papers are grouped into these categories, it is time to purge. Be ruthless when deciding what to keep and what to discard. Permanent records—such as Philippine Statistics Authority (PSA) certificates, land titles, and school transcripts—must be kept indefinitely in their original physical forms. On the other hand, temporary documents can be safely discarded once they have served their purpose. Expired appliance warranties, credit card statements older than a year, and old utility bills from providers like Meralco or Maynilad can usually be shredded and recycled, provided your payments have been fully posted and settled.
Before destroying any financial, medical, or legal paperwork, verify the specific retention requirements with local institutions or professionals. For example, business owners and self-employed individuals must adhere to strict document retention guidelines set by the Bureau of Internal Revenue (BIR) for tax audits. If you are unsure whether a document is safe to discard, keep a digital scan of it before shredding the physical copy, or consult a professional to avoid accidentally destroying legally required records.
Step 2: Create a Logical Categorization and Labeling System
Once you have narrowed down your paperwork to the essentials, you need to structure your folders and binders so that any family member can find a specific document in less than a minute. A successful filing system relies on a clear, hierarchical index that moves logically from broad categories to specific subcategories.
Within each main binder, use tabbed dividers to establish clear subcategories. For example, inside your “Financial” binder, you might have separate tabbed sections for “Income Tax Returns,” “Active Bank Accounts,” and “Outstanding Loans.” In your “Property” binder, you can create distinct sections for “House Title & Deeds,” “Real Property Tax Receipts,” and “Home Insurance Policies.” This micro-organization prevents a single binder from becoming a chaotic, unsearchable stack of paper.
Consistent, highly visible labeling is key to maintaining this order. Use a physical label maker or neatly printed spine inserts to label the outside of every binder and documents organizer folder. Avoid handwritten labels on scraps of tape, as they tend to peel off and look messy over time. Assigning a specific color scheme to your filing system can also speed up visual scanning. For instance, you could use green binders for financial documents, blue for medical records, red for personal identification, and yellow for property files.
If your home filing system grows to span multiple binders, boxes, or cabinet shelves, create a master index sheet. This index acts as a table of contents for your entire household archive. Print the master index and place it in a plastic sleeve at the very front of your primary binder, or tape it to the inside of your filing cabinet door. When you need to find a specific document, a quick glance at the master index will tell you exactly which binder and section to pull.
Step 3: Organize and Store Your Files
With your categories defined and your binders labeled, you can begin the physical assembly of your filing system. This stage requires care, especially when handling fragile, older documents that are prone to tearing or fading.
To assemble your binders, slide your documents into the plastic sheet protectors first. For multi-page documents, such as a multi-year lease agreement or a medical report, keep the pages together in a single protector or use consecutive protectors. Arrange the documents chronologically within each tabbed section, placing the most recent records at the very front so they are immediately visible when you open the binder. Use sturdy, write-on tabbed dividers to separate the sections, ensuring the tabs extend past the edges of the sheet protectors so they remain easy to read.
Where you store your completed binders and folders is just as important as how you organize them. Paper is highly sensitive to environmental factors. Choose a storage location that is cool, dry, dark, and well-ventilated. Avoid storing your files in areas prone to high heat or direct sunlight, such as window ledges or uninsulated attics, because UV rays and heat cause paper fibers to break down and ink to fade rapidly.
In the Philippines, the tropical climate and high relative humidity present significant challenges for paper preservation. High humidity encourages the growth of mold and mildew, and it attracts destructive pests like termites (anay) and silverfish. To safeguard your documents, implement these practical, low-risk moisture control measures:
- Use Silica Gel Packets: Place several large silica gel packets or moisture-absorbing charcoal pouches inside your storage boxes or on the shelves where your binders are kept.
- Elevate Your Storage: Never store your binders or documents organizer folder directly on the floor, where they are vulnerable to ground moisture, concrete sweating, or sudden indoor flooding during the typhoon season.
- Maintain Airflow: Keep your storage cabinets slightly ajar or ensure the room has regular air circulation to prevent stagnant, humid air from trapping moisture around your files.
- Use Plastic Storage Tubs: Consider housing your binders inside tightly sealed, transparent plastic storage bins rather than cardboard boxes, which absorb moisture and attract pests.
Step 4: Maintain and Update Your Filing System
An organized filing system is not a one-time project; it is an ongoing habit. Without a regular maintenance routine, incoming mail, receipts, and school papers will quickly pile up, and your home will gradually revert to its previous cluttered state.
To prevent paper accumulation, set up a dedicated physical “to-file” tray or basket in a central, high-traffic area of your home, such as near the entryway or on a desk. When you bring mail, receipts, or school forms into the house, place them directly into this tray instead of leaving them on tables or countertops. This simple boundary keeps your home tidy and ensures that unfiled documents do not get lost.
Establish a recurring schedule to process the contents of your “to-file” tray. For most households, a brief 15-minute sorting session at the end of every month is sufficient to file away new documents. Additionally, schedule an annual deep-purge session—ideally in January—to review your binders, remove expired documents, update folder labels, and make room for the upcoming year’s paperwork.
Finally, consider integrating digital backups into your maintenance routine. Use a smartphone scanning application or a dedicated document scanner to create high-resolution PDF copies of your most critical physical records. Store these digital files in a secure, password-protected cloud drive organized with the same folder structure as your physical binders. While digital backups are incredibly convenient for quick reference on your phone, remember that they serve as a secondary safety measure and do not replace the legal necessity of preserving your original, physical documents in a safe place.
Frequently Asked Questions (FAQ)
How often should I purge my home filing system?
You should perform a comprehensive review and purge of your home filing system at least once a year. This annual cycle allows you to clear out accumulated papers that are no longer useful, such as expired warranties, old utility bills, and outdated insurance policies. Beyond this annual schedule, certain life events should trigger an immediate purge. For example, when you sell a vehicle, close a bank account, or complete a home renovation project, go through your binders and safely discard or archive the associated documents to keep your active files relevant and manageable.
Should I keep original documents or photocopies in my binders?
Your filing system should prioritize original documents for legally sensitive files, while clear photocopies or digital printouts are perfectly acceptable for daily reference material. Original copies are legally required for vital records such as land titles, birth and marriage certificates, notarized contracts, passports, and active insurance policies. For items like appliance user manuals, routine medical prescriptions, or general utility bills, keeping a clear photocopy or a digital scan is usually sufficient, allowing you to discard the bulky physical originals and save valuable storage space.
Community discussion
Share your experience or ask a question. Comments are reviewed before publication.