
Setting up an organized document system at home or in the office does not require complex software or expensive filing cabinets. A highly effective, tactile, and visual solution lies in the humble but versatile a4 clear folder. By establishing a structured clear folder system, you can protect vital documents from dust, spills, and wear while ensuring that every tax form, birth certificate, or project draft is immediately accessible. This guide walks you through selecting the right materials, sorting your paperwork, creating an intuitive indexing system, and maintaining your folders against environmental wear.
Gather Your Supplies: Choosing the Right A4 Clear Folders
To build a system that lasts, you must first select the correct folder types for your specific document workflows. Clear folders generally fall into two main categories: single-page clear holders (often called L-folders or L-type pockets) and multi-page display books (commonly known as clear books or slide binders). L-folders feature an open top and right side, making them ideal for active, daily-use documents that you need to slide in and out frequently, such as current project tasks, active invoices, or homework sheets. Multi-page display books, on the other hand, contain bound plastic sleeves that open only at the top, making them perfect for static reference materials, certificates, or completed reports.
Paying attention to paper dimensions is critical. An a4 clear folder is specifically sized for standard A4 paper, which measures exactly 210 millimeters by 297 millimeters. In many environments, especially in the Philippines, you will encounter multiple paper standards, including Letter size (8.5 by 11 inches) and Legal size (8.5 by 13 inches, often locally referred to as long bond paper). Before filing, verify that your documents are indeed A4 or smaller; forcing larger paper formats into an A4 folder will cause the edges to protrude, bend, or crease, rendering the protective sleeve ineffective. Conversely, storing smaller documents in A4 sleeves is perfectly fine, though they may shift slightly.
Products mentioned in this guide
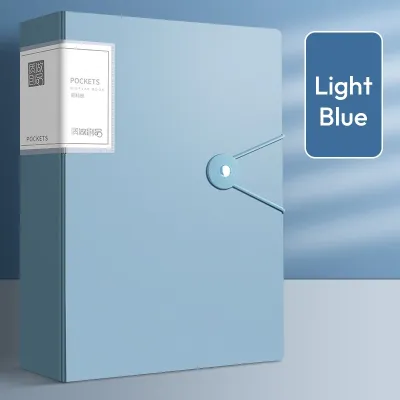
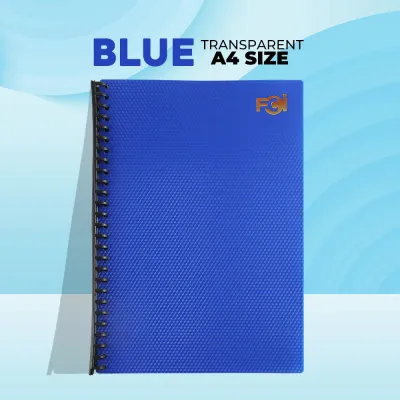
![Clear Book Folder [A4/FC Sizes]](https://img.lazcdn.com/g/p/5056a47c77cba4790cd5190dfb69f6d4.jpg_400x400q80.jpg_.webp)
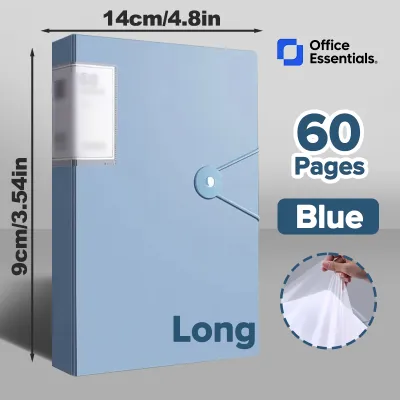
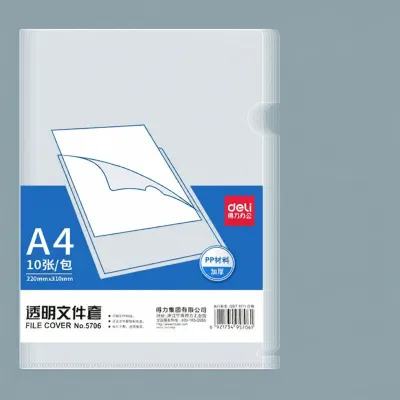
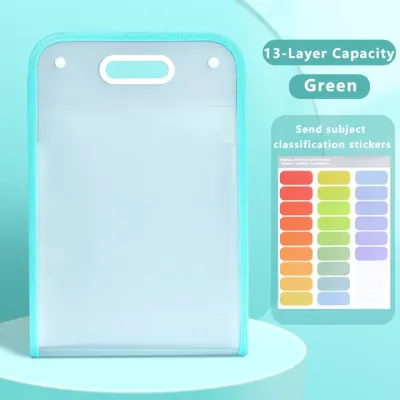
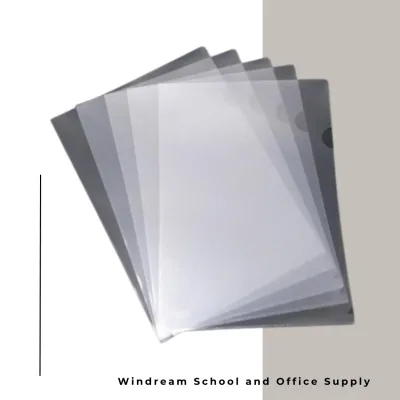

Prices are valid at publication and may change. Please refer to the product page for the latest price.
Beyond the folders themselves, gather supplementary organizational tools to complete your system. You will need a reliable label maker or high-quality adhesive label sheets, colorful sticky tabs or index dividers, and archival-safe pens for writing index entries. If you prefer hand-written labels, verify the drying speed of your ink on the label surface; test a small corner first to ensure the ink does not smear when it touches the plastic folder sleeves.
The chemical composition of the plastic is another vital factor, particularly for long-term archiving. Always check the product specifications to ensure your folders are made from acid-free polypropylene (PP) rather than polyvinyl chloride (PVC). Polypropylene is chemically stable, flexible, and does not contain harmful plasticizers. PVC folders, while often cheaper, tend to degrade over time, releasing acidic compounds that cause paper to yellow and ink or toner to lift off the page and stick to the plastic. For critical documents like PSA birth certificates, land titles, or tax records, PP-based folders are non-negotiable for safe preservation.
Step 1: Sort, Purge, and Categorize Your Loose Papers
The foundation of any successful filing system is thorough preparation. Begin by gathering every loose document scattered across your home or office—desks, kitchen counters, drawers, and mail piles—and consolidating them into one spacious, clean workspace. This physical consolidation gives you a clear picture of the volume of paperwork you need to manage and prevents you from having to repeat the filing process later.

Once your paperwork is gathered, initiate a strict purging process to eliminate unnecessary clutter. Sort your documents into three distinct streams: keep, recycle, and shred. Place general drafts, outdated flyers, and duplicate prints into the recycle bin. For sensitive papers containing personal identification, bank details, or expired financial statements, use a reliable paper shredder to protect your privacy before disposal. This step ensures you only spend time and folder space organizing documents that possess genuine, ongoing value.
With your remaining “keep” pile, establish logical categories based on how you naturally retrieve information. For home organization, practical categories include household utilities, medical records, academic certificates, and government-issued identification. For a professional workspace, categorize by client name, project phase, financial quarter, or document type (such as contracts, receipts, and meeting minutes). If you manage historical records, a chronological sorting method may be the most intuitive approach.
To keep these categories organized during the sorting phase, create temporary physical piles across your workspace. Use color-coded sticky notes to label each pile clearly. This visual separation allows you to adjust your categories dynamically as you discover different types of documents, ensuring that every piece of paper has a designated home before you open a single folder sleeve.
Step 2: Label and Index for Quick Retrieval
An unlabeled folder system quickly becomes a collection of mysterious plastic sheets. To ensure rapid retrieval, you must establish a clear labeling hierarchy. Start with the exterior of your multi-page display books; use the spine insert or apply a durable adhesive label to the front cover. Clearly print the broad category name (for example, “Tax Records 2026” or “Home Utility Bills”) in a bold, legible font so you can identify the folder’s contents from across the room or while it sits on a shelf.
For multi-page clear books, a master index sheet is the most efficient way to navigate internal contents. Place a neatly printed or written index page in the very first sleeve of the folder. This index should list the contents of each subsequent sleeve along with a corresponding page or section number. If your display book contains 20 sleeves, your index sheet will serve as a table of contents, saving you from flipping through every single plastic pocket to find a specific document.
To enhance visual navigation, incorporate color-coding using adhesive tabs along the edges of your folders. For single-page L-folders, stick colored tabs on the open right-hand margin. Assign a specific color to each major category—for instance, blue for medical, green for financial, and yellow for academic. When these folders are stored together, your eyes can instantly track the colored tabs, reducing search times to mere seconds.
Step 3: Load and Arrange the Folders
Physically loading your documents into the A4 clear folder sleeves requires a gentle, deliberate technique to prevent damage. To slide paper smoothly into a tight plastic pocket, slightly flex the folder to open the mouth of the sleeve, then guide the paper in from the top corner first. Avoid forcing multiple thick sheets of paper into a single sleeve; doing so can stretch the seams of the plastic, crease the paper edges, or cause the pocket to tear over time.
For high-priority, fragile, or highly valuable documents, consider a double-protection strategy. You can place the document inside a slim, single-page L-folder first, and then slide that entire L-folder into a pocket of a larger multi-page display book. This double layer of polypropylene shielding provides extra rigidity, preventing the document from bending and offering superior protection against accidental spills or dust intrusion.
When arranging documents within a folder, establish a consistent chronological or structural order. Most users find it easiest to place the newest documents at the very front of the folder for quick access, while older records slide toward the back. Whichever order you choose, maintain it consistently across all folders in your system. Additionally, respect the capacity limits of your clear books; overstuffing sleeves not only warps the plastic but also increases the risk of documents slipping out when the folder is moved or turned upside down.
Step 4: Store and Maintain the System in Humid Climates
How you store your completed folders physically determines their lifespan and usability. Always store your A4 clear folders upright, side-by-side, in dedicated storage boxes, file organizers, or on sturdy bookshelves. Avoid stacking folders flat on top of one another; the cumulative weight of stacked folders can cause the plastic covers and internal sleeves to warp, bend, and stick together, making them difficult to handle and potentially damaging the papers inside.
In tropical environments, such as the Philippines, high humidity and heat present unique challenges for paper and plastic storage. Keep your filing shelves away from direct sunlight, exterior walls that may collect moisture, and damp areas like laundry rooms or kitchens. Excess moisture can cause paper fibers to swell, yellow, or develop mold, and can make standard laser-printed ink stick permanently to the plastic sleeves. To combat this, place a few rechargeable silica gel packets inside your storage boxes or on your bookshelves to absorb excess ambient moisture.
No organizational system remains perfect without regular upkeep. Establish a simple maintenance routine to prevent clutter from slowly reclaiming your workspace. A quick, 15-minute monthly review is usually sufficient to file away new loose papers, remove temporary documents that are no longer needed, and update your index sheets. Once a year, conduct a thorough audit to transfer older, inactive records into long-term archival boxes, freeing up your active A4 clear folders for the upcoming year’s documents.
Frequently Asked Questions (FAQ)
How do I prevent paper from sticking to the clear plastic sleeves?
To prevent paper from bonding with plastic, always select folders made from polypropylene (PP) rather than PVC, as PP is acid-free and chemically inert. Ensure that any ink or toner on your documents is completely dry before sliding them into the sleeves. Store your folders in a cool, dry area away from direct sunlight and high humidity, and consider adding silica gel packets to your storage cabinets to keep moisture levels low.
Can I use A4 clear folders for double-sided printed documents?
Yes, but standard single-sided filing will hide the back page of a double-sided document. To view both sides without constantly removing the paper, place the document in a single clear sleeve without a backing sheet, allowing you to read the front on one page turn and the back on the next. Alternatively, you can copy or print the document onto two separate single-sided sheets and place them back-to-back within the same sleeve.
How often should I review and update my folder system?
A two-tiered maintenance schedule works best to keep your system efficient. Perform a quick monthly sweep to file recent papers, discard temporary notes, and update your index sheets. Once a year, dedicate an hour to a comprehensive audit: archive expired records, transfer completed projects to long-term storage boxes, and refresh any worn-out labels or damaged folders to keep the system running smoothly.
Community discussion
Share your experience or ask a question. Comments are reviewed before publication.