
Setting up an organized filing system is one of the most effective ways to reduce clutter, streamline your daily workflow, and ensure that important documents are always within arm’s reach. Using a Seagull ring binder provides a sturdy, reliable foundation for managing everything from academic coursework to critical business contracts. A truly functional filing system requires a thoughtful approach to document selection, logical categorization, physical protection against environmental wear, and a consistent maintenance routine. By matching your document volume to the binder’s physical capacity and using the right accessories, you can transform a simple binder into a highly efficient personal archive.
Gather Your Materials and Prepare Your Documents
Before assembling your filing system, you must gather the correct tools and prepare your paperwork to ensure a seamless setup. Start by assessing your Seagull ring binder, paying close attention to its ring size and mechanism type. Binders generally feature either round rings (O-rings) or D-rings, with sizes typically ranging from 1 inch to 3 inches. D-ring binders are highly efficient because they allow pages to lie flat on one side, maximizing the usable space and preventing the curling that often occurs near the rings. Check the spine of your binder or its original packaging label to identify its recommended sheet capacity, which is usually calculated based on standard 80 gsm paper.
Next, collect the essential accessories that will support your organization system. You will need a set of tabbed index dividers, high-quality sheet protectors, a compatible hole punch, and labeling tools such as a label maker or permanent markers. In tropical climates, high humidity can cause standard paper to absorb moisture, making it limp, heavy, and prone to tearing at the punched holes. To combat this, consider investing in polypropylene sheet protectors rather than PVC-based ones, as polypropylene is copy-safe and prevents printed ink or toner from sticking to the plastic over time.
Products mentioned in this guide
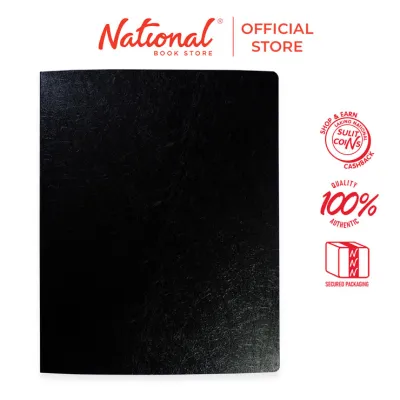
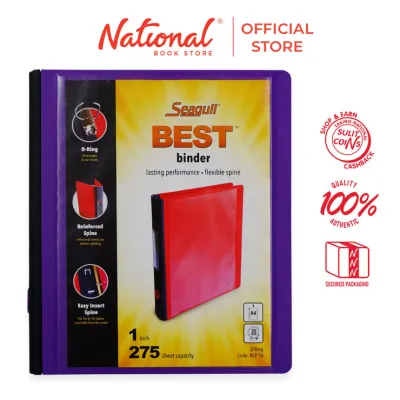
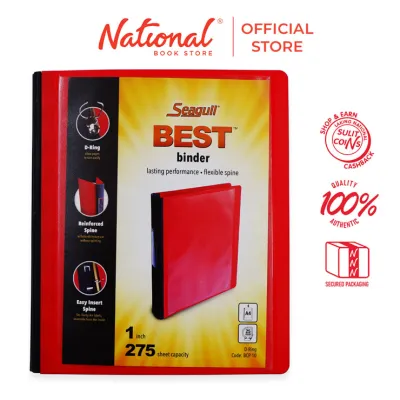
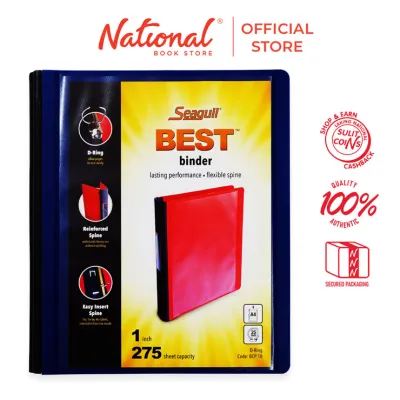
Prices are valid at publication and may change. Please refer to the product page for the latest price.
With your materials ready, begin the preparation phase by gathering all the documents you intend to file. Spread them out on a clean, flat surface and perform a thorough purge of outdated, duplicate, or unnecessary papers. Shred expired utility bills, discard duplicate drafts, and set aside documents that require immediate action versus those destined for long-term storage. This initial sorting process is crucial because overstuffing a binder strains the metal ring mechanism, causes pages to catch when turning, and ultimately leads to damaged documents.
Define Your Categories and Create Dividers
A filing system is only as good as its retrieval speed, which depends entirely on how logically you categorize your documents. Choose a categorization method that aligns with how you naturally search for information. For financial records or monthly utilities, a chronological setup organized by year and month is highly effective. If you are managing client profiles or vendor agreements, an alphabetical system works best. For school coursework or multi-departmental business files, a project-based or subject-based structure will keep related materials grouped together logically.

Once you have selected your organizational framework, write or print clear, consistent labels for your divider tabs. Avoid using vague descriptions like “Miscellaneous” or “General,” as these quickly become dumping grounds for unorganized papers. Instead, use specific, actionable terms such as “Tax Receipts 2026,” “Water Bills,” or “Biology Lab Reports.” If you are writing the labels by hand, use a fine-tip permanent marker with water-resistant ink to prevent smudging from humid hands or accidental spills.
When arranging your dividers inside the binder, always plan for future expansion. Leave at least one or two blank dividers at the back of the binder, and avoid filling any single section to its absolute limit. If you anticipate that a specific category—such as monthly sales reports—will grow rapidly over the coming months, allocate extra physical space for it now. Planning for this growth prevents you from having to restructure the entire binder every time you receive a new batch of paperwork.
Assemble the Filing System Step-by-Step
With your documents sorted and your categories defined, you can begin the physical assembly of your filing system. Start by adjusting the paper guide on your hole punch to match the exact size of your paper, whether you are using standard A4 or Letter size. Punching holes accurately is vital; misaligned holes cause pages to sit unevenly, putting uneven tension on the paper edges and making them tear when you turn the pages. To ensure clean cuts, punch only a few sheets at a time, as overloading a manual hole punch can result in jagged, incomplete holes that snag on the binder rings.
For fragile, high-touch, or irreplaceable documents, slide them into your polypropylene sheet protectors instead of punching holes directly into the paper. This includes items like original birth certificates, land titles, academic diplomas, or frequently referenced cheat sheets. Because sheet protectors are slightly wider than standard paper, standard index dividers may become hidden behind the plastic sleeves. To resolve this, ensure you use extra-wide index dividers specifically designed for use with sheet protectors, which extend past the plastic edges so the tabs remain fully visible.
When loading the documents into your Seagull ring binder, open the rings using the dedicated push levers at the top and bottom of the spine rather than pulling the rings apart manually. Pulling directly on the rings can bend the metal alignment pins over time, leading to gaps where pages can slip out or get stuck. Insert your labeled dividers first, followed by the corresponding documents in chronological or alphabetical order. Once everything is loaded, gently snap the rings shut, verifying that no paper edges or plastic protectors are caught in the seam of the rings.
Maintain and Update Your Binder Regularly
An effective filing system is not a one-time project, but an ongoing habit that requires regular maintenance to remain functional. Establish a routine to review the contents of your binder, such as at the end of every school semester, fiscal quarter, or calendar year. During these reviews, remove documents that are no longer active and transfer them to long-term storage boxes or archive folders. This frees up valuable space in your active Seagull binder, keeping it lightweight and easy to handle.
During your periodic reviews, take a moment to inspect the physical condition of the binder itself. Check the alignment of the metal rings to ensure they still meet perfectly without any gaps. If you notice the rings are starting to misalign, avoid forcing them back into place with pliers, as this can permanently damage the tension spring; instead, check if the binder is simply overloaded and reduce the paper weight. Additionally, inspect the spine and corners of the binder for wear, especially if it is stored in a high-humidity environment where moisture can weaken cardboard cores.
As your projects shift or your household needs change, do not hesitate to update your divider labels. If a category is no longer relevant, peel off the old label or insert a new paper tab into the divider sleeve. Keeping your labels accurate ensures that anyone who accesses the binder can find what they need instantly. To keep the interior of your binder fresh and dry in tropical climates, you can slip a small, sealed silica gel packet into the inside cover pocket to absorb excess moisture and protect your papers from musty odors.
Optimize Your Binder for Specific Use Cases
To get the most utility out of your Seagull ring binder, tailor its physical setup to your specific environment and daily use cases. If you are storing the binder vertically on an open shelf, pay attention to how the weight is distributed inside. An unevenly loaded binder can sag or lean, which puts constant pressure on the bottom edges of the pages and can cause the binder to tip over. To prevent this, place heavier items, such as thick manuals or plastic-protected documents, toward the back of the binder closer to the spine to maintain a stable center of gravity.
In shared workspaces, classrooms, or busy households, visual organization can save a significant amount of time. Use color-coded dividers or color-matched binders to establish an instant visual filing system. For example, you can assign blue binders for financial records, green for property documents, and red for urgent medical files. This color association allows family members or colleagues to identify the correct binder from across the room without needing to read the spine labels first.
For highly complex, multi-section binders or archives spanning several years, consider adding a master index page at the very front. This index page acts as a table of contents, listing each divider tab and a brief summary of the documents contained within that section. You can easily create this index using a single sheet of paper placed in a sheet protector right before the first divider. A master index is particularly useful for tax preparation, audit trails, or academic portfolios, allowing you to navigate deep archives without unnecessary searching.
Frequently Asked Questions (FAQ)
How many sheets can a standard Seagull ring binder hold?
The sheet capacity of a Seagull ring binder depends directly on the ring size and ring shape specified on the product packaging. For example, a standard 1-inch round-ring binder typically holds up to 175 to 200 sheets of standard 80 gsm paper, while a 2-inch D-ring binder can comfortably hold up to 400 to 480 sheets. To determine if your binder is overstuffed, look for physical signs such as the rings struggling to snap shut completely, pages resisting turning smoothly, or paper buckling near the rings. If you observe any of these issues, it is time to split your documents into a second binder or archive older files.
Should I use sheet protectors for every document?
While sheet protectors offer excellent defense against spills, dust, and finger oils, using them for every single document is generally not recommended. Sheet protectors add significant bulk and weight, which can reduce the overall sheet capacity of your binder by more than half compared to bare, punched paper. It is best to reserve sheet protectors for high-touch reference sheets, fragile original certificates, legal contracts, or documents printed with heavy toner that might stick to adjacent pages in humid conditions. For everyday drafts, worksheets, or temporary notes, direct hole punching is much more space-efficient and cost-effective.
What is the best hole punch to use with ring binders?
The best hole punch is one that matches the exact ring configuration of your Seagull binder, which is typically a standard 2-ring or 3-ring setup. Look for a heavy-duty metal hole punch with an adjustable paper guide, as this ensures your holes are centered consistently on every sheet of paper. Always check the sheet capacity rating of the punch before using it; attempting to punch more sheets than recommended can jam the mechanism and leave ragged, misaligned holes that tear easily. For mobile use, a slim, ruler-style 3-hole punch that clips directly onto the binder rings is a highly convenient option.
Community discussion
Share your experience or ask a question. Comments are reviewed before publication.