
Sewing a drawstring casing is one of the most practical and rewarding skills you can master when making or altering your own clothing. A drawstring casing is simply a fabric channel folded and stitched along the waistband of your shorts, allowing a cord or ribbon to slide through freely so you can adjust the fit. This classic waistband style is highly versatile, making it a staple for lightweight lounge shorts, athletic wear, and breathable linen garments designed for warm, humid climates.
By creating a dedicated channel, you distribute the fabric gathers evenly around your waist, preventing uncomfortable bunching or slipping. Whether you are constructing a brand-new pair of tropical-weight cotton shorts or upgrading an existing pair of lounge pants, mastering this technique ensures your garments are both functional and durable. The entire process requires only basic sewing tools and a few straightforward measurements to achieve a clean, professional finish.
Tools and Materials for Sewing a Casing
Before sitting down at your sewing machine, gathering the correct tools and notions will make the construction process much smoother. For the basic sewing setup, you will need a reliable sewing machine or hand-sewing needles, matching polyester or cotton thread, sharp fabric scissors, and a collection of pins or sewing clips. Using high-quality thread that matches your fabric color ensures that your structural stitches remain discreet and hold up well under the tension of daily wear.
Products mentioned in this guide
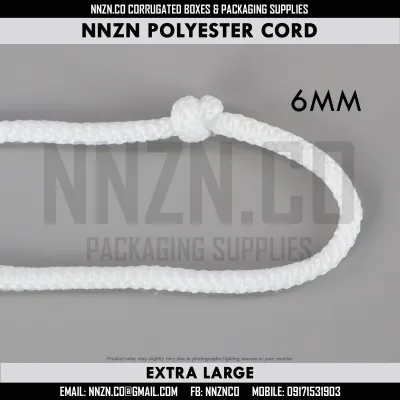
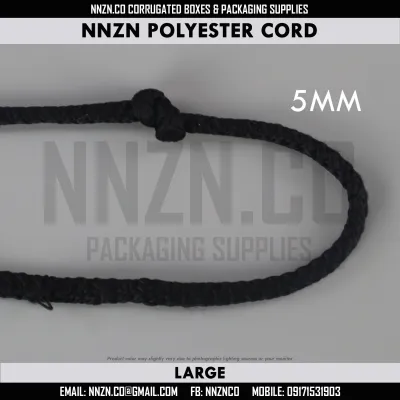
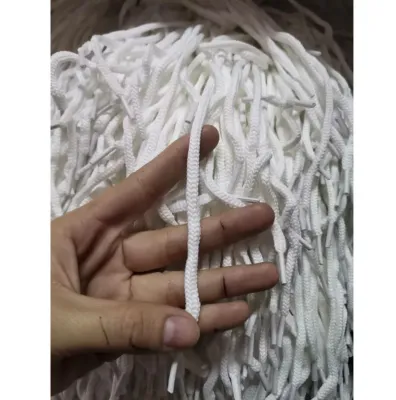
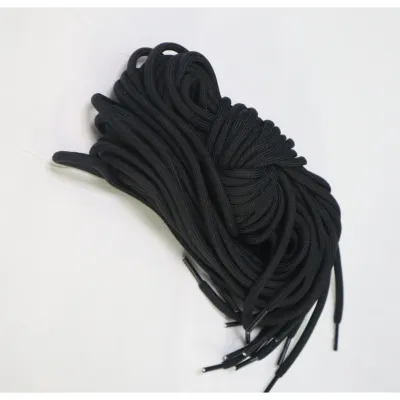
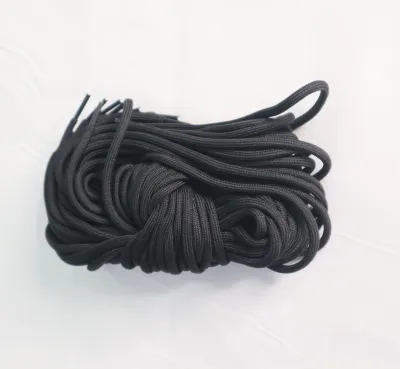
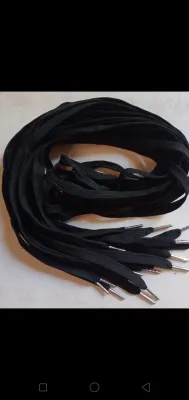
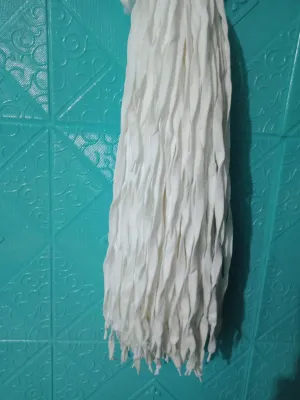
Prices are valid at publication and may change. Please refer to the product page for the latest price.
For the casing itself, you can use the self-fabric of the shorts by folding down the top edge, which is the most common and seamless method. Alternatively, if your fabric is exceptionally bulky or if you are short on fabric length, you can sew a separate strip of bias tape, twill tape, or lightweight ribbon to the inside of the waistband to act as an external casing channel. This alternative method is excellent for contrasting designs or when working with heavy canvas materials.
When choosing your drawstring, consider both comfort and durability. Braided cotton cords, flat twill tapes, synthetic nylon cords, and even self-fabric ties made from your leftover scraps are all excellent options. To thread the cord through the finished channel, you will also need a specialized sewing tool like a metal bodkin, though a sturdy household safety pin works perfectly well as a reliable substitute.
Preparing the Waistband for the Casing
To ensure your drawstring slides smoothly without bunching up or getting stuck, you must calculate the width of your casing carefully. Measure the thickness of your chosen drawstring cord first; your finished casing channel should be at least 6 millimeters to 12 millimeters wider than the cord itself. To this measurement, add your preferred seam allowance—typically 1 centimeter—which will be folded under to hide the raw edge of the fabric inside the waistband.

Once you have determined your measurements, prepare your fabric using a hot iron. Working on an ironing board, fold the raw top edge of your shorts toward the inside of the garment by 1 centimeter and press it flat. This initial fold is crucial because it encapsulates the raw fabric edges, preventing them from fraying over time when the garment is worn and washed in humid conditions.
Next, fold the pressed edge down toward the inside of the shorts once more, this time using the full calculated width of your casing. Use a sewing gauge or a clear ruler to verify that this fold is perfectly uniform all the way around the waistband. Secure this double-folded edge in place using sewing clips or pins spaced every few centimeters, ensuring the fabric lies completely flat without any puckering or twisting.
Stitching the Drawstring Channel
With your waistband pressed and pinned, you are ready to sew the channel. Place your shorts under the presser foot of your sewing machine, starting near the center-back seam or a side seam to keep your starting and stopping points less visible. Stitch carefully along the lower folded edge of the casing, keeping your seam approximately 2 millimeters from the fold to maximize the usable space inside the channel.
As you sew, consult your sewing machine manual to select the appropriate stitch length and tension for your specific fabric weight. A standard straight stitch length of 2.5 millimeters works beautifully for medium-weight cottons and linens, while a slightly longer stitch may be necessary for thicker materials. Keep the fabric taut but do not pull it through the machine, allowing the feed dogs to move the waistband evenly to avoid uneven stretching.
To allow the drawstring to enter and exit the casing, you must create openings. You can sew two neat buttonholes on the front exterior of the waistband before you fold and press the casing, or you can simply leave a 2-centimeter to 3-centimeter gap in the inner waistband seam during your final stitching. Whichever method you choose, reinforce the edges of these openings with tight backstitching or small bar tacks, as these areas will experience the most friction and pulling during daily use.
Threading and Securing the Drawstring
Once your casing is stitched and the openings are reinforced, it is time to thread your drawstring. Attach a sturdy safety pin or thread a specialized sewing bodkin through one end of your drawstring cord, securing it tightly so it does not slip off midway through the channel. Insert the tool into one of your waistband openings, keeping the tail end of the cord outside the casing.
Using your fingers, gently bunch the waistband fabric over the safety pin or bodkin, slide the tool forward through the channel, and pull the excess fabric straight behind it. Continue this push-and-pull motion all the way around the waistband until the tool emerges from the second opening. Take extra care during this step to ensure the cord remains flat and does not twist or flip inside the narrow channel.
After successfully threading the cord, pull both ends to distribute the fabric gathers evenly around the waistband of the shorts. Try the shorts on to adjust the fit, then trim the drawstring ends to your preferred length. To prevent the ends of the cord from fraying or slipping back into the casing, tie a clean overhand knot on each end, melt the tips slightly if using synthetic nylon, or install plastic or metal cord stops.
Troubleshooting Common Casing and Drawstring Issues
One of the most common issues when working with drawstrings is a cord that twists or flips inside the casing, which can cause discomfort against your skin. To fix this, feel along the waistband to locate the twisted section, and use your fingers to massage and flatten the cord back into its proper position. To prevent future twisting, consider using a flatter, wider twill tape instead of a round cord, or sew a single vertical line of stitching through the center-back of the waistband to lock the cord in place.
If you find that your drawstring is incredibly difficult to pull through the channel, your casing may be too narrow for the thickness of your cord. You can resolve this without ripping out your stitches by swapping your thick cord for a thinner, slicker ribbon or a flat elastic band. For future projects, always perform a quick test pull by sliding your cord through a scrap piece of folded and stitched fabric before sewing the actual garment.
If a drawstring accidentally pulls completely out of the channel during wear or in the wash, do not panic. Simply attach your safety pin or bodkin to one end of the cord and repeat the threading process from the beginning. To avoid this inconvenience entirely, you can sew a short, vertical anchor stitch directly through the center-back of the waistband, securing the drawstring to the fabric so it can never be pulled out from either side.
Frequently Asked Questions (FAQ)
Can I use elastic instead of a traditional drawstring?
Yes, you can easily use elastic instead of or in combination with a traditional drawstring, though the construction process requires a slight adjustment. Unlike a drawstring that exits through front openings, elastic is typically fully enclosed within the waistband casing to provide continuous tension. To install it, thread the elastic through a temporary gap left in the inner waistband seam, overlap the two ends by approximately 2 centimeters, and stitch them together securely using a multi-row zig-zag stitch before sewing the casing gap completely closed.
How do I keep the drawstring from getting lost in the wash?
To prevent your drawstring from slipping inside the casing during laundry cycles, always tie the two loose ends of the cord together in a secure bow before placing the shorts in your washing machine. Alternatively, you can wash your drawstring shorts inside a mesh laundry bag to protect them from excessive agitation. For a permanent, hassle-free solution, sew a quick vertical anchor stitch through the center-back of the waistband, catching both the fabric and the drawstring to lock the cord securely in place.
Community discussion
Share your experience or ask a question. Comments are reviewed before publication.