
Starting a vintage design scrapbook is an accessible and deeply rewarding way to preserve memories, tell stories, and explore historical aesthetics. You do not need a collection of genuine century-old antiques to begin; with the right layering techniques, color choices, and distressing methods, you can transform everyday paper into a nostalgic masterpiece. By understanding how different materials interact and how to simulate natural wear, you can create beautiful, cohesive layouts that feel rich with history.
To build a successful vintage scrapbook, you must focus on the physical properties of your materials. Paper weight, ink drying times, and adhesive quality all play critical roles in how your pages look today and how well they survive over time. This guide will walk you through the essential tools, step-by-step layout construction, and safe distressing techniques to help you begin your creative journey.
Define Your Vintage Aesthetic and Theme
Before gathering your supplies, it is helpful to define the specific visual elements that characterize the vintage look. Vintage design relies heavily on muted color palettes, organic textures, and historical motifs such as botanical illustrations, old handwriting, and classic postage stamps. Understanding these elements allows you to plan your pages intentionally rather than randomly pasting items together.
Products mentioned in this guide
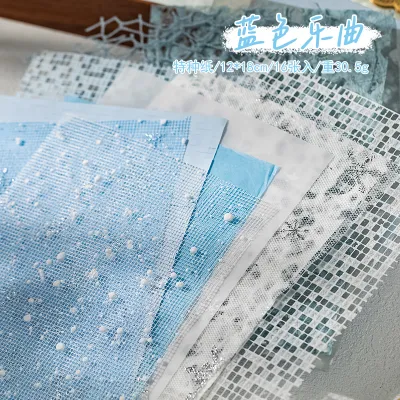
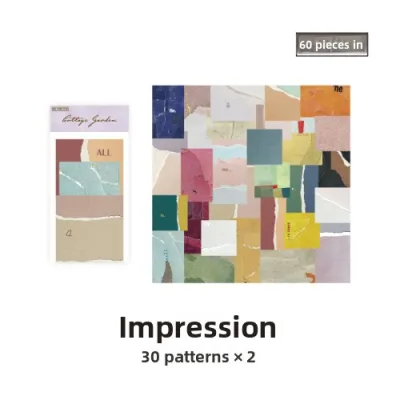
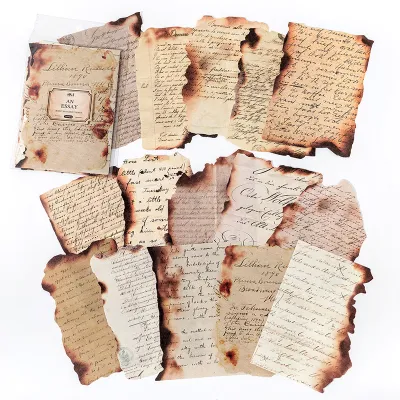
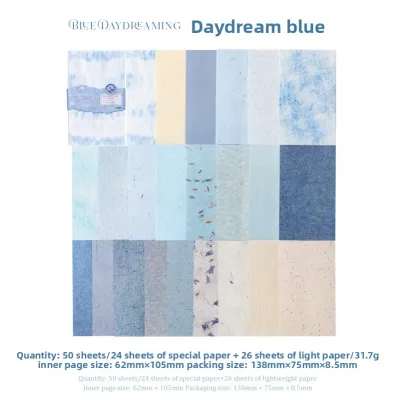
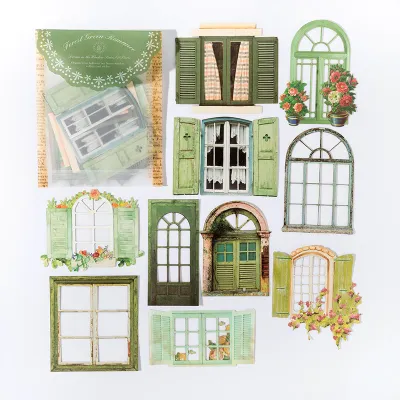
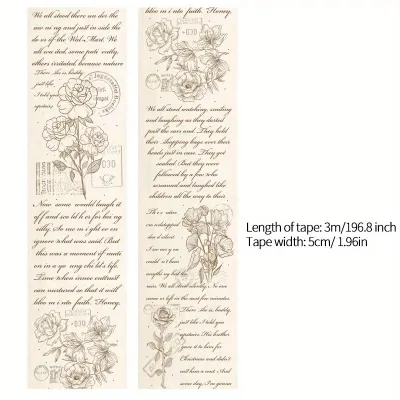
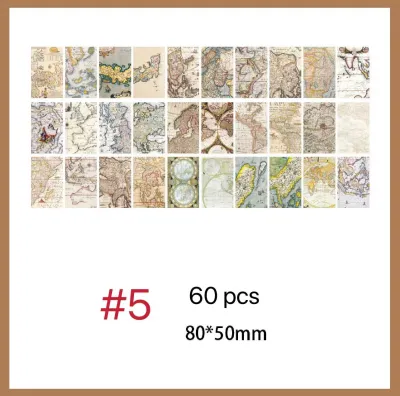
Prices are valid at publication and may change. Please refer to the product page for the latest price.
A key decision for beginners is choosing between true vintage materials and vintage-style reproductions. True vintage scrapbooking incorporates actual historical artifacts like old letters, train tickets, or book pages. While these items offer unmatched authenticity, they are often highly acidic and fragile, which can damage your photographs over time. Vintage-style scrapbooking, on the other hand, uses modern, acid-free reproductions or newly aged papers, offering a safer environment for your memories while still capturing the classic aesthetic.
To keep your scrapbook cohesive, consider choosing a specific era or personal theme to guide your design choices. A Victorian theme might feature romantic floral patterns, delicate lace textures, and soft pastel tones. Alternatively, a 1920s Art Deco theme would lean toward bold geometric lines, rich black and gold accents, and elegant typography. Selecting a clear direction helps narrow down your material choices and makes your layouts feel more unified.
Gather Essential Tools and Materials
Starting a vintage scrapbook does not require a massive financial investment, but selecting the right foundational materials is crucial. Your base pages must be sturdy enough to support multiple layers of paper, heavy embellishments, and wet mediums. Look for heavy-weight cardstock, ideally between 200 and 300 GSM (grams per square meter), to prevent your pages from sagging or tearing under the weight of your designs.

When choosing papers and adhesives, always check the product labels for the terms “acid-free” and “lignin-free.” Standard papers and cheap adhesives contain natural acids that turn yellow and brittle over time, which can eventually seep into and ruin your photographs. Opt for archival-safe double-sided tape, acid-free liquid glue with a fine-tip applicator for detailed work, and paper packs specifically manufactured for scrapbooking.
For coloring and aging, you will need a few basic tools that are easy to find in local craft stores in the Philippines. A water-based dye ink pad in a warm brown or sepia tone, along with a few foam blending sponges, will be your primary tool for shading edges. You should also source a reliable fine-liner pen with water-resistant pigment ink; this ensures your handwritten notes will not smudge or bleed if they come into contact with moisture or adhesives.
Build Your First Vintage Page Step-by-Step
Building your first page begins with selecting a strong focal point. This could be a black-and-white photograph, a vintage postcard, or a large botanical sticker. Place this central element on your workspace first, as its colors and subject matter will dictate the rest of your design choices.
Next, begin building your background by layering different papers behind your focal point. Start with your largest background paper, then layer smaller pieces of contrasting textures on top, such as a torn piece of book page, a scrap of music sheet, or a textured kraft paper tag. Layering creates physical depth and subtle shadows on the page, which are essential for achieving a rich, tactile vintage feel.
As you arrange your elements, apply basic layout principles like the rule of thirds or visual triangles. Instead of centering everything perfectly, place your focal point slightly off-center. Arrange smaller embellishments, such as faux postage stamps, dried leaves, or ticket stubs, in a triangular pattern around the focal point to guide the viewer’s eye naturally across the page.
Once you are satisfied with your dry arrangement, take a quick photo with your phone to use as a reference. Begin securing the pieces from the bottom layer up. Apply liquid glue sparingly near the edges of delicate papers to prevent warping, and use double-sided tape for heavier cardstock layers. In humid tropical climates, ensure your adhesives are pressed down firmly and allowed to dry completely to prevent the edges from lifting over time.
Apply Authentic Aging and Distressing Techniques
To make new, pristine papers look authentically aged, you can apply several simple distressing techniques. Edge distressing is one of the easiest ways to simulate wear. Hold a pair of closed scissors or a craft knife and gently scrape the blade along the edge of your paper at a 45-degree angle, moving away from your body for safety. This action frays the paper fibers, creating a soft, worn edge.
After fraying the edges, use ink blending to mimic the natural accumulation of dust and oils. Lightly tap your blending sponge onto a brown ink pad, then rub it in a gentle circular motion along the frayed edges of your paper. Keep the heaviest ink concentration on the very outer edges and corners, gradually fading the color as you move inward to create a natural vignette effect.
Tea and coffee staining are excellent methods for giving bright white paper a warm, antique tone. Brew a strong cup of black tea or instant coffee and apply it to your paper using a sponge brush, or submerge the paper entirely in a shallow tray for a few minutes. To prevent severe warping as the paper dries, lay it flat on a clean towel, and once it is mostly dry, place it inside a heavy book between sheets of parchment paper to flatten it completely. Ensure the paper is 100% dry before adding it to your scrapbook to prevent mold growth in humid environments.
Physical manipulation can also add realistic texture to your pages. Gently crumple a piece of paper into a tight ball, then carefully smooth it back out. This breaks the stiff fibers of the paper, creating a network of fine creases. You can lightly run your ink-covered blending sponge over the surface of the flattened paper to highlight these creases, making them look like aged cracks in old parchment.
Select Vintage Color Palettes and Typography
The colors you choose play a vital role in establishing a historical mood. A classic vintage palette relies on desaturated, warm tones like cream, beige, sepia, and charcoal. You can introduce accent colors to match specific eras, such as dusty rose and sage green for a Victorian feel, or mustard yellow and muted navy blue for a mid-century retro look.
When incorporating photographs, coordinate your background colors with the tones of the image. If you are using modern color photos, consider printing them in black-and-white or sepia to help them blend seamlessly into the vintage layout. If you prefer to keep the original colors, select background papers that match the quietest, most neutral tones within the photograph to avoid visual clashing.
Typography adds the final storytelling element to your pages. You can use vintage-style alphabet stamps, typewriter-style stickers, or your own handwriting for journaling. If writing by hand, practice a classic cursive or a neat, spaced print on a scrap piece of paper first. Use a fine-tip pigment ink pen to ensure your writing remains sharp, legible, and resistant to fading over the years.
Avoid Common Beginner Mistakes
One of the most common mistakes beginners make is overcrowding the page. When you have a beautiful collection of stickers, stamps, and papers, it is tempting to use them all at once. However, a cluttered page loses its focal point and can feel chaotic. Leave adequate negative space—empty areas on your page—to let your main elements breathe and to give the viewer’s eye a place to rest.
Another critical error is using non-archival adhesives. Standard school glue sticks, hot glue, and household clear tapes contain acids and chemicals that degrade paper. Over time, these adhesives will turn dark yellow, seep through your papers, and cause your carefully placed elements to fall off. Always invest in dedicated, acid-free scrapbooking adhesives to ensure your work lasts for generations.
Finally, be careful not to over-age your materials. Distressing should enhance your layout, not destroy it. If every single piece of paper on your page is heavily torn, burnt, crumpled, and stained, the final result can look messy rather than antique. Balance heavily distressed elements with clean, structured layers to maintain a sense of deliberate design and visual harmony.
Frequently Asked Questions (FAQ)
Can I use regular printer paper for vintage scrapbooking?
Standard printer paper is typically thin, around 70 to 80 GSM, and contains high levels of acid. Over time, this acid causes the paper to turn yellow, become brittle, and potentially damage adjacent photos. While printer paper is excellent for practicing layouts, testing ink colors, or experimenting with tea staining, it is not recommended for final, archival-quality scrapbook pages. For your actual album, opt for acid-free cardstock or dedicated scrapbooking papers that are designed to last.
How do I preserve old family photos in a vintage scrapbook?
To preserve irreplaceable original photographs, never apply glue or permanent adhesive directly to the back of the photo. Instead, use acid-free photo corners, which secure the image by its corners and allow you to slide the photo out safely if needed. Avoid laminating original photos, as the heat and plastic can cause irreversible chemical damage. Finally, store your completed scrapbook in a cool, dry place away from direct sunlight and high humidity to prevent fading and moisture damage.
Community discussion
Share your experience or ask a question. Comments are reviewed before publication.