
Paper quilling—the delicate art of rolling, shaping, and gluing narrow strips of paper—is an exceptionally tactile way to add three-dimensional depth and custom artistry to your scrapbook layouts. By mastering just a few fundamental movements, you can transform simple paper strips into intricate floral clusters, elegant borders, and personalized photo corners. This craft offers a remarkably gentle learning curve for beginners, requiring only a steady hand, a bit of patience, and a few specialized stationery supplies.
Unlike flat stickers or printed die-cuts, quilled elements bring a sculptural, tactile quality to your memory books. Because these creations will live directly alongside your precious photographs, choosing the right archival-safe materials and mastering clean execution is essential. With the right techniques, your handmade embellishments will remain vibrant and intact, preserving your stories for decades to come.
What You Need: Essential Tools and Materials for Paper Quilling
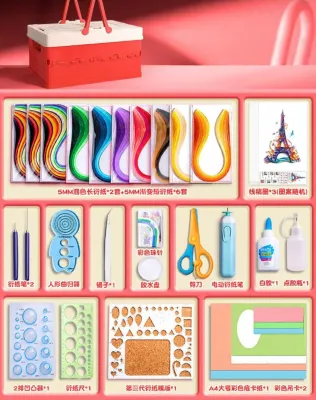
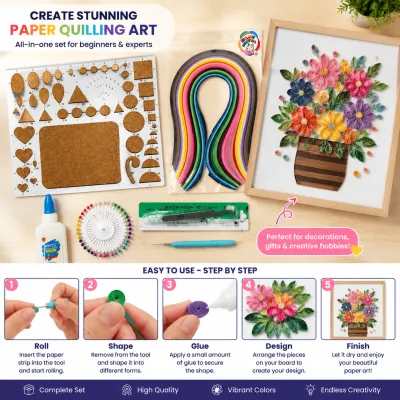
To begin your paper quilling journey, you only need a few carefully selected, high-quality stationery tools to achieve clean, professional-looking designs.
Products mentioned in this guide

Prices are valid at publication and may change. Please refer to the product page for the latest price.
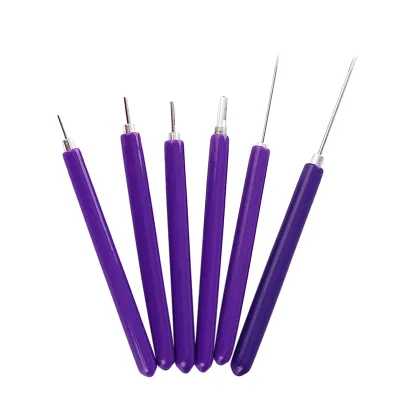
The slotted quilling tool is the most important instrument for a beginner. It features a metal tip with a tiny slot down the center. You slide one end of your paper strip into this slot, which grips the paper securely as you turn the tool to roll a coil. While highly efficient, the slot leaves a microscopic crimp in the center of your finished coil. If you prefer a completely seamless center, you can transition to a needle tool, which is a smooth, tapered metal rod. Wrapping paper around a needle tool requires more finger coordination, making it an excellent secondary skill to develop once you feel comfortable with the slotted alternative.
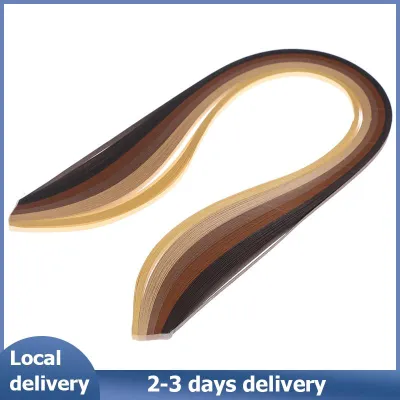
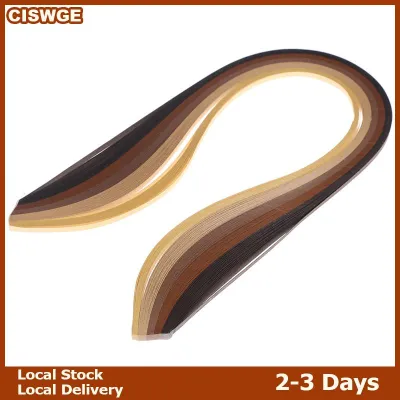
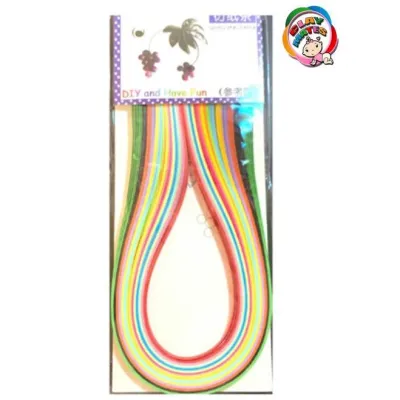
Pre-cut quilling paper strips are widely available in various widths, with 3mm (approximately 1/8 inch) and 5mm (approximately 1/4 inch) being the standard choices for scrapbooking. For beginners, 5mm strips are highly recommended because they are easier to handle and provide a distinct, readable dimension on a scrapbook page. When selecting paper, pay close attention to the paper weight, which typically ranges from 80 gsm to 120 gsm. Lighter paper rolls effortlessly but can crush easily, while heavier cardstock strips hold their shape beautifully but require more tension to roll smoothly without creasing.
Angled fine-tip tweezers act as an extension of your fingers, allowing you to pick up tiny coiled shapes, position them precisely on your layout, and hold pinched corners together while your adhesive sets.
Because scrapbooks are designed to preserve memories over generations, you must verify that every strip of paper and bottle of glue you use is explicitly certified as “acid-free” and “lignin-free.” Acid and lignin are naturally occurring compounds in wood pulp that break down over time, causing paper to turn yellow and brittle, which can transfer destructive stains to your photographs. Investing in archival-quality materials ensures your handiwork and your photos remain pristine.
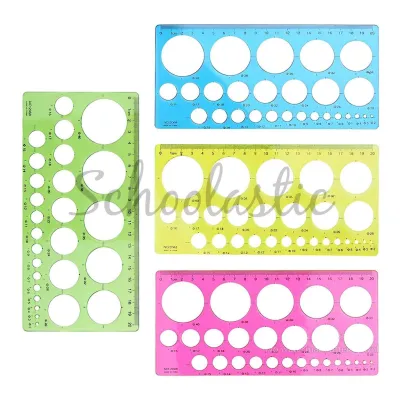
A circle sizing board is a plastic or cork template featuring rows of recessed circles in graduated diameters. Instead of letting a rolled coil unravel randomly in your hands, you drop it into one of these circles. The coil expands to fill the exact boundary, guaranteeing that every single element you make—such as the five petals of a flower—is identical in size. This tool is invaluable for creating uniform repeating patterns, such as decorative borders or symmetrical frames around your scrapbook photos.
In the warm, humid climate of the Philippines, paper naturally absorbs moisture from the air, making it slightly softer and more pliable. While this can make rolling easier, it also means your paper strips can lose their crispness if left exposed. Keep your paper supplies stored in airtight plastic containers or zip-top bags with a small silica gel packet to maintain their structural integrity. Basic quilling starter kits are highly affordable, typically ranging from ₱150 to ₱500 in local craft stores, making it an accessible hobby to pick up.
Step-by-Step Basic Quilling Techniques for Beginners
Transforming flat strips of paper into intricate three-dimensional designs is a simple process of rolling, releasing, and pinching. By mastering these physical steps, you build the foundation for every quilled embellishment you will ever create.

Rolling the Paper: Tight and Loose Coils
To begin rolling, hold your slotted tool in your dominant hand and a strip of quilling paper in your non-dominant hand. Slide one end of the paper strip into the slot of the tool, ensuring the edge of the paper is flush with the top of the metal tip. Gently support the paper strip with your thumb and index finger, keeping it parallel to the tool. Slowly rotate the tool away from you, wrapping the paper around the metal shaft. Use your guiding fingers to apply light, consistent pressure against the flat of the strip, ensuring the layers stack perfectly on top of one another like a tiny wheel.
Tight Coils
A tight coil is the most basic shape and serves as an excellent accent piece, center for a flower, or sturdy border element. To complete a tight coil, roll the entire strip of paper until you reach the very end. Before releasing the tool, apply a microscopic dot of acid-free glue to the loose end of the strip using a toothpick or fine-tip applicator. Press the glued end firmly against the rolled coil for three to five seconds to secure it. Gently slide the completed coil off the tool. The result should be a solid, hard disc of tightly wound paper that does not expand.
Loose Coils
A loose coil is the starting point for almost all shaped quilling designs. To create one, roll the paper strip exactly as you would for a tight coil, but do not apply glue at the end while it is on the tool. Instead, carefully slide the unglued roll off the tool and place it directly into one of the circles on your sizing board. Let go of the coil; you will watch it unravel and expand outward until it meets the walls of the circle template. Once the coil has settled, use your tweezers to lift the center slightly if needed, apply a tiny dot of glue to the outer loose tail, and press it against the outer ring of the coil to lock the size in place.
Tension Management
Maintaining the right amount of tension is a balancing act that comes with practice. If you pull the paper too hard as you roll, you risk tearing the strip or causing the paper fibers to buckle and crease, which ruins the smooth, circular curve of the coil. Conversely, if your grip is too loose, the inner layers of the coil will slide out of alignment, creating a conical shape that pops out of the center like a spring. Keep your guiding fingers relaxed but firm, allowing the paper to glide smoothly between your fingertips as the tool turns.
Pinching and Shaping: Creating Basic Forms
Once you have mastered the loose coil, you can begin pinching and shaping the paper to create recognizable forms. Always work gently to avoid flattening the delicate inner coils of your paper.
The Teardrop
The teardrop is the most versatile shape in paper quilling, forming the basis of leaves, flower petals, and raindrops. To create a teardrop, start with a glued loose coil. Hold the coil gently between the thumb and index finger of one hand. Using the thumb and index finger of your other hand, firmly pinch one outer edge of the coil to a sharp point. When you release your fingers, you will have a beautiful, teardrop-shaped element with a rounded base and a pointed tip.
The Marquise (or Eye Shape)
The marquise shape is ideal for realistic leaves, eyes, or abstract borders. To construct a marquise, start with a loose coil and place your thumb and index finger on opposite sides of the circle. Pinch both sides simultaneously with equal pressure. This creates a symmetrical, double-pointed shape with a curved center. You can also create a curved marquise (often called a leaf shape) by gently twisting the two pinched points in opposite directions before releasing them.
The Square and Triangle
To shape a square, first pinch a loose coil into a marquise. Rotate the marquise 90 degrees, and pinch the two remaining rounded sides. This will yield four distinct corners; gently press the flat sides to define the square shape. For a triangle, pinch a loose coil at one point to make a teardrop. While holding that pinch, use your other hand to flatten the rounded bottom of the teardrop against a flat surface, then pinch the two bottom corners to form a three-sided shape.
Combining and Layering
These basic shapes are designed to be grouped together to build complex patterns. For example, gluing five teardrop shapes together with their points facing inward creates a classic five-petal blossom. Placing a small, contrasting tight coil in the center completes the flower. To build a vine, arrange several marquise shapes along a gently curved strip of paper to act as leaves.
Using Tweezers for Assembly
Because these shapes are small and lightweight, attempting to hold them with your fingers while applying glue can result in sticky fingers and messy paper. Always use your fine-tip tweezers to grasp the pinched corners of your shapes. This keeps your hands clear of the adhesive and allows you to apply a clean, precise amount of glue exactly where the shapes will connect.
How to Apply Quilled Elements to Your Scrapbook Pages
Because paper quilling is a three-dimensional art form, placement on a scrapbook layout requires careful planning. You want to enhance your photographs, not overshadow them.
Excellent placement options include using quilled clusters as decorative photo corners, forming a delicate vine along the side of a journaling block, or creating a bold, textured title frame. Keep the quilled elements concentrated in specific areas—such as the corners or a single diagonal line across the page—to maintain a balanced, uncluttered design.
Applying glue to the bottom of a delicate, open-structured quilled shape requires a minimalist approach. Never squeeze glue directly from a standard bottle onto your quilled piece. Instead, pour a small puddle of acid-free PVA glue onto a scrap piece of plastic or paper. Use a toothpick, a fine-tip glue pin, or a specialized fine-metal applicator bottle to pick up a tiny amount of glue. Gently dab the adhesive along the bottom edges of the paper coils. You only need a microscopic film of glue on the paper edges to secure the piece to your scrapbook page.
Using too much glue is the most common way to ruin a scrapbook page. Excess moisture from water-based adhesives will quickly soak into your background cardstock, causing it to warp, wrinkle, and buckle. Additionally, wet glue that squeezes out from under the paper edges will dry with a shiny, unsightly residue that is difficult to remove without tearing the page. A dry, matte-drying PVA glue is ideal because any tiny imperfections will remain virtually invisible once cured.
If you are scrapbooking in a highly humid environment, such as during the rainy season in the Philippines, glue drying times will be significantly longer than in dry climates. A standard PVA glue that dries in five minutes in an air-conditioned room might take fifteen to twenty minutes to fully set in a humid room. Always allow your quilled layouts to sit flat and dry completely in a well-ventilated area before closing your scrapbook album or placing heavy items on top of them. Closing a damp book can cause pages to stick together, ruining your hard work.
Common Beginner Mistakes and How to Fix Them
Every beginner encounters a few minor setbacks when learning to quill. Understanding how to troubleshoot these issues will save you time and keep your scrapbook pages looking pristine.
If you notice your scrapbook pages warping or your quilled shapes becoming soggy and losing their definition, you are using far too much glue. To fix this, transition to a glue bottle equipped with an ultra-fine metal tip (0.5mm or smaller). This allows you to draw micro-dots of adhesive rather than large drops. If a shape is oversaturated, gently blot the bottom of the quilled piece on a dry paper towel before pressing it onto your scrapbook page.
When you release a tight coil and the center pops out like a cone, this is known as “beekeeping.” It occurs when you roll the paper with too much tension or pull upward on the tool as you slide the paper off. To prevent this, ensure you keep the paper flat and level with the tool’s slot throughout the entire rolling process. When removing the coil, hold the paper flat against your finger with one hand and gently slide the tool out horizontally with the other, rather than pulling the paper off.
Tearing your paper strips usually happens when you pull the paper too tightly against the metal slot of the tool, or if your hands are damp. Moisture weakens paper fibers rapidly. Ensure your hands are completely clean and dry before handling your quilling strips. If you find yourself tearing the paper frequently, ease up on your pulling pressure and let the rotating motion of the tool do the work of gathering the paper.
Frequently Asked Questions (FAQ)
Can I use regular craft paper instead of pre-cut quilling strips?
While you can technically cut your own strips from regular colored craft paper or construction paper using a paper trimmer or craft knife, it is generally not recommended for beginners. First, you must verify that any paper you use is certified acid-free and lignin-free to protect your scrapbook photographs from chemical degradation. Second, pre-cut quilling strips are cut along the grain of the paper, which ensures they roll smoothly without creasing or cracking. Hand-cut strips often have inconsistent widths and rough edges, which makes achieving uniform, neat coils much more difficult.
What is the best glue for paper quilling in scrapbooks?
The ideal adhesive for paper quilling in scrapbooks is a high-quality, acid-free Polyvinyl Acetate (PVA) craft glue that dries completely clear with a matte finish. PVA glue provides a strong, flexible bond that holds paper fibers together without cracking over time. Avoid using standard school glue, which contains too much water and causes severe paper warping. Hot glue is too thick and messy for delicate paper strips, while rubber cement and double-sided tape do not provide the precise, long-term archival hold required for three-dimensional paper art.
How do I store my finished quilled scrapbook pages?
Because quilled elements are three-dimensional, they are susceptible to being crushed if stored improperly. To protect your layouts, store your scrapbooks flat rather than upright on a shelf, which prevents gravity from warping the heavy pages over time. Use extra-deep page protectors or shadowbox-style albums that accommodate dimensional embellishments. If you are stacking pages within a standard album, place a thin sheet of acid-free tissue paper or a cardboard spacer between the pages to distribute weight evenly and prevent adjacent pages from pressing down directly on your delicate paper coils.
Community discussion
Share your experience or ask a question. Comments are reviewed before publication.