
To create realistic paper flower petals, you must stretch and shape crepe paper by working across its grain lines to release its built-in elasticity. Crepe paper undergoes a specialized creping process during manufacturing that leaves it with thousands of tiny ridges, or grain lines. By manipulating these ridges using the warmth of your hands, gentle tension, and simple tools, you can transform flat, stiff cutouts into delicate, three-dimensional petals that mimic the organic curves of real blossoms.
Understanding Crepe Paper Grain and Preparation
The direction of the grain lines is the most critical factor when preparing crepe paper for shaping. These lines run parallel to the length of the roll or fold. To achieve the volume needed for realistic petals, you must always stretch the paper perpendicular to these lines. Attempting to stretch along the grain will simply tear the paper or fail to create any expansion.
Selecting the right paper weight is equally important for your specific floral project. Heavyweight crepe paper, such as 180-gram, is excellent for large, structural flowers like peonies because it has a high stretch percentage and holds deep shapes. Fine or extra-fine crepe paper, around 60 to 90 grams, is ideal for delicate, translucent petals like those of poppies or cherry blossoms, where subtle curves and fine ruffles are needed.
Products mentioned in this guide

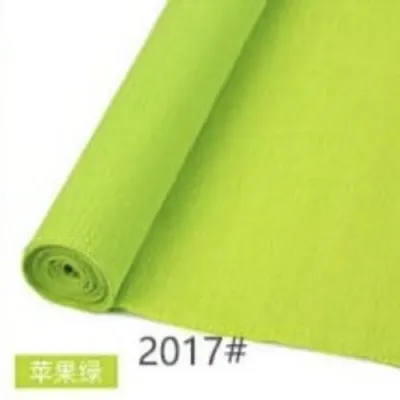
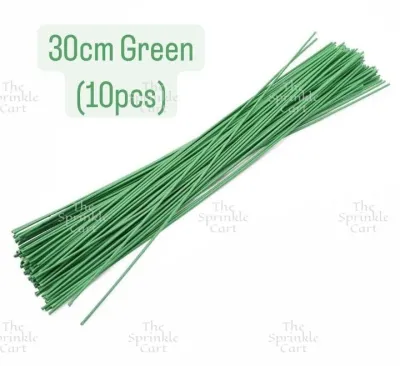
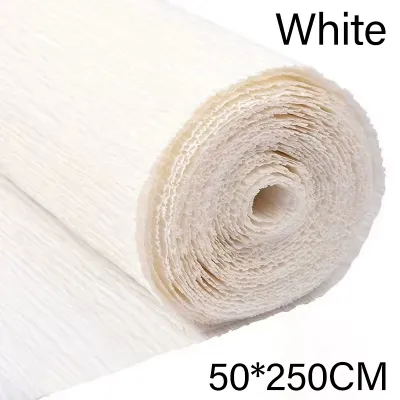
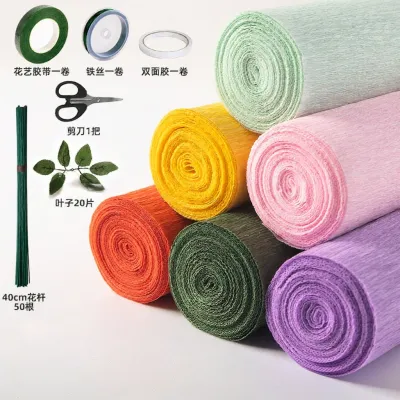
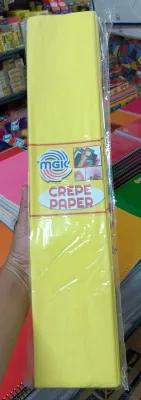
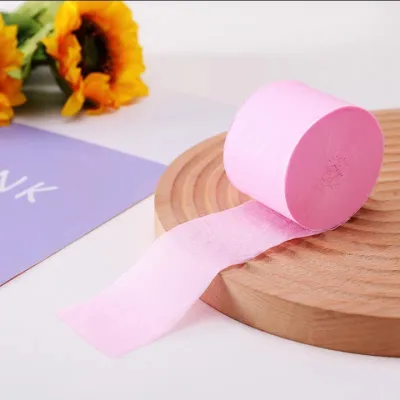
Prices are valid at publication and may change. Please refer to the product page for the latest price.
Before cutting, ensure your hands are completely dry, as moisture can degrade the paper’s texture and cause colors to bleed. Cut your petal templates first, aligning the vertical axis of the template with the vertical grain lines of the paper. This alignment ensures that when you stretch the petal horizontally, it expands outward to create a natural, cup-like volume.
Essential Tools and Materials for Shaping Petals
Standard craft crepe paper, often used for party streamers, has very little stretch and tears easily under tension. For realistic floral sculpting, premium florist-grade crepe paper is necessary. This specialty paper is available in various weights, offering the elasticity required for deep cupping and intricate ruffling without tearing.

To secure your petals and build the flower structure, you will need quick-drying white craft glue or hot glue. Paper-covered floral wire, ranging from 18-gauge for thick stems to 26-gauge for delicate petals, provides the necessary framework. Self-sealing floral tape is also essential for wrapping stems and securing the petal bases cleanly.
While your fingers are your primary tools, a few simple implements can elevate your work. Sharp detail scissors are crucial for clean cuts without fraying the paper fibers. A bone folder or a smooth wooden dowel helps crease veins and curl edges smoothly, while a soft foam molding mat can assist when pressing rounded tools into the paper to create soft, concave shapes.
Step-by-Step Techniques for Stretching Petals
Manipulating crepe paper relies on a combination of physical tension and the natural warmth of your hands. As you pull the paper, the friction and warmth from your fingers help soften the sizing, making the cellulose fibers more pliable so they retain their new, expanded shape.
Cupping and Deep Stretching
To cup a petal, hold the cut paper shape with both hands, placing your thumbs in the center of the petal and your forefingers on the back. Gently but firmly press your thumbs outward toward the edges while pulling the sides of the petal with your fingers. This motion should start from the center and move outward, creating a smooth, rounded dome in the middle of the paper.
Apply even, gradual pressure to avoid thinning the paper too quickly in one spot, which can lead to tears. Adjust the intensity of your stretch based on the flower species you are creating. For instance, a tulip petal requires a deep, dramatic cup at the very base, whereas a rose petal needs a broader, gentler stretch across the middle to mimic its soft, unfolding shape.
Edge Ruffling and Frilling
Ruffling the edges of a petal adds a delicate, organic texture that makes paper flowers look incredibly lifelike. Hold the top edge of the petal between the thumbs and index fingers of both hands, placing your fingers close together. Using a rapid, alternating motion, pull one hand slightly toward you while pushing the other hand away, stretching only the very edge of the paper.
Work your way along the entire upper margin of the petal, repeating this gentle pulling and twisting motion. This localized stretching expands the edge of the paper while leaving the body of the petal intact, creating a beautiful, wavy frill. You can combine this ruffling with a slight twist of the paper edge to mimic the natural imperfections found in real garden flowers.
Curling and Shaping for Realistic Contours
Once the main body of the petal is stretched and cupped, curling the edges gives the flower its final posture and movement. Deciding whether to curl your petals before or after assembly depends on the flower type, as tight, multi-layered blooms are easier to curl beforehand, while open flowers benefit from post-assembly adjustments.
Finger Curling and Pinching
Finger curling is a gentle, tool-free method for creating soft, natural curves. Place the edge of the petal against your index finger and use your thumb to roll the paper backward over your finger, holding it for a few seconds to let the warmth of your hands set the shape. For tighter curls, you can roll the paper around a slim pencil or a wooden skewer instead.
After shaping the top and middle of the petal, you must prepare the base for attachment. Pinch the bottom of the petal firmly between your thumb and forefinger, pleating the paper slightly. This pinching condenses the excess paper at the base, creating a neat, narrow tab that fits snugly against the floral wire and ensures the petal maintains its cupped shape once glued.
Scissor Curling and Tool Shaping
For sharper, more dramatic outward curls, scissor curling is highly effective. Hold the base of the petal securely in one hand. With your other hand, open a pair of scissors and press the flat side of the blade gently against the back of the petal edge, holding it in place with your thumb. In a smooth, sweeping motion, pull the petal taut against the blade.
To add realistic vein textures, a bone folder or a dull butter knife can be used to score the paper. Place the petal on a slightly soft surface, like a mousepad or a folded cloth, and gently draw the tip of the bone folder from the base of the petal outward to the edges. This presses fine, permanent creases into the paper fibers, mimicking natural vascular patterns without tearing.
Assembling and Refining Your Paper Flowers
With your petals shaped and curled, assembly can begin. Start by preparing your central stem, which may feature a wire loop, a paper bud, or a cluster of stamens. Apply a small dab of quick-drying glue to the pinched base of your first petal and press it firmly against the stem. Layer the petals one by one, working in a spiral pattern from the center outward, ensuring each new layer overlaps the seams of the previous one.
As you build the flower, secure the base of the petals by wrapping them tightly with floral tape. Stretch the tape slightly as you wrap to activate the wax adhesive, allowing it to stick to itself and bind the petal bases securely to the wire stem. Ensure all visible glue marks, raw paper edges, and wire ends are neatly covered by the tape, creating a smooth transition from the bloom to the stem.
Once the assembly is complete, take a moment to refine and fluff the flower. Real flowers are rarely perfectly symmetrical, so use your fingers to gently pull, twist, and adjust individual petals. Open up some petals wider than others, adjust the curls on the outer layers, and break any rigid symmetry to give your finished paper flower a dynamic, organic appearance.
Troubleshooting Common Shaping Mistakes
One of the most common issues when working with crepe paper is over-stretching, which causes the paper to lose its elasticity and look limp or distorted. If you over-stretch a petal, you can sometimes salvage it by gently pressing the fibers back together from the edges, but if the paper has thinned too much, it is best to cut a new petal. Always start with light tension and gradually increase your pull.
If your petals look flat, stiff, or lifeless, the issue often lies in a lack of secondary shaping. Revisit the petal base and ensure it is pinched tightly, which naturally forces the center of the petal to bow outward. You can also add quick, subtle curls to the very tips of the outer petals using a bone folder or your fingers to instantly inject movement and depth.
Excess adhesive is another common pitfall, especially when using liquid white glues. Crepe paper is highly absorbent, and too much glue will seep into the fibers, causing them to stiffen, lose their stretch, and dry with an unnatural finish. Apply glue sparingly using a toothpick or a fine-tip applicator, and allow it to become slightly tacky before pressing the paper surfaces together.
Frequently Asked Questions (FAQ)
Can I use regular craft crepe paper instead of extra-fine crepe paper?
Standard craft crepe paper, often sold in rolls for party decorations, is not recommended for realistic flower making because it has a very low stretch capacity and a coarse, uniform texture. It lacks the elasticity required for deep cupping and delicate ruffling, and it tears easily when subjected to tension. Extra-fine crepe paper features a much tighter grain and a high stretch percentage, allowing you to sculpt highly detailed, realistic petals with smooth curves and delicate, lifelike margins that hold their shape over time.
How do I prevent my crepe paper petals from losing their shape over time?
To maintain the structural integrity of your paper flowers, keep them away from high humidity and direct sunlight, which can cause the paper fibers to relax, sag, and fade. In tropical climates like the Philippines, where humidity is naturally high, storing or displaying your finished flowers in air-conditioned rooms or near silica gel packets can help absorb excess moisture. Additionally, incorporating structural supports like high-quality floral wire inside the petals or applying a light, protective spray sealant designed for paper crafts can prevent heavy blooms from drooping over time.
Community discussion
Share your experience or ask a question. Comments are reviewed before publication.