
Elevating a simple gift presentation from ordinary to extraordinary often relies on the small, thoughtful details. In the Philippines, where gift-giving is a cherished part of birthdays, weddings, and festive family reunions, a beautifully styled gift bag stands out immediately. Transforming a standard paper carrier into a stunning package does not require professional training; instead, it is a matter of choosing compatible materials, mastering secure attachment techniques, and understanding how to construct structured, balanced bows.
Using ribbons and bows is one of the most effective ways to customize gift wrapping bags. By selecting the right textures and learning a few reliable styling methods, you can ensure your gifts look polished and secure, even when transported through warm tropical weather and high humidity. This guide provides clear, practical steps to help you achieve a high-end boutique finish every time.
Gather the Right Ribbons, Tools, and Bags
Before starting, it is essential to match the weight and surface finish of your gift wrapping bags with the appropriate ribbon type. Heavyweight bags, such as 150 gsm to 250 gsm kraft paper or thick laminated art paper, can easily support dense, structured ribbons. Conversely, lightweight paper bags or delicate fabric pouches require thinner, lighter ribbons to prevent the bag’s structure from collapsing or folding under the weight of the embellishment.
Products mentioned in this guide
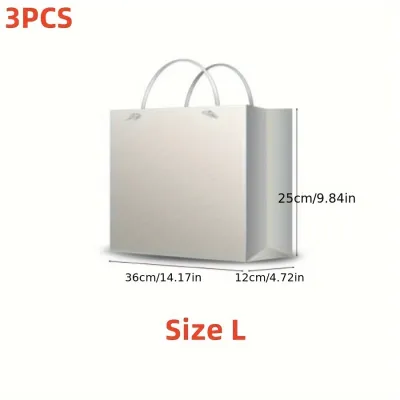

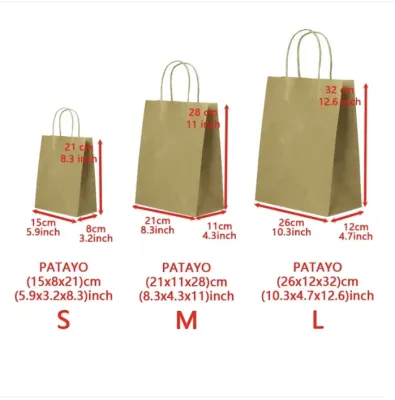
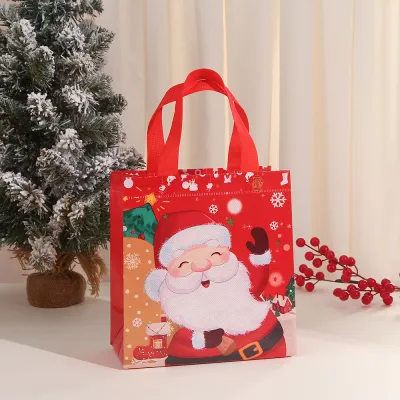
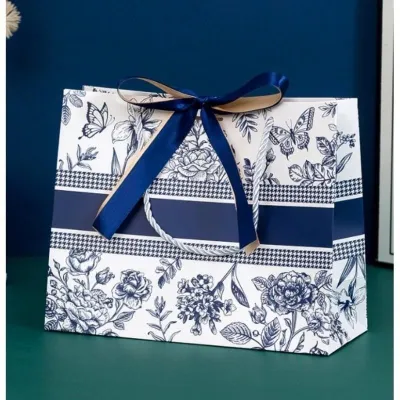
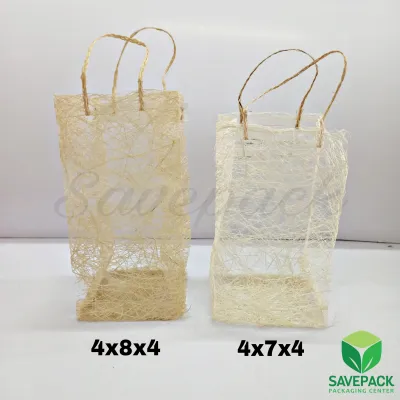
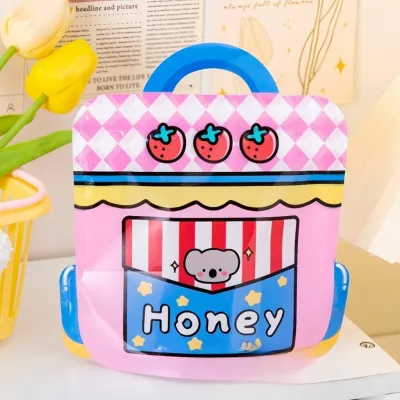
Prices are valid at publication and may change. Please refer to the product page for the latest price.
Different ribbon materials create distinct visual and physical effects:
- Satin Ribbon: Offers a high-shine, luxurious finish that is ideal for formal occasions, though its smooth texture requires tight knotting to prevent slipping.
- Grosgrain Ribbon: Features a ribbed texture that provides excellent structure and grip, making it easy to tie into crisp, durable shapes.
- Organza Ribbon: A sheer, lightweight option that adds a delicate, airy touch without adding bulk or weight.
- Curling Ribbon: A thin, budget-friendly synthetic ribbon that can be curled quickly with scissors for casual, festive accents.
To achieve clean, professional results, assemble a few basic stationery tools. You will need a pair of sharp fabric scissors to prevent frayed edges, a standard single-hole punch (typically 6mm in diameter), high-quality double-sided tape, and adhesive glue dots. For more complex, multi-layered bows, keep a spool of thin floral wire or color-coordinated pipe cleaners on hand to secure the center loops tightly.
When working with adhesives, heat tools, or sharp scissors, prioritize safety. Keep blades closed when not in use, and check the manufacturer’s safety instructions for any specialized glues. Because different paper coatings and ribbon fibers react uniquely, always perform a quick compatibility check on a small scrap piece to ensure your adhesives bond securely without staining or warping the materials.
Step-by-Step Methods for Attaching Ribbons to Gift Bags
Tying Ribbons to Existing Handles
Adding a decorative ribbon to a bag that already features rope, ribbon, or die-cut handles is an excellent way to elevate its appearance. To work with rope handles, cut a length of ribbon approximately three times the width of the handle arch. Tie a classic slip knot or a simple double-knot at the base of one handle where it meets the paper bag, allowing the long tails to drape gracefully downward.

For bags with die-cut handles, thread your ribbon directly through the cutout opening from the inside out. Pull the ribbon through until the ends are even, then tie a flat, neat bow centered directly over the opening. This placement ensures the bow sits flush against the paper surface and does not interfere with how the bag is carried.
Always handle fragile paper handles, such as twisted kraft paper handles, with care. Avoid pulling your knots too tightly against the paper attachment points, as excessive tension can tear the bag’s rim. Instead, keep the knots firm but gentle, letting the ribbon embellish the handle rather than structural reinforcement.
The Punched Hole Method for Handleless Bags
If you are using a flat-top, handleless gift bag, you can easily create custom ribbon closures using a standard hole punch. Start by folding the top 2 to 3 centimeters of the bag downward to create a clean, reinforced collar. Use a ruler to measure and mark two symmetrical guide points on the folded collar, keeping them evenly spaced from the side edges (for example, 4 centimeters inward from each side).
Align your hole punch with the pencil marks and punch through both the folded collar and the main body of the bag. If you plan to place heavier items inside the bag, reinforce the areas around the punched holes on the inside of the bag with a small square of heavy-duty clear tape before punching. This simple step prevents the paper from tearing under stress.
Cut a piece of ribbon, thread it through the front hole to the inside, and tie a large, tight stopper knot on the interior side. Pull the ribbon across the top of the bag, thread it back out through the second hole, and secure it with another interior knot or tie the two outer ends into a beautiful bow on the exterior. This method keeps the bag securely closed while presenting a clean, custom-tailored look.
Using Adhesives for Flat or Gusseted Bags
When tying a ribbon around a bag is not practical, adhesives offer a reliable alternative for securing decorative bands directly to the bag’s surface. Double-sided tape is ideal for lightweight satin or organza ribbons, as it provides a flat, invisible bond. For heavier textured ribbons like grosgrain or velvet, heavy-duty glue dots offer a stronger, instant grip that holds up well against humidity.
To create a clean ribbon band, measure the width of your bag and cut a length of ribbon that allows for a 2-centimeter overlap on the back or inside edges. Apply a thin strip of double-sided tape along the center of the ribbon, press it firmly across the front face of the bag, and fold the excess ends neatly over the side gussets or inside the top rim. Ensure the ribbon is pulled taut to prevent sagging, but not so tight that it warps the paper.
Before applying any adhesive to the prominent front face of a decorated or laminated gift bag, always perform a quick test on an inconspicuous area, such as the inside flap or the bottom base. This test confirms whether the adhesive can be adjusted if needed, or if it will tear the printed paper surface upon removal. If the paper surface is delicate, opt for low-tack scrapbooking tape or gentle glue dots.
How to Tie and Arrange Bows for a Professional Look
Tying a Classic Tailored Bow
A classic tailored bow is symmetrical, flat, and features clean, even loops. To tie one, start with a high-quality ribbon and form two equal-sized loops (often called “bunny ears”). Cross the left loop over the right loop, tuck it under the center intersection, and pull both loops horizontally to tighten the knot. Adjust the loops and tails gradually until they are perfectly balanced in size.
To give the bow a professional finish, trim the ribbon tails at an angle or cut an inverted V-shape (also known as a chevron cut). To make a chevron cut, fold the ribbon tail in half vertically and cut upward at a 45-degree angle from the open edges toward the folded center. This creates a clean, classic fork that immediately elevates the presentation.
Synthetic ribbons, such as polyester satin or organza, are prone to fraying over time. To prevent this, you can quickly seal the cut edges using a lighter or a heat tool. Hold the flame approximately one centimeter away from the freshly cut ribbon edge for a brief second, allowing the synthetic fibers to melt slightly and seal. Always perform this step in a well-ventilated area, keep flammable materials away, and ensure children do not handle the heat source.
Creating a Multi-Loop Boutique Bow
For larger gift wrapping bags or special occasions, a multi-loop boutique bow adds dramatic volume and elegance. Start by leaving a 15-centimeter tail, then fold the ribbon back and forth to create a series of stacked loops on top of each other, holding the center tightly between your thumb and forefinger. Repeat this folding process until you have three to five loops on each side.
Once your loops are formed, wrap a piece of thin floral wire or a color-matched pipe cleaner tightly around the pinched center, twisting it firmly at the back to lock the loops in place. Cover the exposed wire by wrapping a short, contrasting piece of ribbon over the center and securing it on the underside with a glue dot.
To finish the boutique bow, gently pull and twist the loops outward from the center, alternating directions to build a full, three-dimensional dome shape. This fluffing process hides the wire completely and gives the bow a professional, airy appearance that retains its volume.
Securing and Fluffing the Bow on the Bag
Once your bow is constructed, attaching it securely to the bag ensures it remains upright and beautiful. To mount a wire-backed boutique bow, thread the excess wire ends through the bag’s handle attachment points or punched holes, twisting them securely on the inside. For pre-tied classic bows, apply a large glue dot or a small dab of low-temperature hot glue to the back knot and press it firmly onto the bag’s surface.
After attaching the bow, make final adjustments to the loops and tails. Ensure the loops face forward and stand proud rather than drooping downward. If the tails are too long and drape past the bottom of the bag, trim them slightly so they frame the lower half of the package neatly.
Finally, check the overall balance of your presented gift. A massive, heavy bow attached to the top of a lightweight, empty paper bag can cause the bag to tip over easily on flat surfaces. If your bow is large, ensure the gift inside is heavy enough to anchor the base, or opt for a slightly smaller, lighter bow design to maintain perfect stability.
Styling Tips for a Cohesive and Polished Finish
Creating an eye-catching gift presentation relies on thoughtful design choices that coordinate color, texture, and proportion. When planning your color palette, consider the occasion and the recipient. For a high-contrast, festive look, pair complementary colors such as deep navy blue bags with warm gold ribbons, or forest green with bright red. For a modern, sophisticated aesthetic, opt for a monochromatic scheme, combining a pastel pink bag with a matching satin ribbon in a slightly darker rose shade.
Mixing textures is another excellent way to add depth and interest to your gift packaging. The contrast between different materials can turn a simple bag into a tactile experience. Consider these effective pairings:
- Rustic & Elegant: Pair a matte, textured brown kraft paper bag with a smooth, glossy satin ribbon to create a balanced, organic look.
- Modern & Textured: Combine a high-gloss laminated gift bag with a structured, matte grosgrain ribbon to soften the reflective surface.
- Delicate & Bold: Layer a sheer organza ribbon over a wider, solid satin band to create a beautiful, multi-dimensional border.
Proportion is key to a balanced design. As a general rule, match the width of your ribbon to the size of your bag. For small jewelry-sized gift bags, use delicate ribbons measuring 9mm to 15mm in width. Medium-sized bags work best with 25mm ribbons, while large, oversized gift wrapping bags can easily accommodate wide 38mm or 50mm ribbons to ensure the bow does not get lost on the large surface area.
To add a final personalized touch, tuck small, lightweight embellishments into the center knot of your bow. A small sprig of dried lavender, a leaf, or a beautifully handwritten gift tag can be threaded onto the ribbon before tying. These tiny additions show extra care and make your gift feel truly unique and memorable.
Frequently Asked Questions (FAQ)
How do I prevent cut ribbon ends from fraying?
To prevent synthetic ribbons like satin, organza, polyester, and nylon from fraying, quickly pass the cut edge near the flame of a lighter for a fraction of a second to melt and seal the fibers. For natural fiber ribbons such as cotton, linen, or burlap, heat sealing will not work; instead, apply a very thin line of clear fabric glue or clear nail polish along the cut edge and allow it to dry completely.
What is the best adhesive for attaching bows to glossy paper bags?
For glossy, laminated, or varnished paper surfaces, heavy-duty glue dots or double-sided foam tape provide the strongest and most reliable bond. Avoid using standard liquid school glues or hot glue guns on highly glossy coatings, as liquid glues can easily slide off the slick surface, warp the paper, or leave visible, unsightly wet marks.
Is curling ribbon strong enough for heavy gift wrapping bags?
No, curling ribbon is designed purely for decorative use and lacks the tensile strength required to support weight. It should never be used as a functional handle for a gift bag. If your gift bag is heavy, ensure it has a sturdy built-in handle made of rope, twisted paper, or fabric, and use the curling ribbon solely as a decorative accent tied around the existing handle base.
Community discussion
Share your experience or ask a question. Comments are reviewed before publication.