
Tying a perfect bow with fish tail ribbon elevates any gift from simple to extraordinary. The secret lies in showcasing the unique V-cut or notched edges that define this ribbon style, ensuring they drape elegantly without twisting or fraying. To achieve a symmetrical, professional-looking bow, you must master the tension of the central knot, keep the fabric flat, and adjust the loops evenly. Whether you are preparing a gift for a grand debut, a wedding, or a festive corporate gathering in the Philippines, using a high-quality fish tail ribbon adds a touch of sophistication that stands out.
To keep your ribbon looking pristine, always handle the material with clean, dry hands. Tropical humidity can sometimes soften certain ribbon fabrics, making them limp. Choosing the right material and following a structured tying method will ensure your gift wrapping remains crisp and beautiful from the moment it is wrapped until it is opened.
Materials and Tools for a Clean Finish
To achieve a flawless, boutique-style presentation, gathering the correct tools before you begin is essential. Working with specialized ribbons requires a bit more care than standard curling ribbons, as the fabric weight and edge details demand precision.
Products mentioned in this guide
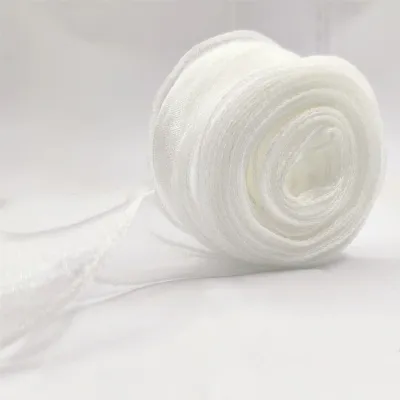
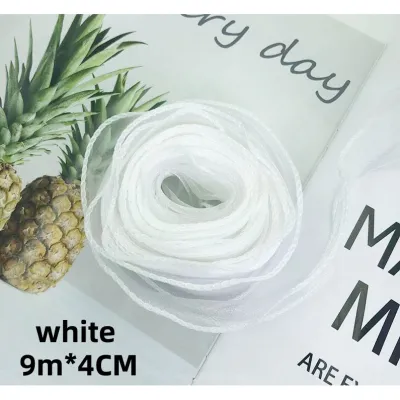
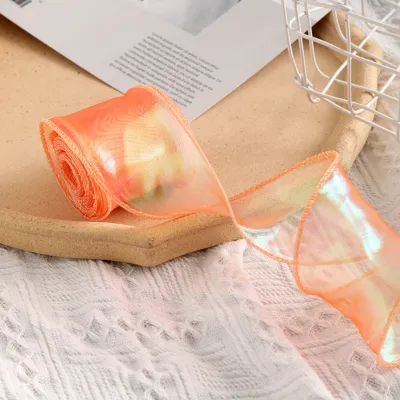
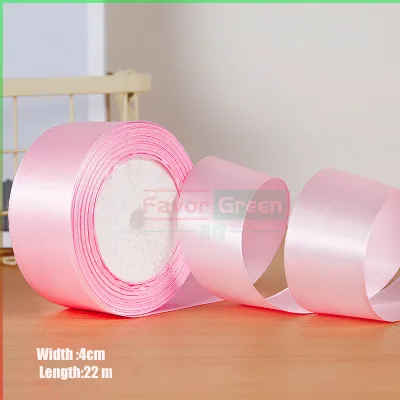
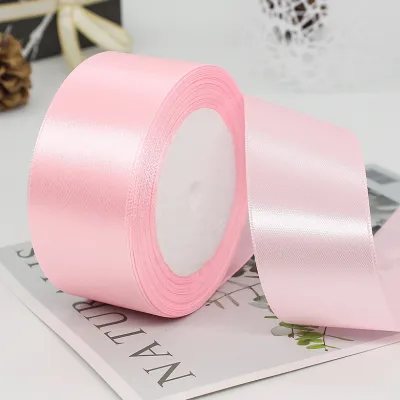
Prices are valid at publication and may change. Please refer to the product page for the latest price.
- Fish Tail Ribbon: This ribbon is characterized by its distinctive V-cut or notched outer borders, which create a feathered, elegant silhouette. For standard gift boxes, such as a medium-sized shoe box or a rectangular shirt box, a ribbon width of 1 to 1.5 inches (approximately 2.5 to 3.8 centimeters) is highly recommended. If you are wrapping larger packages, opt for a wider 2- to 2.5-inch ribbon. In the humid tropical climate of the Philippines, ribbons made of polyester, grosgrain, or those with thin, integrated wire edges are ideal because they resist drooping and maintain their structural integrity far better than soft, untreated satin.
- Sharp Fabric Scissors: A clean cut is paramount when working with fish tail ribbon. Dull household scissors will chew through the delicate fibers, leading to unsightly fraying that ruins the precise V-cut aesthetic. Always use sharp fabric shears or dedicated craft scissors, and make your cuts in a single, swift motion.
- The Gift Item: Ensure your gift box is fully wrapped and clean before measuring your ribbon. If you are using delicate wrapping paper, such as thin metallic sheets or handmade abaca paper, handle the ribbon gently to avoid tearing or scuffing the paper's surface.
- Adhesives (Optional): If you prefer to construct your bow separately and attach it to the box later, keep double-sided tape, glue dots, or a spool of thin floral wire nearby. Before applying any adhesive, check the manufacturer's instructions on both the wrapping paper and the ribbon to ensure the adhesive will not leave greasy stains or damage the materials.
Step-by-Step Guide to Tying a Symmetrical Bow
Creating a perfectly balanced bow requires a systematic approach. By breaking down the process into manageable stages, you can ensure that both loops are identical and that the gorgeous notched tails are displayed prominently.

Measuring and Positioning the Ribbon
To avoid wasting your beautiful fish tail ribbon, measure the required length before cutting. A reliable formula for a standard flat wrap with a single top bow is to wrap the ribbon around the length of the box once, then add an extra 40 to 50 centimeters. This extra length provides ample material to form comfortable loops and leaves elegant, cascading tails.
For a direct tie, place the wrapped gift box face up on a clean, flat surface. Slip the ribbon underneath the center of the box, pulling both ends upward so they meet at the top. If you are creating a pre-made bow to attach later, hold the ribbon centrally in your hand, leaving equal lengths on both sides.
Before making your first crossover, ensure that the V-cut tails are facing the correct direction. The notches should point outward and downward. If one side is twisted, gently smooth it out with your fingers, keeping the ribbon flat against the surface of the box.
Creating the Loops and Central Knot
The “bunny ears” method is the most reliable technique for beginners to achieve perfect symmetry. Fold both the left and right strands of the ribbon into two equal-sized loops. Ensure that the front face of the ribbon (especially if it has a one-sided pattern or texture) is facing outward on both loops.
Cross the right loop over the left loop to create a central opening underneath. Keep your thumb firmly pressed against the intersection to prevent the ribbon from slipping or losing its shape.
Tuck the right loop under and through the central opening. As you pull it through, focus on keeping the ribbon completely flat. Do not let the fabric twist or bunch up inside the knot.
The defining beauty of fish tail ribbon lies in its flat, structured drape. If the ribbon twists during this step, the unique V-cut edges will fold inward, hiding the very feature that makes this ribbon special. Keep your movements slow and deliberate.
Adjusting for Symmetry and Displaying the V-Cuts
Secure the bow by pulling the two loops outward while simultaneously tugging the tails downward. Apply even pressure to ensure the central knot is tight and secure, but avoid pulling so hard that you crush or distort the fabric loops.
Compare the left and right loops. If they are uneven, gently pull the inner ribbon strand from the central knot to adjust the size. Repeat this process incrementally until both loops are perfectly symmetrical.
Insert your fingers into the loops and gently expand them outward. If you are using a wired fish tail ribbon, you can mold the loops into a beautiful, rounded dome shape that resists flattening.
Smooth out the tails so they drape elegantly down the sides of the gift box. Ensure the V-cut notched ends are fully visible and spread out, rather than tucked underneath the main body of the bow.
Troubleshooting Common Ribbon Tying Mistakes
Even with careful preparation, working with textured or structured ribbons can present challenges. Here is how to quickly resolve common issues without starting over.
- Twisted Ribbon: If you notice a twist near the central knot after tightening, do not untie the entire bow. Instead, insert a closed pair of tweezers or a small craft stick under the twisted fold. Gently wiggle the tool to loosen the knot slightly, flip the twisted section flat, and then retighten the loops.
- Uneven Tails: If one tail ends up significantly longer than the other, use your sharp fabric scissors to trim the longer side. To recreate the classic fish tail notch, fold the end of the ribbon in half vertically, then make an angled cut starting from the folded edge upward to the outer wire edge. When you unfold the ribbon, you will have a perfect, symmetrical V-cut.
- Flimsy or Drooping Bow: In high-humidity environments, soft fabric ribbons can lose their stiffness and droop. To fix this, you can thread a thin piece of green floral wire through the back of the central knot to act as an invisible spine, supporting the loops from behind. Alternatively, selecting a stiffer grosgrain or wired-edge ribbon from the start will prevent this issue entirely.
- Frayed or Damaged Edges: If the notched ends begin to fray during handling, it is usually a sign that your scissors were not sharp enough. Make a fresh, clean cut slightly higher up the tail using ultra-sharp shears. If the ribbon is made of synthetic fibers like polyester, you can carefully seal the edges. Check the ribbon manufacturer's care instructions first; if compatible, you can apply a microscopic dab of clear fabric fray-check adhesive along the cut edges to lock the fibers in place.
Securing and Positioning the Bow on Your Gift
How you mount and position your finished bow can dramatically alter the overall aesthetic of your gift presentation.
Tying the ribbon directly onto the box is classic and ensures the ribbon wraps securely around the entire package. However, if your gift box is fragile or has an irregular shape, crafting a pre-made bow is often much easier. Pre-made bows allow you to focus entirely on symmetry without struggling against the weight of the box.
To attach a pre-made bow, use high-quality double-sided tape or adhesive glue dots directly beneath the central knot. This keeps the bow firmly anchored to the wrapping paper. If you are using a delicate handmade paper, test a tiny piece of tape on an inconspicuous area first to ensure it won’t tear the paper if adjusted.
For a traditional, formal look, place the bow dead center on the top face of the box. If you prefer a modern, whimsical, or artistic style, position the bow in the top-left corner, allowing the long V-cut tails to drape diagonally across the package.
Frequently Asked Questions (FAQ)
Can I curl the tails of fish tail ribbon?
Yes, but the result will look different from standard curling ribbon. Because fish tail ribbon has notched, V-cut ends, running the edge of scissors along the fabric will create a flared, multi-pointed curl rather than a tight, singular spiral. To do this safely without tearing the delicate notched edges, pull the ribbon over the scissor blade with very light, even pressure. Always test this technique on a small scrap piece of ribbon first to ensure the fabric fibers do not split or run.
What is the best ribbon width for different gift sizes?
Selecting the correct ribbon scale is vital for a balanced presentation. For small, delicate items like jewelry boxes, perfume bottles, or small pouches, a narrow ribbon measuring 0.5 to 1 inch (1.2 to 2.5 centimeters) works best. For medium-sized packages, such as shoe boxes or book parcels, opt for a width of 1.5 inches (3.8 centimeters). Large gift baskets, corporate hampers, or oversized boxes look most impressive when adorned with wide ribbons of 2 to 2.5 inches (5 to 6.4 centimeters), which allow the dramatic V-cut ends to be fully appreciated from a distance.

Community discussion
Share your experience or ask a question. Comments are reviewed before publication.