
To elevate the presentation of your lootbags giveaways, tying a beautifully structured decorative bow directly onto the drawstring closures is the ultimate finishing touch. Standard drawstrings on party favors can often look plain or unfinished, but adding a well-crafted ribbon bow instantly transforms a simple bag into an elegant, premium gift that shows your guests extra care and appreciation. Whether you are preparing for a grand birthday fiesta, a local baby shower, or a corporate gathering in the Philippines, mastering a few simple knotting techniques will help you achieve clean, professional-looking results every time.
Achieving the perfect bow requires understanding how different ribbon textures interact with drawstring materials, especially in warm, humid tropical climates where ribbons can easily lose their shape or slip out of place. By choosing the right materials, utilizing step-by-step tying methods, and implementing smart bulk-assembly strategies, you can easily dress up dozens of giveaway bags without hand fatigue or inconsistent shapes.
Choosing the Right Ribbon and Tools for Drawstring Bags
Before you begin tying, selecting the appropriate ribbon material is critical. The ribbon must complement the texture of your lootbag drawstrings—which are typically made of cotton twine, polyester cords, or synthetic satin strings—while remaining securely knotted throughout your event.
Products mentioned in this guide
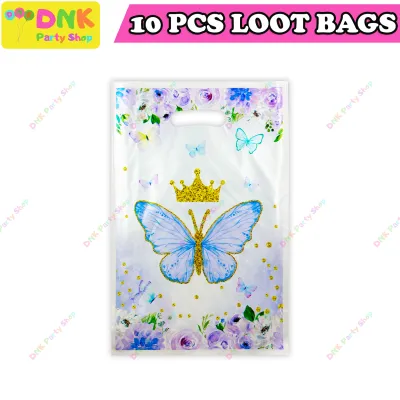
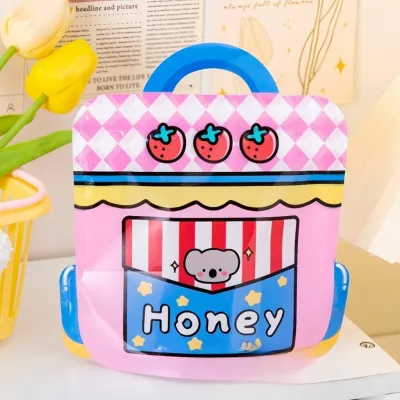
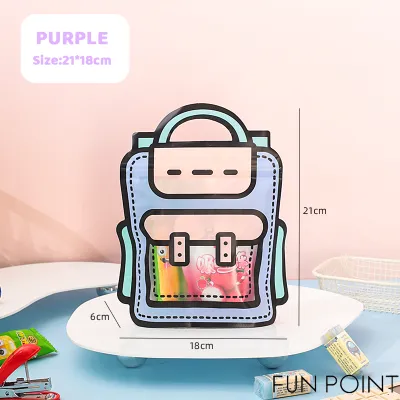
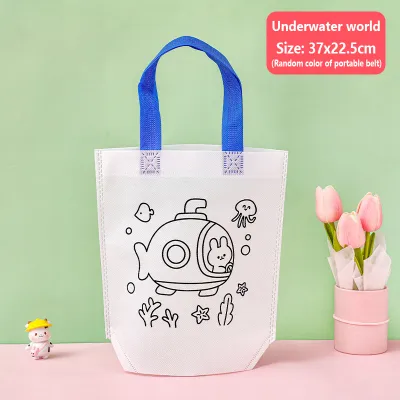
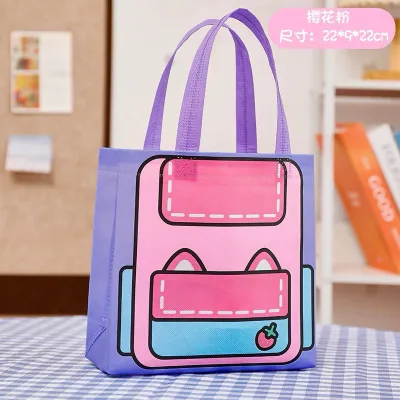
Prices are valid at publication and may change. Please refer to the product page for the latest price.
- Grosgrain Ribbon: This is highly recommended for beginners and bulk projects. Grosgrain features a distinct ribbed texture that provides excellent friction. It grips the drawstring securely, holds knots exceptionally well, and maintains its structural integrity even in high humidity. If your lootbags giveaways will be handled frequently or transported to an outdoor venue, grosgrain is your most reliable option.
- Satin Ribbon: Known for its luxurious sheen and smooth finish, satin ribbon adds an instant touch of elegance to weddings and formal baptisms. However, satin is notoriously slippery. Double-faced satin is smooth on both sides, making it even more prone to unraveling unless you tie a very tight, secure base knot.
- Organza Ribbon: This sheer, lightweight fabric offers a delicate, airy appearance that works beautifully for dainty jewelry pouches or whimsical children's parties. While it is easy to tie, organza lacks the weight and stiffness of grosgrain, meaning your bows will have a softer, more draped look rather than a crisp, perky shape.
Selecting the correct ribbon width is equally important for maintaining visual balance. For standard lootbags giveaways measuring around 4×6 inches to 6×8 inches, ribbon widths between 1/4 inch (6mm) and 3/8 inch (10mm) are ideal. Ribbons wider than 1/2 inch (12mm) tend to look overly bulky on small drawstring closures, making it difficult to tie tight, neat knots without distorting the shape of the bag itself.
To ensure a clean, professional finish, gather these essential tools before starting your project:
- Sharp Fabric Scissors: Dull household scissors will chew through ribbon fibers, leaving unsightly frayed edges. Dedicate a pair of sharp fabric shears solely for cutting your ribbons.
- Fray Check or Clear Nail Polish: Applying a tiny dab of liquid fray check or clear nail polish to the cut ends of your ribbons prevents the threads from unravelling during transport and handling.
- A Handheld Lighter: For synthetic ribbons like polyester satin or organza, gently passing the cut edge near a flame will melt the fibers together, sealing them permanently. Always perform this step in a well-ventilated area, keep the flame away from the lootbag itself, and supervise carefully to prevent fire hazards.
Step-by-Step Techniques for Tying Drawstring Bows
Tying a bow directly onto a drawstring requires a slightly different approach than wrapping a flat gift box. The goal is to secure the bag’s opening while ensuring the bow faces forward and remains upright.

The Classic Symmetrical Bow
The classic symmetrical bow is the gold standard for party giveaways, offering a balanced, traditional look that works with any theme.
- Secure the Drawstring Base: Pull the lootbag drawstrings tight to close the bag fully. Tie a simple overhand knot with the drawstrings themselves to keep the contents secure. Next, wrap your ribbon around the center of the drawstring knot and tie a firm single knot. This creates a stable, non-slip foundation for your bow.
- Form the First Loop: Take the left strand of the ribbon and fold it over to create a neat loop (often called the "bunny ear"). Keep your thumb pressed firmly against the center knot to maintain tension.
- Wrap and Pull Through: Take the right strand of the ribbon, wrap it over the front of the left loop, and tuck it through the space created at the bottom of the center knot.
- Tighten with Care: Pull both loops outward simultaneously to tighten the center knot. To prevent crushing or wrinkling the ribbon fabric, pull gently from the base of the loops rather than the outer edges.
- Adjust and Trim: Slide your fingers inside the loops to fluff them out. Pull the dangling tails to adjust the loop size until they are perfectly symmetrical. Finally, use your fabric scissors to cut the tails at a clean 45-degree diagonal angle or fold the ribbon vertically and cut upward to create a classic V-notch (swallowtail) finish.
The Simple Loop Bow
If you are working with a softer ribbon material or prefer a more relaxed, modern aesthetic, the simple loop bow is a quick and stylish alternative.
- Create a Single Loop: After tying your secure base knot over the drawstring, take one side of the ribbon and form a single, generous loop.
- Wrap the Tail: Wrap the remaining flat strand of ribbon around the base of that single loop, keeping the fabric flat and un-twisted.
- Pull the Second Loop Through: Push a portion of the flat strand through the center loop opening to form the second loop. This technique naturally forces the loops to sit flat against the front surface of the lootbag rather than twisting sideways.
- Adjust the Tension: Pull the loops gently to secure the knot. Because this method uses fewer overlapping twists, it is much easier to adjust the tension without distorting the ribbon's shape.
- Fluff and Shape: Use your fingertips to gently open up the loops, giving the bow volume and structure. This method is particularly effective for organza and lightweight satin ribbons, as it coaxes them to stand up rather than droop.
Efficient Strategies for Preparing Lootbags in Bulk
When you are preparing dozens of lootbags giveaways for a large guest list, tying individual bows directly onto each bag can become incredibly time-consuming and lead to hand fatigue. Implementing an organized workflow will save you hours of labor.
- The Assembly Line Workflow: Instead of completing one lootbag at a time, break the process down into distinct stages. First, measure and cut all your ribbon strips to a uniform length (usually 12 to 14 inches per bow). Next, seal all the ribbon ends in one batch using a lighter or fray check. Once your ribbons are prepped, fill all the lootbags, pull the drawstrings tight, and tie the base knots. Finally, sit down to tie all the decorative bows in one continuous session. This repetitive motion builds muscle memory, resulting in faster tying speeds and more consistent bow sizes.
- The Fork Method for Uniform Mini Bows: For very small lootbags, you can create perfectly uniform mini bows using a standard kitchen fork or a small wooden bow-making jig. Wrap the ribbon through the tines of the fork, tie a center knot, and slide the completed bow off. This method guarantees that every single bow is identical in size and shape.
- Pre-Tying and Attaching Bows: If direct tying is too tedious, you can pre-tie all your bows comfortably at a table. Once you have a collection of perfect bows, attach them to the lootbag drawstrings using thin, flexible floral wire, double-sided mini glue dots, or a small dab of fast-drying fabric glue. This allows you to position the bow precisely over the drawstring knot without fighting the tension of the bag's closure.
- Safe Storage for Pre-Made Bows: If you prepare your bows days or weeks in advance, store them in a single layer inside shallow, rigid plastic containers. Avoid stacking them deeply, as the weight will crush the loops. If you must stack them, place a sheet of parchment paper between layers to prevent the ribbons from snagging on one another.
Troubleshooting Common Bow and Drawstring Issues
Even with careful preparation, working with ribbons and drawstrings can present a few challenges. Here is how to quickly resolve common issues to ensure every giveaway looks flawless.
- Slippery Ribbons Sliding Off: If your elegant satin ribbon keeps sliding off smooth polyester or cotton drawstrings, do not worry. You can prevent this by tying a tight double base knot with the ribbon before forming your loops. Alternatively, apply a tiny dot of clear fabric glue directly to the drawstring knot, press the ribbon center into the glue, let it dry for a few minutes, and then tie your bow. This anchors the ribbon permanently in place.
- Crushed or Twisted Loops: If your loops look flat, wrinkled, or twisted sideways, avoid pulling the tails too hard, as this will only tighten the mistake. Instead, insert your index fingers into both loops and pull them gently outward while holding the center knot stable with your thumbs. You can also use a cool hair dryer or a handheld garment steamer on its lowest setting to gently release wrinkles from polyester ribbons, restoring their plush, full appearance.
- Managing Frayed Edges Safely: If you notice ribbon threads beginning to unravel but do not want to use an open flame near delicate fabrics, use clear nail polish or liquid fray check. Simply glide the brush lightly along the very edge of the cut ribbon. This creates a thin, invisible plastic barrier that stops fraying instantly without any risk of scorching or melting the ribbon.
Frequently Asked Questions (FAQ)
Can I use hot glue to secure the bow to the drawstring?
While hot glue is a popular crafting adhesive, it is generally not recommended for securing decorative bows directly to fabric drawstrings. Hot glue cools incredibly quickly into a thick, hard plastic mass that can leave bulky, visible yellow or white residue behind the bow, ruining the clean look of your lootbags giveaways. Furthermore, the high temperature of hot glue can easily melt thin synthetic drawstring cords or delicate organza and satin ribbons. For a much cleaner and safer finish, use specialized fabric glue, double-sided mini glue dots, or thin floral wire to attach pre-tied bows to your closures.
What is the best ribbon width for standard lootbag strings?
For standard-sized lootbags giveaways, the most versatile and visually balanced ribbon widths are between 1/4 inch (6mm) and 3/8 inch (10mm). This size range allows you to tie tight, neat, and secure knots that sit flush against the bag closure without looking bulky or overwhelming the overall presentation. Ribbons that are 1/2 inch (12mm) or wider are often too stiff and heavy for small drawstring bags, making it difficult to pull the center knot tight enough to prevent slipping, which often results in floppy, unbalanced bows.

Community discussion
Share your experience or ask a question. Comments are reviewed before publication.