
Creating clean, crisp designs on your scrapbook layouts with clear stamps requires a blend of the right tools and precise physical technique. Clear stamps, typically made of photopolymer or acrylic, offer a distinct advantage over traditional wood-mounted rubber stamps: they are completely transparent. This transparency allows you to see exactly where you are placing your design on the page, eliminating guesswork and helping you build balanced, beautiful layouts. Achieving a flawless print comes down to managing ink coverage, surface pressure, and paper compatibility.
While the process is highly accessible, beginners often encounter challenges like blurry edges, faint lines, or smudged details. These issues are rarely caused by defective stamps; instead, they usually stem from incorrect inking habits or uneven pressure during transfer. By understanding how clear stamps interact with different inks and papers, and by mastering a few simple handling techniques, you can consistently produce professional-grade impressions on every scrapbook page.
Essential Tools for Clean Stamp Impressions
To get the best results from clear stamps, you need a few foundational supplies designed to work in tandem with the flexible polymer material. The most critical companion tool is an acrylic block. Because clear stamps are soft and pliable, they cannot hold their shape or distribute pressure on their own. Mounting them onto a rigid, flat, transparent acrylic block provides the necessary structure to press the entire design onto your paper uniformly. Acrylic blocks come in various dimensions, such as 5×5 centimeters for small icons or 10×15 centimeters for large background patterns. For the best control, select a block that is only slightly larger than the stamp design you plan to use.
Products mentioned in this guide

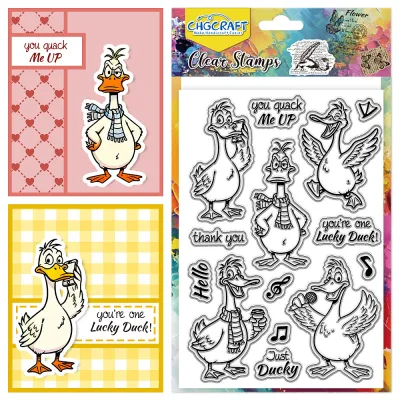


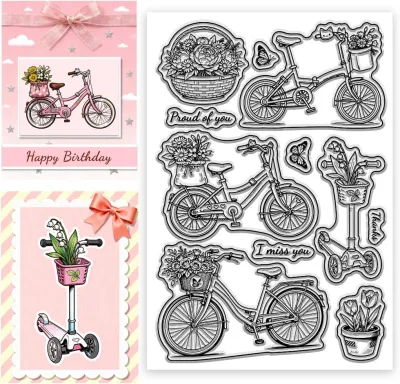
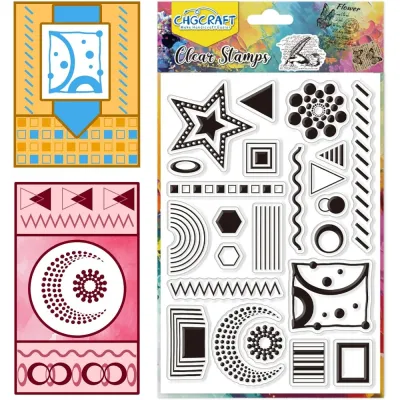
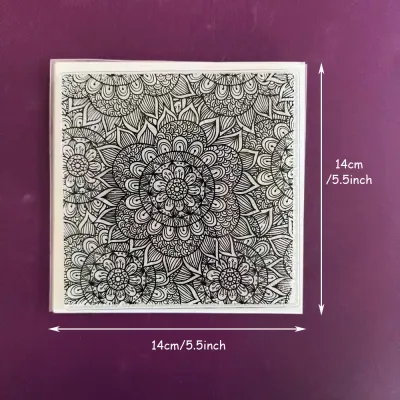
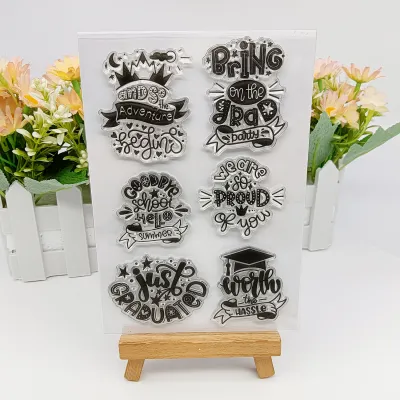
Prices are valid at publication and may change. Please refer to the product page for the latest price.
Your choice of ink directly impacts the drying speed, crispness, and overall look of your stamped image. Dye-based inks are thin, water-like, and absorb quickly into the fibers of standard matte scrapbook paper. This rapid absorption makes them highly resistant to smudging, which is particularly useful in warm, humid climates where slower-drying mediums can remain wet for too long. In contrast, pigment-based inks are thick, opaque, and sit on top of the paper surface. Pigment inks produce incredibly vibrant colors on dark cardstock and are the industry standard for heat embossing, but they require extra drying time.
For complex scrapbook layouts that require precise alignment, repetitive patterns, or layered multi-step stamping, auxiliary alignment tools are highly beneficial. A stamp positioning tool—a hinged plastic platform with a magnetic base—allows you to stamp the exact same spot multiple times. If your first impression is too faint, you can re-ink the stamp and press it down again in perfect alignment. If you prefer using standard acrylic blocks, look for blocks with laser-etched grid lines, which help you align your designs parallel to the edges of your scrapbook page.
Finally, the quality of your paper determines how well the ink is received. Smooth, high-density cardstock (ranging from 160 to 220 gsm) provides the ideal surface for clear stamping. Highly textured papers, such as coarse watercolor sheets or heavily textured linen cardstock, can interfere with the stamp’s contact points, resulting in patchy or incomplete impressions. Before stamping directly onto your final scrapbook page, always perform a quick test on a scrap piece of the same paper to verify bleed resistance, drying speed, and ink compatibility.
How to Ink, Position, and Stamp for Crisp Results
When working with clear stamps, physical technique matters far more than raw physical force. Pressing down as hard as you can will not yield a cleaner image; in fact, excessive pressure often squishes the flexible polymer, causing the ink to ooze outward and blur the fine lines of your design. A controlled, methodical workflow is the key to success.

Before you begin, ensure you are working on a flat, solid, unyielding surface. A sturdy wooden desk or a solid craft table is ideal. Avoid working on top of soft, padded self-healing cutting mats or folding plastic tables that flex in the middle. A surface with too much give will prevent you from applying uniform pressure across the acrylic block, leading to distorted or uneven prints.
Step 1: Prep and Position the Stamp
To begin, gently peel the clear stamp away from its plastic backing sheet. Always peel slowly from one corner, avoiding the temptation to yank or pull from thin, delicate parts of the design, which can permanently stretch or tear the polymer. Place the stamp onto your acrylic block with the smooth, flat side of the stamp pressed against the acrylic. The raised, textured design must face outward, away from the block.
If you are using a new stamp for the first time, it may have a microscopic residue left over from the manufacturing process that repels water-based ink. To prime the stamp, gently rub the textured surface with a clean white pencil eraser, or stamp it several times on scrap paper using a basic dye ink until the ink coats the stamp smoothly without pooling. Use the grid lines on your acrylic block to align the stamp straight, ensuring your sentiments and borders sit perfectly horizontal.
Step 2: Ink the Stamp Evenly
Instead of pressing your mounted stamp down into an ink pad, place your acrylic block on your workspace with the stamp facing upward. Hold the ink pad in your hand and tap it lightly and repeatedly across the raised surface of the stamp. This “pad-to-stamp” technique gives you complete visual control over the ink application and prevents you from overloading the stamp.
Look at the stamp surface under a direct light source. A properly inked stamp will have a uniform, satin sheen across all the raised elements of the design. If you see wet, shiny pools of ink filling the recessed grooves or negative spaces of the stamp, you have applied too much ink. Over-inking is the primary cause of blurred edges and feathering on scrapbook paper, so use a light hand.
Step 3: Stamp with Consistent Pressure
Position the inked stamp directly over your scrapbook page, using the transparent block to align the design. Lower the block straight down onto the paper. To prevent trapping air bubbles under solid designs, you can use a subtle “hinge” motion: let one edge of the stamp make contact with the paper first, then smoothly lower the rest of the block.
Once the stamp makes contact with the paper, do not rock, wiggle, or slide the acrylic block. Shifting the block even a fraction of a millimeter will smear the wet ink and create a double image. Apply firm, even pressure across the entire back of the block using your flat palm or the pads of your fingers, making sure to press the center and all four corners. Hold the block in place for three to five seconds to allow the paper fibers to fully absorb the ink, then lift the block straight up in one clean, vertical motion.
How to Fix Blurry, Faint, or Smudged Impressions
Even with careful preparation, stamping mistakes can happen. Recognizing the visual symptoms of a poor print allows you to quickly adjust your technique and save your scrapbooking materials from being ruined.
- Faint or patchy impressions: This issue typically points to under-inking, uneven pressure, or a stamp that has lost its stickiness and lifted off the block. If you are using a brand-new stamp, remember to prime it first to remove manufacturing oils. If the stamp is older, check if dust or paper fibers have coated the back, preventing it from clinging flatly to the acrylic block. A quick cleaning will restore the flat contact surface.
- Blurry or doubled images: A shadowed or doubled print occurs when the stamp shifts laterally while in contact with the paper. This is almost always caused by rocking the acrylic block back and forth to "ensure" coverage. Keep your block completely parallel to the table and press straight down. If your paper tends to slide, secure it to your work surface using low-tack painter's tape or a magnetic crafting board.
- Ink bleeding or feathering: When ink spreads outward into the paper fibers, creating fuzzy edges, the paper is either too porous or the stamp was heavily over-inked. Highly absorbent papers, like cheap construction paper or low-grade sketchpads, draw liquid ink out rapidly. Switch to a high-density, smooth cardstock and practice tapping your ink pad lighter.
- Stamp slipping off the block: If your clear stamp slides or falls off the acrylic block during use, moisture, ink residue, or oil from your hands has coated the cling side. Wipe both the back of the stamp and the face of the acrylic block with a damp, lint-free cloth or an alcohol-free baby wipe, then dry them thoroughly to restore the natural suction grip.
How to Clean and Store Clear Stamps for Longevity
Proper maintenance ensures that your clear stamps remain sticky, transparent, and pliable for years. You should clean your stamps immediately after every crafting session. Allowing ink to dry completely on the polymer can cause permanent staining, and while minor staining does not affect the performance of the stamp, heavy buildup can clog fine details over time.
To clean your stamps, use a dedicated commercial stamp cleaner or a simple mixture of room-temperature water and a drop of mild dish soap. Gently massage the soapy water over the textured surface with your fingertips to lift the ink. Avoid using harsh solvents, acetone, or alcohol-based cleaners; these chemicals strip the plasticizers from the polymer, causing the stamps to dry out, turn yellow, crack, and lose their natural cling.
After washing, let your stamps air-dry completely on a lint-free towel or microfiber cloth. Do not use paper towels or standard facial tissues, as they shed tiny wood fibers that will stick to the adhesive backing of your stamps. In humid tropical environments, ensuring your stamps are 100 percent dry before storage is critical to prevent the growth of mold or mildew inside your storage containers.
Store your dry clear stamps flat on their original acetate backing sheets. Keep them inside a closed drawer, a plastic binder, or an airtight storage box to shield them from dust and ambient humidity. Always store them away from direct sunlight and extreme heat sources, as prolonged exposure to ultraviolet light will warp the polymer, making the stamps brittle and unusable.
Frequently Asked Questions (FAQ)
Can I use clear stamps without an acrylic block?
No, you cannot get a clean, even impression without a rigid backing. Clear stamps are made of a highly flexible polymer that bends easily under hand pressure. Attempting to press a loose stamp down with your fingers will result in uneven contact, leading to distorted, patchy, and heavily smudged images. The rigid, flat surface of an acrylic block is necessary to distribute pressure evenly.
Why is my clear stamp losing its stickiness?
Clear stamps do not use glue to adhere to acrylic blocks; instead, they rely on the natural cling properties of the smooth polymer. Over time, microscopic dust, paper fibers, pet hair, and natural oils from your skin accumulate on the flat back of the stamp, acting as a barrier and reducing its tackiness. Washing the stamp with mild dish soap and warm water will remove this debris and fully restore its original grip.
What is the best ink for clear stamps on scrapbook paper?
For standard, matte scrapbook paper, water-based dye inks are the best choice because they dry almost instantly and capture fine details beautifully without smudging. If you are working on glossy paper, dark cardstock, or want to perform heat embossing, choose a pigment ink. Keep in mind that pigment inks require several minutes to dry completely, especially in humid conditions, so handle your page carefully after stamping.
Community discussion
Share your experience or ask a question. Comments are reviewed before publication.