
Quick Answer: Organizing Files with Long Colored Envelopes
Using long colored envelopes is an efficient way to organize documents by assigning specific colors to distinct categories, allowing for instant visual identification. By choosing long-format envelopes—such as legal-size or document-size pockets—you can store full-size papers completely flat without folding, creasing, or damaging the edges. This system simplifies retrieval, reduces clutter, and keeps your files protected in a lightweight, highly customizable setup.
Why Choose Long Colored Envelopes for Document Storage
Traditional filing systems often rely on bulky ring binders, heavy plastic folders, or massive metal filing cabinets that occupy significant physical space. Long colored envelopes offer a lightweight, flexible, and highly space-efficient alternative. They allow you to group related documents into compact, flat packets that can be easily stacked, filed vertically in baskets, or carried in a bag when traveling to government offices or business meetings.

In tropical climates like the Philippines, where high humidity can cause paper to warp, sag, or develop mold, heavy-duty paper or cardstock envelopes provide a breathable yet protective barrier. Unlike rigid plastic sleeves that can trap moisture and cause ink to transfer or stick to the plastic, high-quality paper envelopes allow for minimal air circulation while shielding documents from dust and direct sunlight.
Products mentioned in this guide
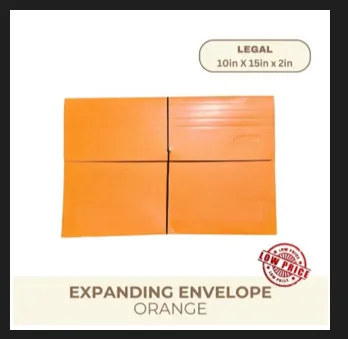
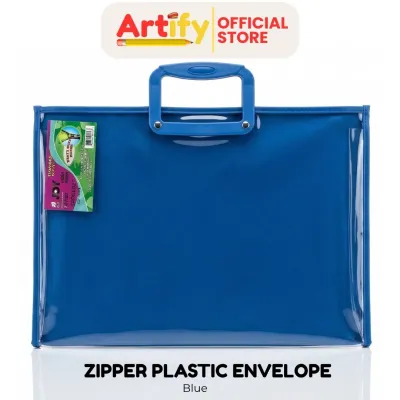
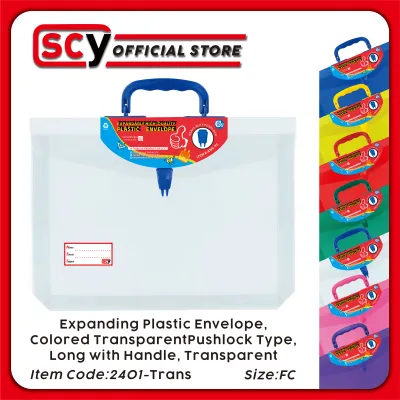
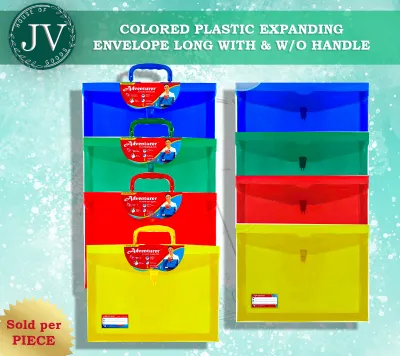
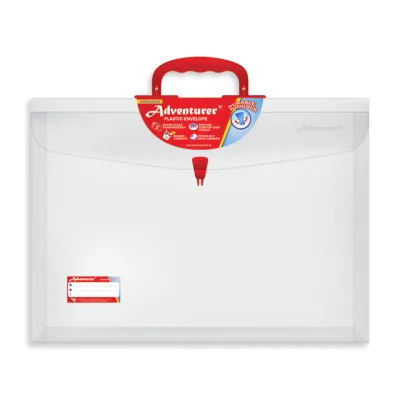
Prices are valid at publication and may change. Please refer to the product page for the latest price.
Furthermore, long envelopes are specifically designed to accommodate full-size documents. In local administrative and academic settings, papers commonly come in A4 or the longer legal size, which is often referred to as long bond paper measuring 8.5 by 13 inches. Using long envelopes ensures that these official documents, land titles, and certificates remain completely flat. This eliminates the need for folding, which can weaken paper fibers over time and make important seals or signatures difficult to read.
How to Plan Your Color-Coded Filing Categories
Before purchasing your supplies, it is essential to design a logical color-coding framework that matches your household or office workflow. Randomly assigning colors can lead to confusion later on. Start by listing the primary categories of documents you handle regularly. A standard household filing system typically includes financial records, medical histories, property documents, academic achievements, and personal identification papers.
Once you have identified your main categories, assign a distinct, highly visible color to each one. For example, you might assign red or bright pink to urgent financial documents, such as monthly electricity and water bills, loan statements, and tax records. Blue can represent medical files, including doctor prescriptions, laboratory results, and health insurance policies. Green is an intuitive choice for property and asset records, such as land titles, vehicle registration documents, and lease agreements. Yellow or orange can be reserved for academic records, diplomas, and school report cards, while purple or white can hold personal identification documents like birth certificates, passports, and clearances.
To make the system even more precise, you can use different shades of the same color or apply secondary color-coded labels to establish subcategories. For instance, within your green “Property” category, you could use dark green envelopes for real estate documents and light green envelopes for vehicle maintenance records.
To ensure that everyone in your home or office can navigate the system easily, create a master color legend. This can be a simple, clearly written index card or a printed sheet that lists each color and its corresponding category. Tape this legend securely to the front of your storage box or inside your filing drawer. This reference sheet removes any guesswork when filing new documents or retrieving old ones, ensuring long-term consistency.
Step-by-Step Guide to Setting Up Your Envelope System
Gathering Supplies and Preparing Documents
To begin setting up your system, gather your long colored envelopes, a set of fine-tipped permanent markers, adhesive labels, and a few silica gel packets to combat humidity. When selecting your envelopes, verify their physical dimensions to ensure they fit your specific paper types. For standard Philippine long bond paper, look for legal-size document envelopes that measure at least 9 x 12 inches or 10 x 15 inches. If you are using standard mailing-style long envelopes, such as standard No. 10 envelopes, keep in mind that these will require you to fold your documents, making them better suited for small receipts or folded utility bills.
Before placing any paper inside an envelope, take the time to prepare the documents properly. Remove all metal staples, paperclips, and sticky notes. In humid environments, metal paperclips and staples are highly prone to rusting over time, which can leave permanent brown stains on your important papers and even eat through the sheets. Instead of metal fasteners, use acid-free paper dividers or plastic-coated clips if you need to keep multi-page documents grouped together inside the envelope. Wipe away any dust or moisture from the papers before filing them away.
Labeling and Sorting Documents into Envelopes
Clear labeling is the key to maintaining an organized envelope system. Write the primary category, subcategory, and the relevant date range clearly on the front of the envelope or along the top flap. For maximum legibility, use a water-resistant, pigment-based black marker. Because different envelope papers have varying levels of smoothness and absorption, always perform a quick trial test with your marker on a spare envelope flap or a small corner. Check how quickly the ink dries and verify that it does not bleed through the paper or smudge when touched.
Once labeled, sort your prepared documents and slide them gently into their designated envelopes. Group papers chronologically, placing the most recent documents at the front of the stack for quick access. Be careful not to overstuff a single envelope. Forcing too many sheets into a standard paper envelope puts excessive pressure on the seams, leading to tearing, warping, or adhesive failure. If a particular category grows too thick, simply split the contents into two envelopes, labeling them “Part 1” and “Part 2” with their respective date ranges.
Storing and Arranging the Envelopes
After your envelopes are filled and labeled, you need a structured way to store them so they remain upright and easily accessible. Storing envelopes flat in a stack makes retrieval difficult, as you have to lift the entire pile to find a single document, which can damage the envelopes over time. Instead, utilize vertical storage solutions such as plastic magazine holders, sturdy filing boxes, or drawer dividers.
Arrange the envelopes vertically within these containers, keeping the labeled flaps facing upward or forward so you can read them at a glance. Within each color group, organize the envelopes in a logical sequence, such as alphabetically by subcategory or chronologically by year. To protect your paper files from tropical humidity and pests, place the storage boxes on elevated shelves rather than directly on the floor. Drop a few silica gel packets into each storage box to absorb excess moisture and keep the paper dry and crisp.
Tips for Maintaining and Updating Your Filing System
An organized filing system is only effective if it is maintained regularly. Set aside a specific time once or twice a year to review the contents of your envelopes. During these reviews, purge outdated or expired documents that are no longer needed, such as expired warranties, old utility bills, or outdated receipts. This prevents your envelopes from becoming overstuffed and keeps your filing system lean and functional.
As your household or business needs evolve, you may find that new categories of documents emerge. When this happens, update your master color legend immediately to reflect the changes. If you run out of distinct colors, you can introduce patterned envelopes or use colored border stickers to represent new subcategories without disrupting the existing color scheme.
Finally, periodically inspect the physical condition of your envelopes. Over time, frequent handling, dust, and humidity can weaken paper fibers, soften adhesives, or cause the edges to fray. If you notice an envelope starting to tear or its seams beginning to split, transfer the contents to a fresh envelope right away. Keeping a small backup supply of empty colored envelopes ensures you can make these quick replacements whenever necessary, preserving the integrity of your documents for years to come.
Frequently Asked Questions (FAQ)
Can I use long colored envelopes for standard A4 documents?
Yes, long colored envelopes are excellent for storing standard A4 documents. Because A4 paper (8.27 x 11.69 inches) is slightly shorter and narrower than standard legal-size or long bond paper, it slides into long document envelopes with ease. This extra clearance provides a comfortable buffer, allowing you to insert and remove thick stacks of A4 papers without catching or bending the corners. The additional space also makes it easy to include tabbed dividers or index cards inside the envelope to separate different sections of your A4 documents without having to fold or trim the sheets.
How do I prevent important documents from slipping out of the envelopes?
To keep your documents secure without damaging them, choose envelopes equipped with reusable closure mechanisms. Envelopes featuring metal clasps, string-and-button ties, or repositionable hook-and-loop fasteners are ideal because they allow you to open and close the envelope repeatedly without tearing the paper flap. Avoid using permanent glue or heavy packing tape to seal your envelopes, as this will force you to tear the paper open, destroying the envelope and potentially damaging the documents inside. If you are using standard gummed envelopes, avoid folding the flap inward permanently, as this can warp the envelope structure and make vertical filing uneven; instead, secure the flap with a gentle, removable paperclip or a low-tack sticky tab.
Community discussion
Share your experience or ask a question. Comments are reviewed before publication.