
Learning how to use a popsicles stick in your scrapbooking and journaling projects is an excellent, budget-friendly way to introduce tactile dimension, rustic charm, and structural stability to your pages. While paper, stickers, and washi tape form the traditional foundation of paper crafting, incorporating lightweight wooden elements elevates your designs from flat layouts to interactive, multi-dimensional keepsakes. For beginners, working with wood might seem intimidating due to concerns about bulkiness or adhesive failure, but mastering a few basic preparation and assembly techniques will allow you to seamlessly integrate these versatile wooden slats into your daily creative practice.
Using wooden elements also helps anchor your layouts, providing a physical contrast to delicate papers. Whether you are building custom photo frames, creating interactive flip-out panels, or crafting durable bookmarks, wood adds a sensory, tactile quality that paper alone cannot replicate. By understanding how wood interacts with different mediums and adhesives, you can create beautiful, long-lasting projects that stand the test of time.
Essential Tools and Materials for Popsicles Stick Crafts
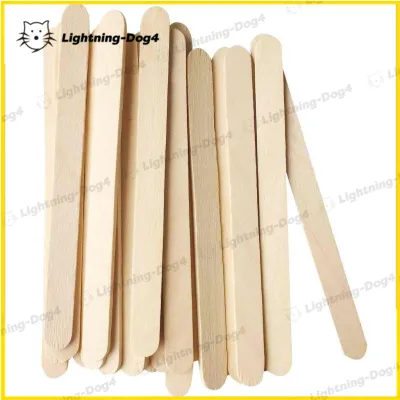
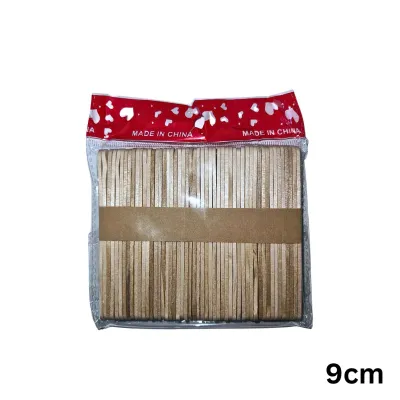
Before beginning your crafting session, gathering the right combination of wood, adhesives, and decorative mediums is essential for a clean, professional finish. Popsicle sticks—often sold as craft sticks in local stationery shops—come in several distinct variations that serve different design and structural purposes.
Products mentioned in this guide
Prices are valid at publication and may change. Please refer to the product page for the latest price.
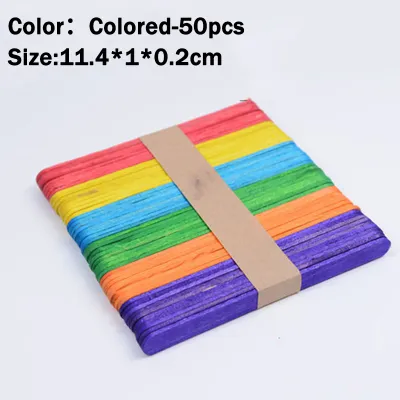
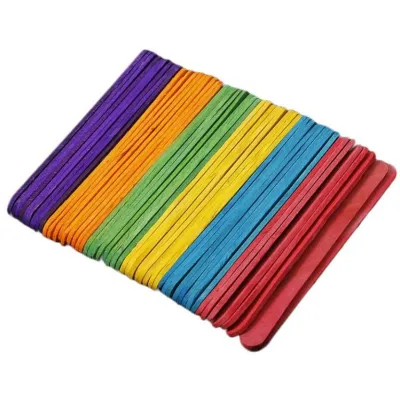
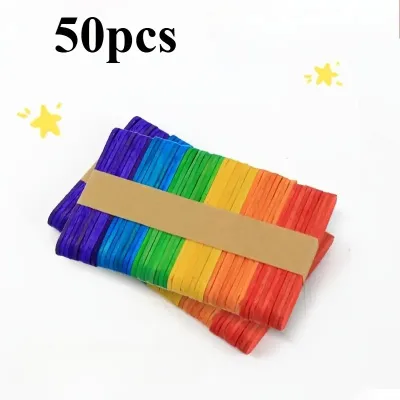
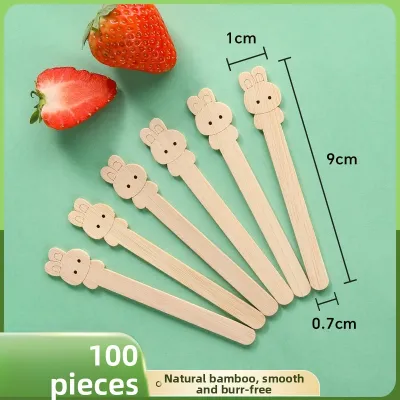
- Stick Varieties: Standard craft sticks (measuring approximately 114 mm by 10 mm) are ideal for delicate borders, small frames, and structural hinges. Jumbo sticks (typically 150 mm by 18 mm) offer a wider canvas, making them perfect for title banners, detailed painting, or serving as sturdy bookmarks. You can also find pre-colored sticks in bright primary or pastel shades, which save painting time but require careful handling to ensure the dye does not bleed when exposed to liquid adhesives.
- Adhesives for Wood-to-Paper Bonding: Because wood is significantly heavier and more porous than paper, standard school glues often fall short. For a secure bond, opt for heavy-duty tacky glue, which has a thicker consistency and lower water content. Double-sided tape rolls (especially high-tack or red-line tape) and adhesive glue dots provide an instant, dry bond that completely eliminates the risk of paper warping. For heavy, structural elements like shaker boxes, a low-temperature hot glue gun is highly effective, though it can add unwanted bulk to flat journal pages.
- Decorating Supplies: Raw wood is highly receptive to various mediums. Acrylic paints and acrylic paint pens (markers) offer opaque, vibrant coverage that dries to a water-resistant finish. For a softer, vintage look, water-based dye inks or pigment ink pads can be applied directly to the wood using a blending sponge. Patterned scrapbooking paper, fabric scraps, and decorative washi tapes are also excellent for wrapping the sticks to match your page's color scheme.
- Cutting and Shaping Tools: You do not need heavy woodworking machinery to shape your sticks. A pair of sharp, heavy-duty craft shears or bypass cutters can easily slice through standard-thickness wood. Fine-grit sandpaper (such as 220-grit) is indispensable for smoothing out rough cut edges. For thicker jumbo sticks, a utility knife paired with a metal ruler allows you to score the wood fibers repeatedly until you can cleanly snap the stick.
Preparing and Decorating Your Popsicles Stick Canvas
Raw wooden craft sticks are mass-produced and often arrive with rough edges, splinters, or slight surface imperfections. Taking the time to properly prepare each popsicles stick ensures that your finished scrapbook layouts look polished and do not accidentally tear your delicate paper sheets or scratch your hands during handling.

Sanding and Smoothing: Begin by inspecting your sticks for warping or structural cracks, selecting the flattest pieces for your projects. Take a small piece of 220-grit sandpaper and gently rub it along the rounded ends and flat sides of the stick to remove loose splinters and fuzzy wood fibers. Wipe away the fine wood dust with a dry microfiber cloth before applying any decorative mediums, as dust will interfere with paint adhesion and glue performance.
Priming and Painting: Wood is highly porous and quickly absorbs moisture from paints, which can lead to dull colors or uneven coverage. To achieve vibrant, true-to-tone colors, apply a thin base coat of white gesso or white acrylic paint as a primer. Once the primer is dry, apply your colored acrylic paint using a flat synthetic brush, brushing in the direction of the wood grain. For a rustic, stained appearance, dilute your acrylic paint with a tiny amount of water or use a water-based ink pad, wiping away the excess with a paper towel to let the natural wood grain show through.
Wrapping with Paper, Fabric, or Washi Tape: If you prefer to avoid wet paint, wrapping the wood is a fast and clean alternative. Cut a strip of patterned paper or fabric slightly wider and longer than your stick. Apply a thin, even layer of tacky glue or double-sided tape to the wood surface, press the paper firmly in place, and smooth out any air bubbles. Once dry, use a fine-grit sanding block angled downward at 45 degrees along the edges of the stick to cleanly shave off the excess paper, creating a seamless, flush edge. Alternatively, wrap the stick in coordinating washi tape, folding the excess over the back for an instant decorative pattern.
Stamping and Detailing: To add intricate designs, use rubber stamps with permanent solvent-based or pigment-based ink pads. Standard dye-based inks designed for paper may feather or bleed into the porous wood fibers, resulting in blurry images. Press the stamp firmly onto the prepared wood without rocking it, then carefully lift it straight up. You can add fine details, hand-lettering, or borders using fine-tip acrylic paint pens or permanent gel pens.
Drying and Curing: The most critical step in the preparation process is allowing your decorated sticks to dry and cure completely. Even if the surface of acrylic paint feels dry to the touch within fifteen minutes, the wood fibers underneath may still hold residual moisture. Placing damp wood into a closed journal or scrapbook album can lead to paper buckling, color transfer, or even mold growth over time. Allow painted or varnished sticks to cure in a well-ventilated area for at least two to four hours before assembling them into your projects.
Step-by-Step Techniques for Scrapbooking Layouts
Integrating wooden elements into your scrapbook layouts adds structural lines and visual weight, helping to anchor your photos and memorabilia on the page. By using popsicle sticks, you can break away from purely flat designs and introduce tactile depth.
Creating Photo Frames and Borders
A custom wooden frame beautifully highlights a focal-point photograph on your layout. To construct a basic four-sided frame, select four standard or jumbo sticks. Measure your photograph; for a standard 3×4 inch photo, you will need to trim your sticks so they overlap neatly at the corners. Mark the cutting lines with a pencil, use your craft shears to cut the wood, and sand the edges smooth.
Lay the sticks down in a square or rectangular configuration. To ensure clean corners without messy glue squeeze-out, apply a small, pea-sized dot of tacky glue or a high-tack glue dot to each overlapping corner. Press the joints firmly together and hold them for thirty seconds. If you want a more dramatic, three-dimensional shadow effect, layer standard sticks on top of jumbo sticks, or use foam adhesive dots between the wooden frame and the background paper to lift the entire frame off the page. Once the frame is assembled and dry, slide your photo behind it and secure it with double-sided tape before mounting the entire piece to your scrapbook layout.
Making Title Banners and Journaling Tags
Popsicle sticks make excellent, rigid bases for page titles, dates, or short journaling prompts. To create a rustic title banner, start by wrapping a jumbo stick in a neutral-colored patterned paper or painting it with a light pastel acrylic paint.
Once the background is ready, you can apply your text. Self-adhesive alphabet stickers adhere beautifully to the flat wood surface. Alternatively, use an opaque white or metallic paint pen to hand-write your title directly onto the wood. To give the stick a realistic banner appearance, cut a small piece of jute twine, baker’s twine, or satin ribbon. Wrap the twine around both ends of the stick several times, securing it on the backside with a dab of strong glue, and leave a small loop at the top for hanging. You can tuck this finished banner into a paper pocket on your page or glue it directly to the top of your layout to serve as an eye-catching header.
Incorporating Popsicle Sticks into Journal Pages
In a daily journal or planner, popsicle sticks can be used to build functional, interactive elements that maximize space and add a playful, tactile element to your writing routine.
Designing Interactive Flip-Outs and Shaker Elements
If you want to include private journaling or extra photos without cluttering your page, you can create a flip-out mechanism using a popsicle stick as a sturdy lever. Cut a stick to the desired length and attach it to the edge of a photo or a piece of cardstock using strong double-sided tape. Next, create a paper hinge by folding a strip of heavy-weight paper or fabric tape in half. Glue one side of the hinge to the back of the popsicle stick and the other side to your journal page. This allows the wooden lever—and the attached photo or writing space—to swing outward smoothly, revealing hidden content underneath.
To create a shaker element, you can use popsicle sticks to construct a shallow, three-dimensional frame. Glue four sticks together to form a square box, then glue this wooden frame directly onto a piece of sturdy cardstock. Fill the shallow cavity with lightweight sequins, seed beads, or paper confetti. Cut a piece of clear acetate packaging plastic to match the dimensions of the frame. Apply a thin, continuous bead of tacky glue along the top edge of the wooden sticks, ensuring there are no gaps where sequins could escape, and press the acetate sheet firmly onto the glue. Frame the acetate with decorative paper or washi tape to hide the wooden edges, creating a delightful, interactive shaker pocket that adds sound and movement to your journal.
Crafting Custom Bookmarks and Page Dividers
A custom wooden bookmark is both a beautiful and durable addition to any journal or planner, extending past the edges of the pages for easy navigation. To craft one, select a clean jumbo stick, which provides enough surface area for detailed decoration. Layer the stick with scraps of vintage book pages, patterned paper, and small stickers, using a thin layer of decoupage medium or glue to seal the elements in place.
To attach a tassel or ribbon, you will need to create a hole near the top of the stick. Carefully mark a spot about 15 mm from the top end. Using a small hand drill, a rotary tool, or the sharp tip of a metal awl, slowly bore a hole through the wood. Always cut away from your body and keep fingers clear of the tool path when drilling or scoring wood. Once the hole is made, sand the interior edges smooth. To prevent the wood from wearing down or splitting over time, reinforce the hole by inserting a metal eyelet or grommet using an eyelet-setting tool. Thread a colorful ribbon, a piece of leather cord, or a handmade yarn tassel through the eyelet, securing it with a simple slipknot. This bookmark can slip between your pages, with the decorative ribbon hanging elegantly over the top spine of your journal.
Assembly, Adhesives, and Drying Tips for Humid Climates
Crafting in tropical environments like the Philippines presents unique challenges, particularly regarding humidity and moisture levels. High relative humidity slows down the evaporation of water-based adhesives, which can lead to prolonged drying times, paper warping, and structural failures if not managed properly.
Liquid Glue vs. Dry Adhesives: Liquid white glues and standard school glues have a very high water content. When applied to porous wood and paper in a humid environment, the paper fibers absorb this excess moisture and expand rapidly, resulting in unsightly buckling and warping. To prevent this, prioritize dry adhesives such as high-tack double-sided tape or adhesive glue dots for your primary wood-to-paper connections. If you must use liquid glue, opt for a premium, thick tacky glue or a specialized wood glue, applying it sparingly with a small brush or toothpick to ensure a thin, even layer.
Clamping and Flat Drying: Because glues take longer to cure in humid weather, wooden elements can easily shift or lift before the adhesive sets. Use small plastic binder clips, wooden clothespins, or low-tack painter’s tape to clamp your pieces firmly together while they dry. If you are gluing a flat wooden frame directly onto a journal page, place a sheet of wax paper or parchment paper over the layout to prevent accidental sticking, close the journal, and place several heavy books on top. This constant, even pressure forces the paper and wood to dry perfectly flat.
Ventilation and Curing Times: Always work in a well-ventilated room, ideally with a ceiling fan or an air conditioner running to help lower the ambient humidity and speed up drying times. Allow your projects to cure for at least double the manufacturer’s recommended drying time before closing your journal or stacking your scrapbook pages. Taking these simple precautions will ensure your beautiful handmade layouts remain pristine, secure, and free from moisture damage for years to come.
Frequently Asked Questions (FAQ)
Can I use regular school glue for popsicle sticks?
Standard white school glue is not recommended for bonding popsicle sticks to scrapbook pages. It contains a high percentage of water, which causes delicate paper to swell, buckle, and warp, and it takes an exceptionally long time to dry on non-porous or semi-porous wood surfaces. For a secure, flat, and durable bond, it is best to use a thick tacky craft glue, high-tack double-sided tape, or adhesive glue dots.
How do I cut popsicle sticks without splintering them?
To cut thin, standard-sized popsicle sticks cleanly, use a pair of sharp, heavy-duty craft shears or bypass cutters rather than standard household scissors. For thicker jumbo sticks, avoid cutting straight through, as this will split the wood grain. Instead, use a utility knife and a metal ruler to score a deep line across both sides of the stick, then gently bend the stick until it snaps cleanly along the scored line. Always use fine-grit sandpaper to smooth out the cut edges immediately after cutting.
Will painted popsicle sticks bleed onto my scrapbook pages?
Yes, painted or inked popsicle sticks can bleed or transfer color onto adjacent scrapbook pages, especially in humid climates. To prevent this, ensure that your painted sticks are completely dry and cured. For added protection, seal the decorated wood with a thin coat of clear matte acrylic spray sealant or a brush-on decoupage medium. Let the sealant cure fully before placing the wooden elements into your album.
Community discussion
Share your experience or ask a question. Comments are reviewed before publication.