
Using scratch card stickers in your journal is a creative way to hide messages, track habits, and add an element of surprise to your pages. The process involves writing your hidden text or drawing a small illustration, letting the ink dry completely, and then placing a specialized scratch-off sticker directly over it. When you or a friend scratch the surface later, the hidden content is revealed, making your journal interactive and engaging.
Essential Materials and Tools for Scratch-Off Journaling
To get started with scratch-off journaling, you need a few basic supplies that work well together. The core component is the scratch card sticker itself. These stickers are typically made of a clear adhesive film topped with an opaque, scratchable metallic coating, usually in silver, gold, or rose gold. They come in various shapes, such as circles, rectangles, hearts, and speech bubbles, allowing you to match them to your journal’s aesthetic.
The choice of journal paper is critical for a successful scratch-off reveal. Standard notebook paper, which often ranges from 50gsm to 70gsm, is generally too thin and fragile to withstand the friction of scratching. For the best results, use a journal with thicker paper, ideally 100gsm, 120gsm, or even 160gsm. Thicker paper provides the structural integrity needed to resist tearing when you apply pressure with a scratching tool. Additionally, smoother paper textures, like hot-pressed watercolor paper or smooth bullet journal pages, allow the sticker to adhere evenly without trapping air in textured crevices.
Products mentioned in this guide
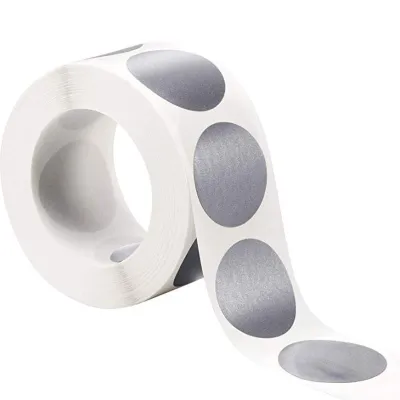
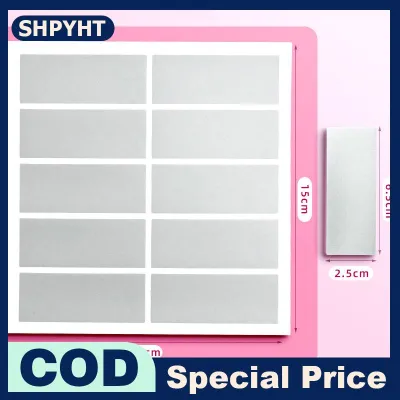
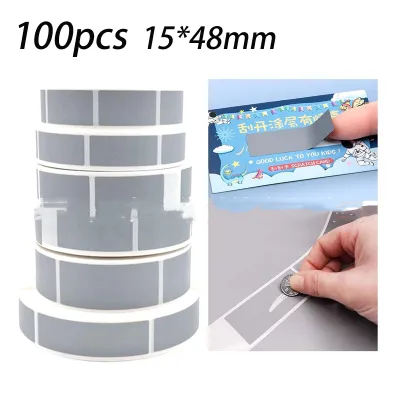
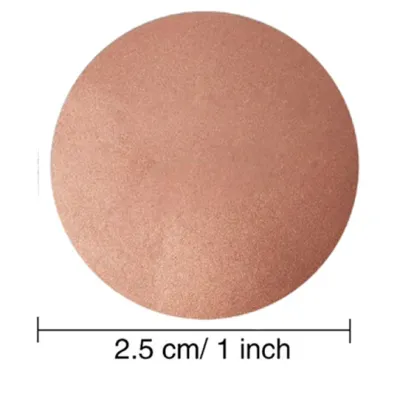
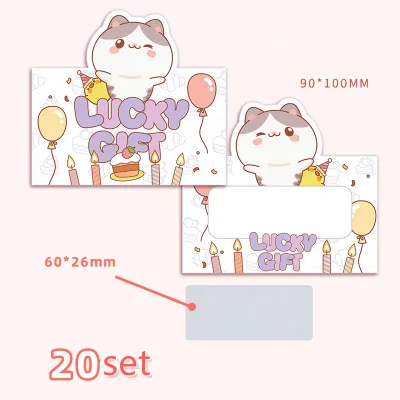
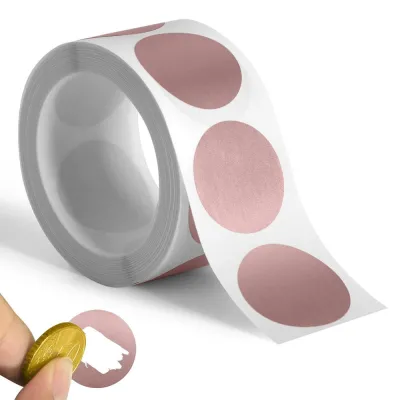
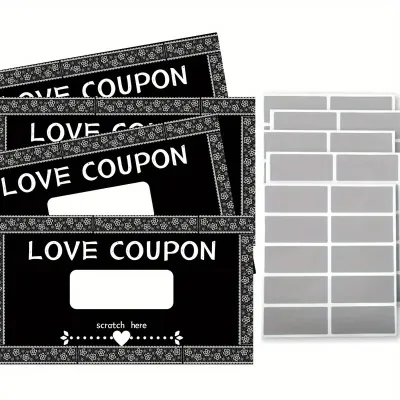
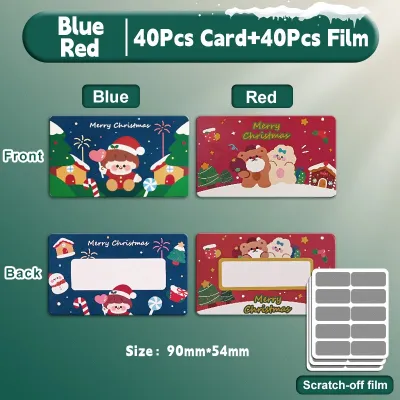
Prices are valid at publication and may change. Please refer to the product page for the latest price.
Your choice of writing tools directly impacts whether your hidden message remains legible. Water-based inks, fountain pen inks, and slow-drying gel pens can easily smudge when you apply the sticker, or they may bleed into the paper fibers. Pigment-based fineliners, waterproof gel pens, and oil-based ballpoint pens are excellent choices because they dry quickly and resist smudging. In humid environments, where ink takes longer to dry, opting for fast-drying, smudge-proof pens is especially important to prevent the adhesive from lifting or blurring your writing.
Finally, keep a few simple application tools on hand. A bone folder, a smooth plastic card (such as an old membership card), or even a clean, dry fingertip will help you burnish the sticker. Burnishing ensures the edges are sealed tightly against the paper, preventing dust and moisture from getting underneath the adhesive layer.
Step-by-Step Guide to Applying Scratch Card Stickers
Applying scratch card stickers requires patience and precision to ensure a clean, satisfying reveal. Following a structured process helps you avoid common pitfalls like smeared ink, trapped air bubbles, or torn paper.

Step 1: Page preparation and testing ink compatibility. Before writing on your actual journal page, perform a quick compatibility test on a scrap piece of the same paper. Write a small word using your chosen pen, wait a few minutes, and rub it gently to check for smudging. This test is crucial in humid tropical climates, where drying times can double. If the ink smears, you may need to wait longer or switch to a faster-drying pen before proceeding to your main page.
Step 2: Writing or placing the hidden message. Once you have verified your ink, write your message or draw your illustration on the journal page. Keep the content compact and centered so that it fits entirely within the boundaries of your scratch card sticker. It is helpful to lightly trace the outline of the sticker with a pencil first, giving you a clear boundary guide. Erase the pencil marks gently before applying the sticker, and ensure the ink is 100% dry to the touch.
Step 3: Peeling the backing and applying the sticker. Carefully peel the scratch card sticker from its backing sheet, holding it by the very edges to avoid leaving oily fingerprints on the adhesive. Align the sticker over your written message. Lower one edge of the sticker onto the paper first, then slowly smooth it down toward the opposite edge. This gradual application technique helps push out air, preventing unsightly bubbles from forming under the metallic layer.
Step 4: Burnishing the edges. Once the sticker is in place, use a smooth tool like a bone folder or the edge of a plastic card to burnish it. Press gently from the center of the sticker outward to the edges. Focus on securing the perimeter of the sticker to create a tight seal. Be careful not to press too hard or use sharp angles, as excessive force can scratch the metallic coating prematurely or dent the underlying paper.
Creative Ways to Use Scratch-Off Stickers in Your Journal
Integrating scratch-off elements into your journal pages adds a playful, interactive dimension to your daily routine. There are countless ways to use these stickers to enhance your planning, memory keeping, and creative expression.
Daily affirmations and motivational quotes are perfect candidates for scratch-off reveals. You can set up a weekly layout where each day features a hidden positive message. Scratching off the sticker each morning becomes a mindful ritual, starting your day with a surprise dose of encouragement. This technique also works beautifully in habit trackers, where scratching off a sticker serves as a reward for completing a challenging streak.
If you share an art journal or participate in a collaborative memory book, scratch-off stickers can hide personal messages, inside jokes, or small clues. You can write a question on the page and cover the answer with a sticker, inviting your journaling partner to interact with your entry. This turns a static book into a dynamic conversation between friends or family members.
Interactive milestone trackers are another engaging application. Whether you are tracking a savings goal, a fitness milestone, or a reading challenge, you can hide rewards or celebratory illustrations under scratch-off layers. For example, when you save a specific amount, such as ₱1,000, scratching the sticker reveals a small drawing of a coffee cup or a note that says “Treat yourself to a movie night.”
Memory keeping can also benefit from this interactive technique. You can hide specific details of an event, such as the exact coordinates of a favorite beach, the date of a special announcement, or a tiny printed photo. This keeps your journal pages clean and minimalist at first glance, while allowing readers to actively discover the deeper stories hidden beneath the surface.
Troubleshooting Common Application and Scratching Issues
Even with careful preparation, you may occasionally encounter issues when working with scratch card stickers. Understanding how to troubleshoot these problems will help you save your journal pages from damage.
Ink smearing is one of the most common issues, usually caused by applying the sticker before the ink has fully cured. If you notice the ink blurring under the clear adhesive layer, the culprit is likely wet ink or an incompatible pen type. To prevent this, always allow extra drying time, especially on humid days. You can also use a small hand fan or a hair dryer on a cool, low setting to speed up the process. If the problem persists, switch to a pigment-based fineliner or a classic ballpoint pen, which dry almost instantly.
Sticker peeling at the edges typically happens when the sticker fails to bond with the paper. This can be caused by textured paper surfaces, dust, or natural oils from your hands. To fix this, ensure your hands are clean and dry before handling the stickers. If you are using textured paper, spend extra time burnishing the edges with a smooth plastic card to force the adhesive into the paper’s fibers. If the edges still lift, you can apply a tiny amount of clear paper glue under the lifting edge with a toothpick, pressing it down until dry.
Paper tearing during the scratching process is a frustrating issue that usually stems from using thin paper or applying too much pressure with a sharp tool. If you find your paper warping or tearing, switch to a smoother, flatter scratching tool. Placing a hard, flat object, like a plastic ruler or a thick piece of cardboard, directly underneath the journal page you are scratching can provide a solid foundation and prevent the paper from flexing and tearing.
Frequently Asked Questions (FAQ)
Can I use scratch card stickers on thin or standard notebook paper? (FAQ)
While it is possible to use scratch card stickers on thin or standard notebook paper, it is not recommended without extra precautions. Thin paper, such as standard 70gsm notebook sheets, is highly susceptible to tearing and warping under the friction of scratching. The moisture from some inks can also weaken thin paper, making it even more fragile. If you must use thin paper, place a hard, smooth protective sheet, like a plastic card or a heavy piece of cardstock, directly behind the page to support it while scratching. Alternatively, you can write your message on a separate piece of thick cardstock, apply the sticker there, and then glue the completed card into your journal.
What is the best tool to scratch off the sticker without damaging the journal? (FAQ)
The best tool for scratching off a sticker is one that is firm but smooth, with no sharp edges. A classic coin, such as a smooth ₱1 or ₱5 coin, is highly effective and easy to control. A wooden stylus, a plastic guitar pick, or even a clean fingernail are also safe options that minimize the risk of puncturing the paper. Avoid using sharp objects like craft knives, scissors, needles, or metal rulers, as these can easily slice through the sticker and permanently damage the underlying journal page and your hidden message.
Do scratch card stickers leave a residue on the journal page after scratching? (FAQ)
Yes, scratching off the metallic layer naturally produces tiny flakes of debris, similar to the shavings from a pencil eraser. This residue does not stick to the page, but it can create a small mess if not managed properly. To keep your journal clean, avoid blowing the debris off the page, as this can scatter the metallic flakes across your workspace. Instead, gently sweep the residue into a small pile using a soft-bristled brush or a clean makeup brush, then discard it. You can also use a small piece of low-tack masking tape or washi tape to pick up the loose flakes quickly without damaging your paper.

Community discussion
Share your experience or ask a question. Comments are reviewed before publication.