
Using shrinkable plastic wrap is an excellent way to give your gift baskets, hampers, and delicate items a polished, professional look. This technique seals the contents securely, protecting them from dust, moisture, and shifting during transport while showcasing the items beautifully. Achieving a flawless, wrinkle-free finish requires understanding how the plastic reacts to heat and mastering a few simple physical techniques. By preparing your materials properly and applying heat with controlled, steady movements, you can transform ordinary gift arrangements into stunning, store-quality presentations.
What You Need Before Shrink Wrapping Gifts
Before starting your wrapping project, gathering the correct tools and preparing your workspace will prevent mid-process interruptions and ensure a smooth application.
Selecting the right shrinkable plastic wrap size and thickness is your first step. Shrinkable plastic wrap, commonly available as rolls, flat bags, or dome-topped bags, comes in various thicknesses measured in gauge or microns. For lightweight items, small cosmetics, or single books, a thin film of around 60 to 75 gauge is highly flexible and easy to shrink with basic heat tools. For heavier gift baskets, wooden crates, or items with slightly pointed corners, a thicker film of 100 gauge or higher provides the necessary puncture resistance and structural support. When choosing the size, always measure the widest, tallest, and deepest parts of your gift, adding at least 5 to 10 centimeters of clearance on all sides to allow for easy insertion and sealing.
Products mentioned in this guide
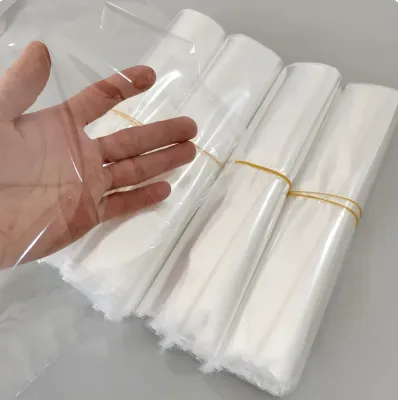
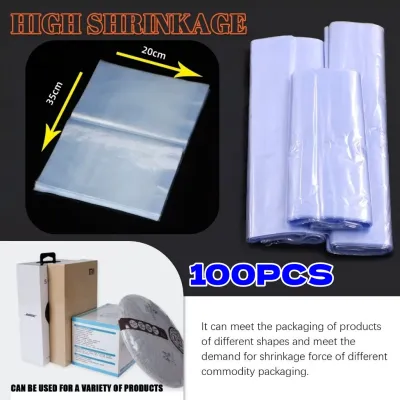
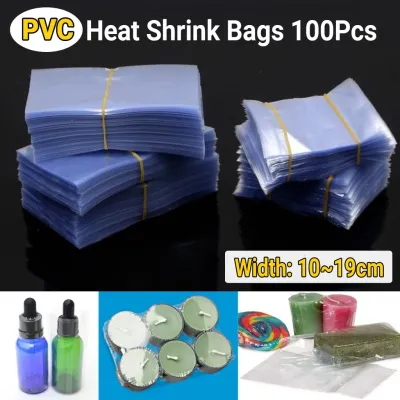
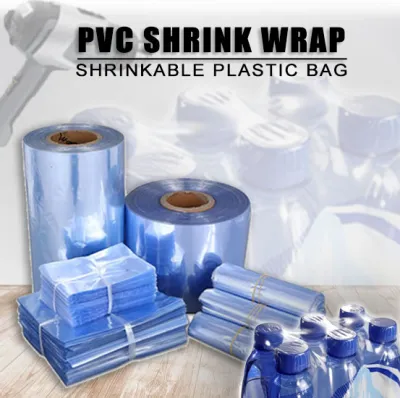
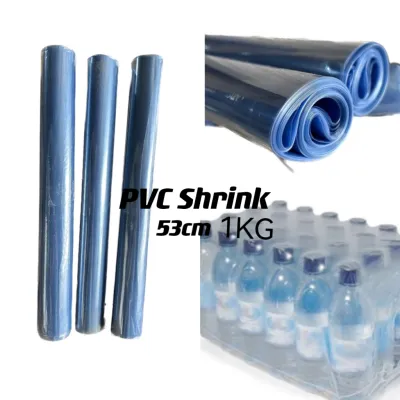
Prices are valid at publication and may change. Please refer to the product page for the latest price.
Essential tools make the job much easier and reduce the risk of damaging your items. A dedicated heat gun with adjustable temperature settings is the most reliable tool for shrinking plastic wrap quickly and evenly. A standard household hair dryer can also work for smaller, thinner films, though it requires more time and closer proximity. You will also need a manual impulse sealer or high-quality clear packaging tape to secure the loose ends before shrinking. Set up your wrapping station on a clean, flat, and heat-resistant surface, such as a large wooden table or a silicone crafting mat, and keep sharp scissors or a utility knife nearby to trim excess film.
Preparing the gift itself is crucial for a successful shrink wrap job. If you are assembling a gift basket, use shredded paper filler, wood shavings, or crumpled tissue paper to pack the base tightly, ensuring the individual items cannot wobble or tip over. Secure loose items to one another or to the basket frame using small pieces of clear tape or glue dots. Inspect the outer edges of the gift container for any sharp corners, protruding wire handles, or rough wicker pieces that could easily puncture the plastic film as it shrinks. If you find any sharp points, cover them with a small piece of clear tape or adjust their position to face inward.
Step-by-Step Guide to Applying and Shrinking the Wrap
Once your workspace is prepared and your gift is securely arranged, you can begin the process of wrapping and shrinking the plastic. Following these steps in sequence will help you achieve a tight, professional seal without unsightly wrinkles or accidental burn holes.

Measuring and cutting the film accurately prevents excess bulk and wasted material. Start by rolling out your shrinkable plastic wrap on your clean work surface and placing your gift item in the center. If you are using a shrink wrap bag, slide the gift basket gently into the bottom of the bag, centering it so that there is equal space on the left and right sides. For flat rolls of film, pull the plastic over the top of the gift to measure the required length, ensuring you have enough material to cover the entire item with an overlap of at least 8 to 12 centimeters at the seams. Cut the film cleanly using sharp scissors, as jagged edges are more prone to tearing when heat is applied.
Sealing the edges securely is necessary to create a tight, airtight pocket around the gift before you apply heat. If you are using tape, pull the loose edges of the plastic tightly together at the back or bottom of the gift, fold them over neatly, and secure them with clear packaging tape. For gift baskets wrapped in dome bags, gather the excess plastic at the top of the basket and tie it tightly with a twist tie, decorative ribbon, or a small piece of clear tape. If you are using an impulse sealer, press the heating bar firmly along the open edges of the plastic to melt and seal them, trimming away any excess film outside the seal line.
Applying heat evenly is the key to achieving a smooth, wrinkle-free finish. Turn on your heat source to a low or medium setting and hold it approximately 15 to 20 centimeters away from the plastic surface. Always start shrinking from the bottom or the back of the gift to establish a secure base, then gradually move upward toward the sides and top. Keep the heat source in constant, fluid motion, sweeping it back and forth across the plastic rather than focusing on one spot for more than a second or two. You will observe the plastic beginning to tighten and smooth out almost instantly as the heat is applied.
Cooling and inspecting the final wrap ensures the plastic sets properly. Once the plastic has shrunk tightly around the entire gift, turn off your heat source and set it down safely on a heat-resistant surface. Allow the wrapped gift to sit undisturbed for two to three minutes so the plastic can cool completely and set into its final, rigid shape. Inspect the entire surface of the wrap under good lighting, checking for any loose pockets, wrinkles, or unsealed seams. Gently touch the plastic to ensure it has formed a firm, protective shell around your gift items, indicating a successful wrap.
Troubleshooting Common Shrink Wrap Issues
Even with careful preparation, you may occasionally encounter minor issues like wrinkles, small tears, or melted holes during the shrinking process. Knowing how to address these problems quickly can save you from having to discard the film and start over.
Fixing wrinkles and loose areas is simple if you apply targeted, gentle heat. If you notice small wrinkles or loose, sagging areas of plastic after the initial pass, do not panic. You can easily fix these spots by applying targeted, gentle heat directly to the wrinkled area. Hold your heat source slightly further away than usual—about 25 centimeters—and wave it in rapid, circular motions over the loose spot. The plastic will slowly contract and pull tight against the gift. Avoid holding the heat source still, as this will quickly overheat the section and cause the plastic to melt.
Managing tears and punctures requires quick assessment. A small tear or puncture can happen if the plastic catches on a sharp corner or if the tension becomes too high during shrinking. If the tear is small—less than two centimeters—you can easily patch it using a small piece of clear packaging tape. Apply the tape smoothly over the hole while the plastic is cool, pressing down the edges to ensure a tight seal, and then apply a very brief burst of heat to blend the tape with the surrounding film. If the tear is large, runs along a major seam, or continues to expand as you apply heat, it is advisable to remove the damaged film, check the gift for sharp edges, and start over with a fresh piece of wrap.
Preventing melted holes is all about temperature control and movement. Melted holes occur when the heat source is held too close to the plastic, kept in one spot for too long, or set to a temperature that is too high. To prevent this, always start with your heat tool on its lowest setting and gradually increase the heat only if the plastic is not shrinking. Maintain a safe distance of at least 15 centimeters and keep your hand moving continuously in a sweeping pattern. If a small hole does melt open, you can sometimes patch it with clear tape as described above, but larger burn holes will require you to re-wrap the item to maintain a professional appearance.
Safety and Storage Tips for Shrinkable Plastic Wrap
Working with heat tools and plastic films requires a few basic safety precautions to protect yourself, your gifts, and your wrapping materials.
Heat tool safety and workspace preparation should never be overlooked. Heat guns can reach extremely high temperatures and can cause severe burns if handled improperly. Never touch the metal nozzle of the heat gun during or immediately after use, and always place the tool on its integrated stand or a heat-safe surface when cooling down. Work in a well-ventilated room to ensure any mild odors from the heated plastic disperse quickly. Keep all flammable materials, such as loose tissue paper, ribbons, or aerosol sprays, far away from your active heat source to prevent accidental ignition.
Protecting heat-sensitive gifts is essential to preserve their quality. When wrapping gifts that are sensitive to heat—such as chocolates, delicate cosmetics, wax candles, or electronic devices—extra care must be taken to prevent damage. Keep the heat source moving rapidly and maintain a greater distance of 25 to 30 centimeters from the item. You can also place a protective barrier, such as a layer of tissue paper or a sturdy cardboard divider, between the sensitive item and the outer plastic wrap to shield it from direct heat. Minimize the total heating time as much as possible, focusing only on shrinking the outer film quickly.
Proper storage of unused wrap is especially important in warm, humid tropical climates. Shrinkable plastic wrap is highly sensitive to environmental conditions and can begin to degrade or shrink prematurely if stored incorrectly. In warm, humid tropical climates, it is especially important to store your unused rolls or bags in a cool, dry closet or drawer away from direct sunlight and heat sources like sunny windows or appliances. Keep the wrap in its original packaging or a sealed plastic bin to protect it from dust and moisture, ensuring it remains clean, flexible, and ready for your next gift-wrapping project.
Frequently Asked Questions (FAQ)
Can I use a regular hair dryer instead of a heat gun?
Yes, you can use a standard household hair dryer to shrink thin plastic wrap, especially for smaller gifts or lightweight items. However, hair dryers produce lower heat and higher airflow compared to dedicated heat guns, which means the shrinking process will take longer and require you to hold the dryer closer to the plastic. For thicker films, such as heavy-duty 100-gauge wrap used for large gift baskets, a hair dryer may not generate enough heat to shrink the plastic fully, making a heat gun the better choice for a tight, professional finish.
Is shrinkable plastic wrap safe for food gifts?
Shrinkable plastic wrap is safe for food gifts as long as you follow proper guidelines and check the manufacturer’s packaging for food-safe certifications. Many standard shrink wraps are designed for industrial or non-food packaging and should not come into direct contact with unpackaged food items. For food gifts like baked goods, fresh fruits, or grazing platters, always ensure the food is first sealed in food-safe containers, jars, or clear cellophane bags before wrapping the entire arrangement in shrinkable plastic wrap. This indirect contact ensures your food remains clean, safe, and beautifully presented.
Community discussion
Share your experience or ask a question. Comments are reviewed before publication.