
Wrapping a flower bouquet with a ribbon requires a balance of structural security and aesthetic styling. To achieve a professional finish, you must first secure the stems and wrapper with hidden tape before applying your decorative ribbon. This ensures the ribbon serves as an elegant design element rather than a structural anchor, preventing slipping and keeping the arrangement intact even in warm, humid tropical climates. By mastering a few basic folding and tying techniques, you can transform a simple bundle of flowers into a stunning, gift-ready presentation.
Preparing Your Flowers and Wrapper Materials
Before cutting any paper or ribbon, prepare the flowers to ensure they remain fresh and structurally sound. Strip away all leaves, thorns, and side shoots from the lower half of the stems. In warm, humid climates like the Philippines, high humidity can accelerate bacterial growth and rot if wet foliage remains trapped inside a closed wrapper. Removing this excess foliage also creates a clean, uniform handle that makes the bouquet much easier to hold and wrap.
Use sharp, clean floral shears to trim the stems to a uniform length. When cutting, hold the shears at a 45-degree angle to maximize the surface area for water absorption, which helps keep the blooms hydrated. Always handle sharp blades with care, cutting away from your body and keeping your fingers clear of the blades. Leave enough stem length at the bottom so the recipient can easily place the bouquet in a vase without ruining the wrap.
Products mentioned in this guide
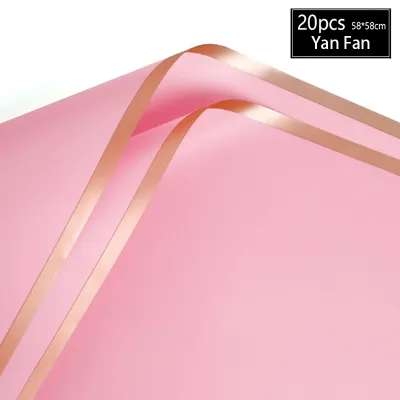
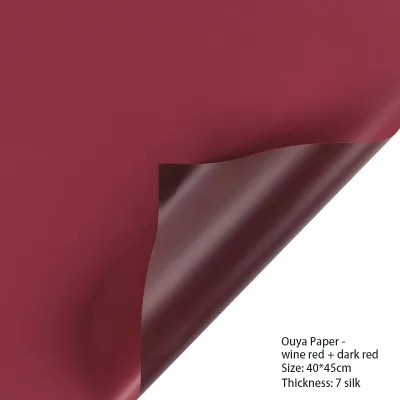

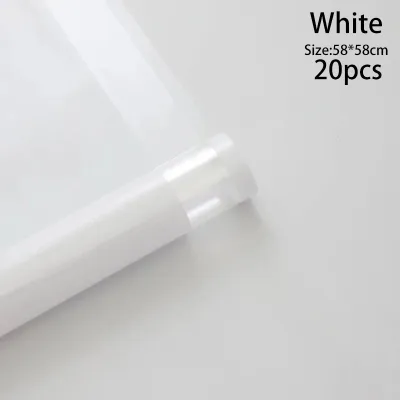

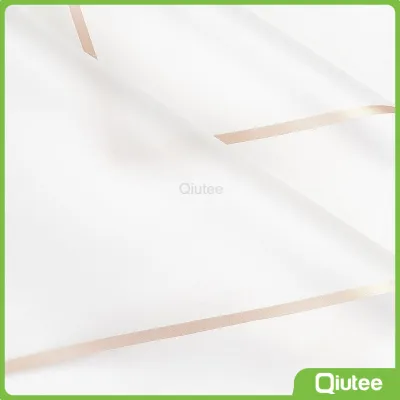
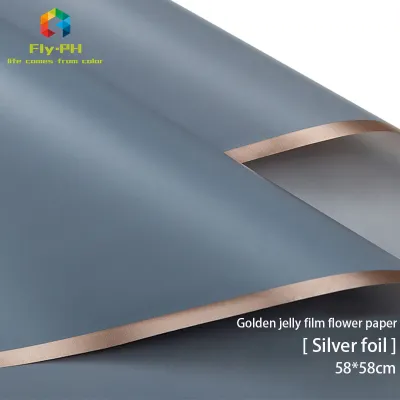
Prices are valid at publication and may change. Please refer to the product page for the latest price.
Selecting the right bouquet wrapper is crucial for both structural support and visual appeal. For a rustic or classic look, heavy-weight kraft paper provides excellent structure, though it can soften if it absorbs moisture. If you are working with wet stems or want a modern, layered look, waterproof cellophane or matte plastic sheets are ideal choices. You can test the water resistance of your wrapping paper by applying a small drop of water to a scrap piece; if the water beads up without soaking through or causing the color to bleed, the material is safe to use with damp stems.
Your choice of ribbon should complement the weight and texture of your wrapper. Satin ribbons offer a luxurious, glossy finish that contrasts beautifully with matte paper, while grosgrain provides a sturdy, ribbed texture that holds knots exceptionally well. For a standard hand-tied bouquet, estimate about two to three times the length of the stem bundle to ensure you have enough ribbon for wrapping and tying a generous bow. Standard ribbon widths of 1.5 to 2 inches are generally the most versatile for medium-sized bouquets.
Wrapping the Bouquet: Step-by-Step Instructions
To begin wrapping, lay your chosen wrapper sheets flat on a clean, dry work surface. If you are using multiple sheets for a layered, ruffled look, offset them slightly so the corners point outward at different angles. Place the prepped bouquet diagonally across the sheets, positioning the flower heads just below the top edge of the wrapper to protect the delicate blooms.

Carefully fold the bottom and sides of the wrapper over the stems. For a classic layered wrap, fold the left and right sheets inward, creating soft pleats or ruffles that frame the flowers. Hold the wrapper firmly at the natural binding point of the stems—usually about two-thirds of the way down the bouquet—to maintain a tight grip without crushing the stems.
Secure the wrapper at this binding point using waterproof floral tape or high-quality clear tape. Wrap the tape tightly around the paper and stems at least twice to prevent any shifting. This step is essential because it locks the structure in place, ensuring that your decorative ribbon does not have to bear the physical tension of holding the paper together.
Once secured, gently fluff and adjust the top edges of the wrapper. If you are using stiff paper, you can press crisp folds along the sides to create a structured, geometric frame. For softer plastic or fabric wrappers, pull the edges outward slightly to create a voluminous, ruffled collar that highlights the natural beauty of the flowers.
Finishing with Ribbon: Bows and Knots
To tie a classic, voluminous bow, cut a generous length of ribbon—typically around one meter. Center the ribbon over the taped binding point at the front of the bouquet, wrap both ends around to the back, cross them over, and bring them back to the front. Pull the ribbon snug to cover the structural tape completely, then tie a secure double knot.
Form two even loops with the ribbon ends, cross them over each other, and tuck one loop through the center space to create a traditional bow. Gently pull both loops to tighten the knot while adjusting the size of the loops and tails so they are symmetrical. A well-proportioned bow should sit flat against the wrapper, framing the front of the bouquet beautifully.
If you prefer a clean, minimalist aesthetic, the wrap-and-knot method is an excellent alternative. Wrap the ribbon tightly around the binding point multiple times, moving downward to create a smooth, solid band of color that mimics a professional florist’s wrap. Secure the ribbon at the back with a neat double knot, tucking the short ends underneath the band for a seamless finish.
To complete the presentation, trim the ribbon tails cleanly. Use sharp fabric scissors to cut the ends at a sharp 45-degree angle or fold the ribbon in half vertically and cut upward at an angle to create a classic V-cut. This precise cut not only adds a tailored, professional detail but also prevents the woven edges of satin or grosgrain ribbons from fraying over time.
Troubleshooting Common Wrapping and Ribbon Issues
A common issue when wrapping bouquets is a loose wrapper that slides down the stems or a ribbon that slips out of place. If your wrapper feels unstable, add a small piece of double-sided tape to the inside of the paper where it meets the stems before wrapping. This hidden anchor point provides extra grip, preventing the slippery plastic or paper from sliding under the weight of the flowers.
When dealing with stems of uneven lengths, adjust your wrapper fold lines rather than forcing the flowers into an awkward position. If the stems are too short, fold the bottom of the wrapper upward to create a pocket that cradles the base of the bouquet. For exceptionally long stems, leave the bottom of the wrapper open, allowing the stems to protrude cleanly while ensuring the binding point remains securely taped.
Stiff or wire-edged ribbons can sometimes pose a risk to delicate flower stems, especially soft-stemmed varieties like tulips or gerberas. To prevent the wire or tight ribbon fibers from cutting into the stems, always apply a protective layer of soft floral tape over the stems first. This tape acts as a cushion, distributing the pressure of the tied ribbon evenly and protecting the plant tissue from bruising.
Customizing the Wrapper and Ribbon for Different Occasions
Matching your wrapper and ribbon materials to the occasion elevates the emotional impact of your gift. For weddings, opt for elegant white, cream, or pastel wrappers paired with luxurious silk or satin ribbons that complement the bridal theme. For vibrant celebrations like birthdays or graduations, bold color contrasts—such as deep blue paper paired with a bright gold grosgrain ribbon—create an energetic, festive look.
Sympathy arrangements require a more subdued, respectful approach. Neutral tones like soft gray, muted green, or classic kraft paper paired with simple linen or cotton ribbons convey comfort and elegance without being overly flashy. Ensure the wrapping remains secure and understated, focusing the attention entirely on the soothing colors of the flowers.
You can further personalize your wrapped bouquet by adding lightweight, non-damaging embellishments. Secure a personalized gift tag or a small sprig of dried lavender to the ribbon knot using a thin piece of twine. If you want to add a touch of classic elegance, insert a decorative pearl-headed corsage pin directly through the center of the ribbon knot, ensuring the pin point is safely angled downward into the stems.
Frequently Asked Questions (FAQ)
Can I use regular craft ribbon instead of floral ribbon?
Yes, you can use regular craft ribbon, but you must select the material carefully to ensure a professional result. Standard satin and grosgrain craft ribbons work exceptionally well because they are soft, easy to knot, and hold their shape. However, avoid cheap paper-based craft ribbons, as they can tear easily when exposed to moisture from the stems. If you use a wire-edged craft ribbon, handle it gently to avoid crushing delicate stems, and always use sharp scissors to prevent the edges from fraying.
How do I keep the wrapped bouquet fresh before gifting?
To keep your wrapped bouquet fresh, especially in warm tropical climates, wrap the bottom of the stems in a damp paper towel and seal it inside a small plastic bag before applying the outer wrapper. Alternatively, you can use individual water tubes filled with fresh water on the main stems. Store the finished bouquet upright in a cool, shaded room away from direct sunlight, air conditioning drafts, or ripening fruit, which releases ethylene gas that can cause flowers to wilt prematurely.
Community discussion
Share your experience or ask a question. Comments are reviewed before publication.