
Wrapping a bouquet with web mesh and ribbon accents elevates a simple bundle of flowers into a professional-grade floral arrangement. Web mesh, with its open-weave structure, provides excellent volume, texture, and structural support that holds up beautifully even in warm, humid climates. By mastering the techniques of measuring, pleating, and securing this versatile material, you can create stunning wraps for birthdays, graduations, or local festivals. Finishing the design with a coordinated ribbon bow adds a polished touch that conceals structural tape and anchors the entire presentation. This guide walks you through the entire process, from selecting your materials to making those final, eye-catching adjustments.
Materials and Tools You Will Need
To achieve a professional finish, you must start with the right materials. Web mesh comes in various densities and stiffness levels. Stiff mesh, often made of woven synthetic polymers, is excellent for creating structured, flared outer layers that do not collapse under the weight of heavy blooms. Soft mesh offers a delicate, fabric-like drape suitable for smaller, delicate arrangements like baby’s breath or local orchids.
Your choice of ribbon should complement both the flowers and the mesh texture. Satin ribbons provide a classic, glossy contrast to the matte, textured mesh. Organza ribbons add a sheer, airy layer, while burlap or jute cords offer a rustic charm. For a standard bouquet, a ribbon width of 1.5 to 2 inches (around 3.8 to 5 centimeters) is ideal for the main bow, while narrower ribbons can be used for trailing accents.
Products mentioned in this guide
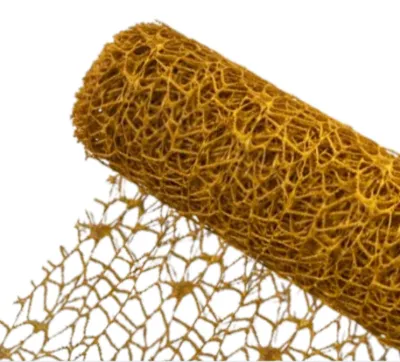
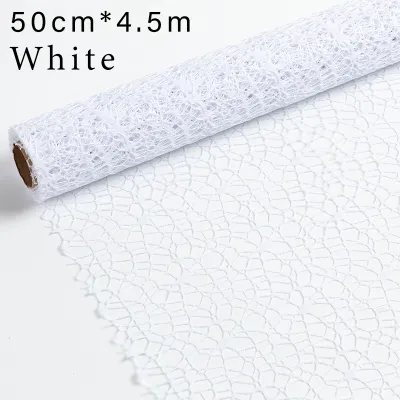
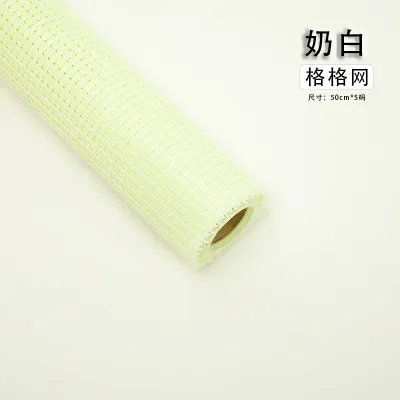
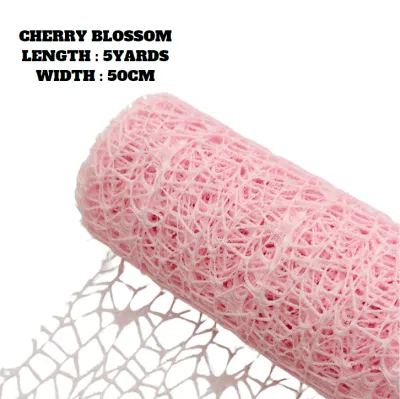
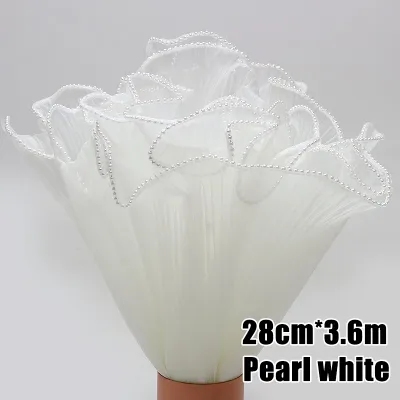
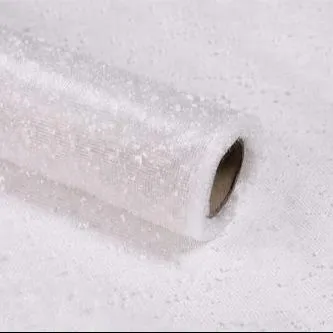
Prices are valid at publication and may change. Please refer to the product page for the latest price.
Gathering the correct tools beforehand prevents interruptions during the wrapping process. Sharp fabric scissors are essential to prevent the mesh from snagging or fraying during preparation. Waterproof floral tape secures the stems and mesh tightly without losing its grip when exposed to moisture. A low-temperature hot glue gun is highly useful for securing ribbon knots and decorative folds, especially when preparing arrangements for transport.
Step 1: Preparing and Cutting the Web Mesh
Before making any cuts, you must measure your bouquet to ensure the mesh provides adequate coverage without creating excessive bulk at the binding point. Hold the flowers by the stems and measure from just below the lowest bloom to the bottom of the stems. The web mesh sheets should typically be cut into squares or rectangles that are roughly 1.5 times this length to allow for folding and flaring.

For a standard medium-sized bouquet, cutting four to six squares of mesh measuring 30 by 30 centimeters is a reliable starting point. Using multiple overlapping layers instead of a single continuous sheet creates a richer, multi-dimensional look and prevents the stems from showing through. This layered approach also allows you to mix different colors of mesh for a more vibrant design.
To minimize fraying while cutting, ensure your scissors are perfectly sharp and make clean, continuous cuts rather than short, choppy snips. If you are using a synthetic polymer mesh, you can run a quick test on a scrap piece to see if the edges can be lightly sealed. Avoid using dull household scissors, as they will pull the delicate threads of the web mesh and ruin the clean lines of your wrap.
Step 2: Wrapping the Bouquet With Web Mesh
Begin by laying your first cut square of web mesh diagonally on a clean, dry work surface. Fold the top corner down slightly to create a clean, finished upper edge that will frame the flowers. This folded edge prevents any raw, cut threads from showing near the delicate flower heads.
Place the bouquet on top of the mesh, positioning the flower heads just below the folded upper edge. Gather the sides of the mesh inward, pleating the material gently as you bring it toward the natural binding point of the stems. The pleats should be spaced evenly to create a balanced, fan-like shape behind the blooms.
Repeat this process with the remaining mesh squares, overlapping them around the circumference of the bouquet. This layering technique ensures that the flowers are fully enclosed and supported from all angles. As you add each layer, hold the binding point firmly with one hand to keep the previous layers from shifting.
Once all the mesh layers are gathered at the binding point, wrap waterproof floral tape tightly around the stems to lock the mesh in place. Pull the tape taut as you wrap; the tension activates the adhesive and ensures a slip-free hold. Wrap the tape around the same spot three to four times to build a secure structural foundation.
Gently pull and adjust the top edges of the mesh to create a flared, collar-like frame around the blooms. Ensure no single piece of mesh blocks the view of the flowers, adjusting the height of individual sheets if necessary to maintain a balanced silhouette.
Step 3: Adding Ribbon Accents and Finishing Touches
With the structural base secured, it is time to apply the decorative ribbon. Cut a length of satin or organza ribbon long enough to wrap around the taped binding point several times, plus extra for tying. This step is crucial for hiding the functional tape and creating a comfortable handle for the recipient.
Begin wrapping the ribbon tightly over the floral tape, starting from the top of the taped section and working your way down. Ensure each wrap overlaps the previous one slightly to prevent any tape from peeking through. Secure the starting and ending points of the wrap with a small dab of low-temperature hot glue if needed.
To tie a classic, symmetrical bow, loop the ribbon around the handle and tie a secure double knot first. Create two even loops, cross them, and pull them through to form the bow, adjusting the loops and tails until they are perfectly balanced. For a more dramatic look, you can layer a narrower organza ribbon over a wider satin ribbon before tying, or add long, trailing tails that drape elegantly below the stems.
Finish by trimming the ribbon tails at a sharp 45-degree angle or cutting a clean “V” shape into the ends. This simple detail prevents the ribbon from fraying and gives the arrangement a professional, boutique-grade finish. If using synthetic ribbon, a very brief pass near a flame can seal the edges, but test this on a scrap piece first.
Step 4: Securing and Final Adjustments
Hold the completed bouquet at eye level and rotate it slowly to inspect your work from every angle. Look for any loose mesh fibers, uneven pleats, or bits of exposed floral tape that might detract from the presentation. Correcting these minor details is what separates amateur work from professional floral design.
If the bouquet is heavy or destined for transport in a vehicle, reinforce the ribbon bow. Apply a small dot of low-temperature hot glue directly under the center knot of the bow and press it firmly against the wrapped stem handle for a few seconds. This prevents the bow from slipping or coming undone during handling.
Take a moment to gently fluff the outer layers of the web mesh. Slide your fingers between the overlapping sheets to separate them and maximize the overall volume of the wrap. This step is especially important if the mesh became compressed while you were securing the binding point.
Ensure that the flowers remain the undisputed focal point of the arrangement, with the mesh and ribbon serving as a supportive, complementary frame rather than an overwhelming distraction. Once satisfied, your beautifully wrapped bouquet is ready for presentation or display.
Frequently Asked Questions (FAQ)
How do I prevent the web mesh from fraying while cutting?
Using sharp, dedicated fabric scissors is the most effective way to prevent fraying. Dull blades crush the fibers instead of cutting them, leading to immediate unraveling. For synthetic mesh materials, you can also apply a very thin line of clear fabric glue or liquid sealant along the cut edges, allowing it to dry completely before wrapping.
Can I use web mesh for bouquets with heavy or large flowers?
Yes, web mesh can support larger arrangements, but you must choose a stiffer variety of mesh. For heavy flowers like sunflowers or large roses, it is best to wrap the stems tightly with a layer of sturdy kraft paper or thick non-woven fabric first to create a solid structural core, then apply the decorative web mesh over it.
What is the best way to attach a ribbon bow securely?
The most secure method is to tie the ribbon directly around the stem handle with a tight double knot before forming the bow loops. For added security, especially on slippery satin ribbons, apply a small dab of low-temperature hot glue to the back of the knot and anchor it directly to the wrapped handle.
Community discussion
Share your experience or ask a question. Comments are reviewed before publication.