
Wrapping a professional-looking flower bouquet is an art form that transforms loose stems into a cohesive, stunning gift. Whether you are preparing a romantic gesture, a graduation present, or a birthday surprise, mastering the “wrapper bouquet” technique ensures your floral creations look polished and stay fresh. The secret lies in balancing structural support, moisture retention, and aesthetic layering. By selecting the right materials, preparing your stems correctly, and applying precise folding methods, you can create a gorgeous presentation that rivals professional florist designs.
In tropical climates like the Philippines, where high temperatures and humidity can cause fresh blooms to wilt rapidly, proper wrapping involves more than just aesthetics. It requires a thoughtful setup that protects the flowers while showcasing their natural beauty. This step-by-step guide will walk you through the entire process, from preparing the stems to tying the perfect ribbon bow.
Essential Tools and Materials for a Wrapper Bouquet
Gathering the correct supplies before you begin is crucial for a smooth and efficient wrapping process. Having your tools organized prevents you from losing your grip on the stems mid-wrap or damaging delicate petals while searching for tape.
Products mentioned in this guide
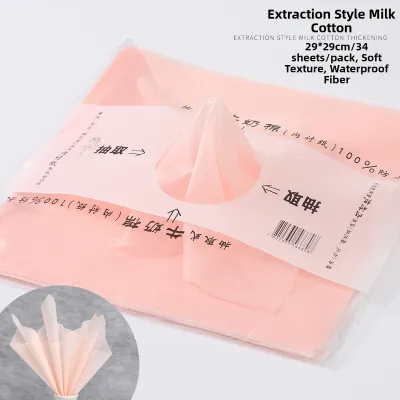
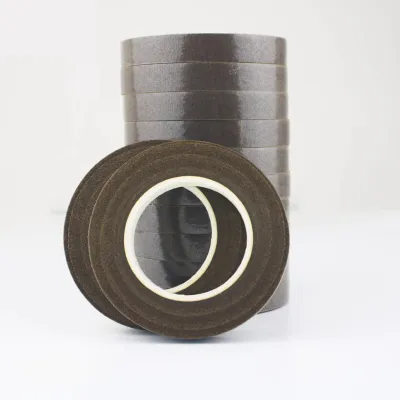
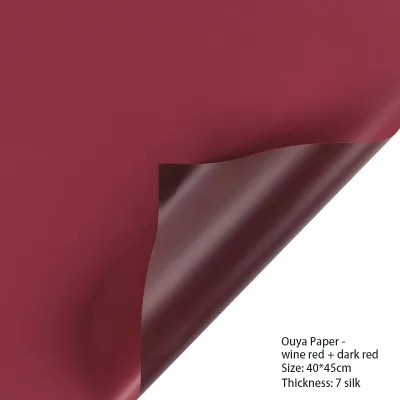

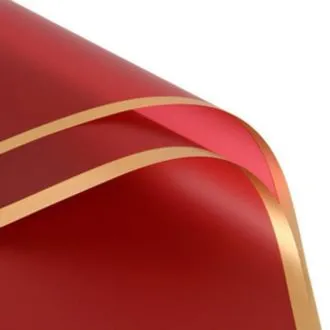

Prices are valid at publication and may change. Please refer to the product page for the latest price.
- Fresh Flowers: Choose a mix of focal flowers (such as roses, carnations, or sunflowers), filler flowers (like baby's breath or statice), and foliage (such as eucalyptus or leather fern) to add volume and texture.
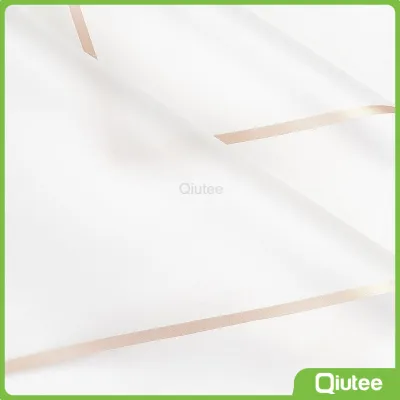
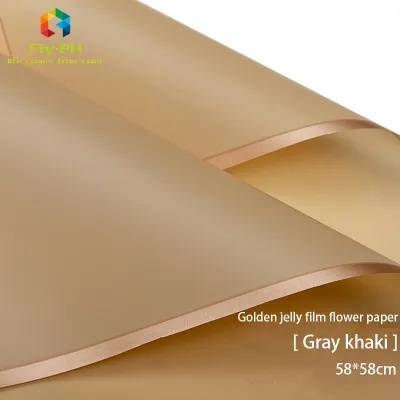
- Wrapping Paper: Select papers that complement your floral color scheme. Popular choices include matte waterproof floral paper (BOPP), rustic kraft paper, and delicate tissue paper. Standard sheets are typically 50cm x 70cm or 60cm x 60cm.
- Decorative Ribbon: A high-quality ribbon elevates the presentation. Satin, grosgrain, organza, or rustic burlap ribbons in widths of 1 to 1.5 inches work best.
- Essential Tools: Keep sharp floral shears or scissors close by. You will also need clear stationery tape, green floral tape, and twine or sturdy rubber bands for binding.
- Hydration Supplies: To combat tropical heat, prepare water tubes, cotton pads or paper towels, clean water, and small, leak-proof plastic bags (such as small cellophane bags or zip-top bags).
Before starting, perform a quick material compatibility test. Sprinkle a few drops of water onto your chosen wrapping paper to verify its water resistance; high-quality waterproof floral paper should cause water to bead up instantly without soaking through. Additionally, test your clear tape on a scrap piece of the paper. Some glossy or heavily textured papers resist standard stationery tape, meaning you may need high-tack double-sided tape or a small stapler to secure your folds later.
Step 1: Prepare and Arrange the Stems
The foundation of any beautiful wrapper bouquet is the preparation and arrangement of the flowers. Skipping this step can lead to a messy appearance, rapid wilting, or damaged stems that cannot support the weight of the blooms.

Begin by conditioning your flowers. Strip away all lower leaves, thorns, and side shoots from the bottom half of each stem. In humid environments, leaves left on the lower stems will trap moisture and harbor bacteria, leading to rot and a shortened lifespan for your bouquet. Use your floral shears to make a clean cut at a 45-degree angle at the bottom of each stem, then place them back into a bucket of clean water until you are ready to assemble.
To arrange the flowers, use the classic spiral hand-tied technique. Hold your primary focal flower in your non-dominant hand, roughly two-thirds of the way down the stem. This point will serve as your binding point. Add a second stem at a 45-degree angle, crossing it over the first stem. Rotate the bouquet slightly in one direction, then add a third stem at the same angle, crossing it in the same direction.
Continue adding stems, alternating between focal flowers, fillers, and foliage, while rotating the bouquet in your hand. This spiral technique naturally pushes the flower heads outward, creating a balanced, dome-like shape where the blooms are not crushed against one another. Once you are satisfied with the arrangement, wrap a length of twine or a sturdy rubber band tightly around the binding point. It should be snug enough to prevent the stems from shifting, but not so tight that it pinches or cuts into the delicate plant tissue.
To ensure your flowers survive transit in warm weather, wrap the freshly cut stem ends in water-soaked cotton pads or paper towels. Slip a small plastic bag over the wet cotton and secure it tightly around the stems with green floral tape just below the binding point. This temporary hydration pack keeps the blooms fresh without leaking water onto your wrapping paper.
Step 2: Cut and Fold the Wrapping Paper
Sizing and folding your paper correctly is what gives a wrapper bouquet its signature volume, structure, and elegant layers. Using paper that is too small will make the bouquet look cramped and top-heavy, while oversized paper can swallow the blooms entirely.
To determine the correct size, measure your bouquet from the top of the flower heads to the bottom of the stems. Your wrapping paper sheets should generally be 1.5 to 2 times the height of the bouquet. For a medium-sized bouquet, cutting your paper into square sheets of approximately 50cm x 50cm is an excellent starting point. You will typically need three to four sheets of this size to create a beautifully layered look.
One of the most popular folding methods for a modern, professional look is the asymmetrical diagonal fold, often seen in Korean-style floral wrapping. Take a square sheet of paper and fold it slightly off-center, creating two overlapping peaks rather than a flat, straight edge. This simple fold adds immediate depth and visual interest to the background of your arrangement.
For a multi-layered aesthetic, combine different paper textures and properties. Use a sturdy, waterproof inner layer (such as matte BOPP) to provide structural support and protect against any residual moisture from the stems. For the outer layers, choose a contrasting or complementary material, such as a textured kraft paper or a soft non-woven fabric mesh. Layering a solid pastel color with a translucent, gold-bordered sheet is a reliable way to achieve a sophisticated contrast.
Step 3: Wrap and Secure the Bouquet
With your stems prepared and your paper folded, you are ready to assemble the wrapper bouquet. This step requires gentle hand coordination to hold the flowers in place while folding the paper around them.
First, lay your diagonally folded back sheet flat on your workspace with the peaks pointing upward. Position your secured bouquet on top of the paper. The top of the flower heads should sit slightly below the upper peaks of the paper, framing the blooms beautifully without hiding them. The binding point of your stems should align with the lower third of the paper sheet.
Next, gently fold the left and right sides of the paper inward toward the center, wrapping them snugly around the stems at the binding point. The paper should flare out naturally around the flower heads, creating a protective, supportive cone. Secure this first layer at the binding point with a piece of clear tape wrapped around the paper-covered stems.
Take your second and third folded sheets of paper and position them slightly lower and more to the sides than the first sheet. These side panels add volume and frame the left and right profiles of the bouquet. Fold them inward, crimping the paper gently at the binding point with your fingers. Use your clear tape or a stapler to join the overlapping paper layers together. Ensure the staples or tape are placed discreetly where the ribbon will eventually cover them, and take care not to pierce the flower stems inside.
Finally, take a smaller sheet of paper (about half the size of your main sheets) to create a front collar or flap. Fold this sheet into a loose pleat and wrap it around the front of the stems, just below the flower heads. This front flap hides the exposed stems and completes the seamless, wrapped look. Adjust the paper folds with your fingers, ensuring the paper is snug and secure around the stems but loose and airy around the flower heads to prevent bruising the petals.
Step 4: Tie the Ribbon and Add Finishing Touches
The ribbon is the final decorative element that conceals your structural tape, staples, or twine while adding a touch of elegance to the gift. Choosing the right ribbon depends on the overall style of your bouquet.
For a classic, romantic look, a wide satin ribbon is unmatched. If you are aiming for a rustic or vintage aesthetic, a textured burlap or grosgrain ribbon works beautifully. Cut a piece of ribbon that is roughly three times the width of the wrapped stem bundle to ensure you have plenty of length to tie a full bow.
Wrap the ribbon directly over the taped binding point. Pull it snug to compress the paper slightly, ensuring the wrap will not slip down the stems. Tie a secure double knot first to lock the paper in place. From there, form a classic, symmetrical double-loop bow. Adjust the loops so they are even, and pull the tails taut. Using sharp scissors, trim the ribbon tails at an elegant diagonal angle or a clean V-shape to prevent fraying.
Once the ribbon is secured, use your floral shears to trim the exposed bottoms of the flower stems. Cut them evenly at a 45-degree angle. This not only gives the base of the bouquet a neat, clean finish but also maximizes the surface area for water absorption if the recipient places the bouquet into a vase later.
Finish with a thorough visual inspection. Gently fluff the paper edges to restore any volume lost during the wrapping process. Check for any exposed tape, staples, or plastic hydration bags, and tuck them out of sight behind the paper folds. Ensure the entire bouquet feels balanced and comfortable to hold.
Common Wrapping Mistakes and How to Fix Them
Even with careful preparation, DIY wrapping can sometimes present structural or visual challenges. Here is how to troubleshoot and correct the most common wrapping mistakes:
- Mistake 1: Wrapping the paper too tightly around the flower heads. This suffocates the blooms, hides the filler flowers, and can bruise delicate petals.
- Fix: Gently slide your fingers between the flower heads and the paper to loosen the tension. Adjust the outer folds outward to create a wider collar that frames the blooms rather than squeezing them.
- Mistake 2: Tying the ribbon so tight that it constricts water flow. If you tie your ribbon or twine too tightly above the binding point, you risk crushing the vascular system of the stems, causing the flowers to wilt prematurely.
- Fix: Ensure your structural ties and ribbons are placed strictly at the established binding point, which is the narrowest part of the stem bundle, rather than higher up on the active stems.
- Mistake 3: Using paper that is too flimsy for heavy flowers. Large blooms like sunflowers or thick-stemmed lilies can cause standard tissue paper or lightweight kraft paper to sag, tear, or collapse.
- Fix: Reinforce the base of your wrapper bouquet by double-layering your paper, or insert a small, stiff piece of cardboard wrapped in matching paper behind the stems to act as a supportive spine.
Frequently Asked Questions (FAQ)
How do I keep flowers hydrated inside a wrapped bouquet?
To keep flowers fresh during transport, wrap the cut stem ends in water-soaked cotton pads or paper towels. Place a small, leak-proof plastic bag over the wet cotton and secure it tightly to the stems with green floral tape before applying your wrapping paper. This creates a self-contained water source that prevents wilting in warm weather.
What type of wrapping paper is easiest for beginners to use?
Matte waterproof floral paper (BOPP) is highly recommended for beginners. It is incredibly durable, does not tear easily when pulled or taped, and is completely resistant to water splashes. Kraft paper is also an excellent, forgiving option because it holds crisp folds and pleats exceptionally well.
Community discussion
Share your experience or ask a question. Comments are reviewed before publication.