
To achieve a professional, store-quality finish when wrapping gifts with a cellophane roll, you must master the art of measuring, tensioning, and securing. Cellophane is a wonderfully versatile, transparent medium that showcases the contents of a gift basket, fruit arrangement, or specialty box while offering protection from dust and moisture. This moisture protection is particularly valuable in the humid tropical climate of the Philippines, where open-air gifts can easily lose their crispness. The secret to a polished presentation lies in pulling the film tautly, hiding your adhesive seams with double-sided tape, gathering the top with precision, and crowning the package with a structured, beautifully styled ribbon bow. By following a methodical step-by-step approach, you can transform ordinary items into stunning, professional-grade gifts.
Materials and Tools You Need Before Starting
Before you begin wrapping, gathering the correct tools ensures a smooth, frustration-free process. Having everything within arm’s reach prevents you from losing your grip on the slippery film mid-wrap.
- Cellophane Roll: Look for a high-clarity, medium-thickness roll (typically around 30 to 40 microns). Thinner sheets tear too easily, while excessively thick rolls are stubborn to fold. Ensure the width of the roll is at least double the width of your gift plus its height to guarantee complete coverage.
- Ribbon: Select a style that provides a striking visual and textural contrast to the high-gloss surface of the cellophane. Satin, organza, or wired ribbons are excellent choices. Wired ribbons are highly recommended for beginners because they hold their shape and allow you to sculpt perfect loops.
- Sharp Scissors: Dull blades will snag and tear the plastic rather than slicing it cleanly. When using sharp scissors, always cut on a stable surface and keep your fingers well clear of the blade path to ensure safety.
- Double-Sided Tape: This is the ultimate secret weapon for a professional look. Standard clear tape remains highly visible on shiny cellophane, whereas double-sided tape can be hidden entirely within the folds, maintaining a seamless exterior.
- Tissue Paper: If your gift has sharp corners or protruding edges, wrap these parts lightly in tissue paper or soft packing material first. This acts as a buffer, preventing the taut cellophane from puncturing during handling.
Step-by-Step Guide to Wrapping With Cellophane
Cellophane behaves very differently from traditional wrapping paper. It is slippery, holds static electricity, and does not retain a crease unless firmly pressed. Understanding these unique handling characteristics will help you manage the material with ease.
Products mentioned in this guide
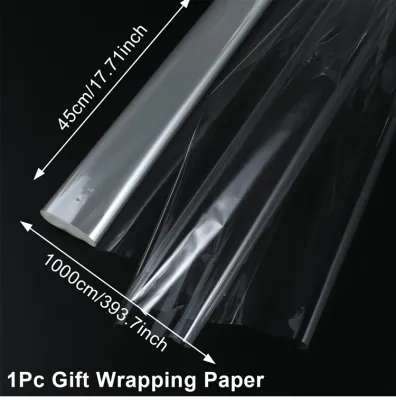
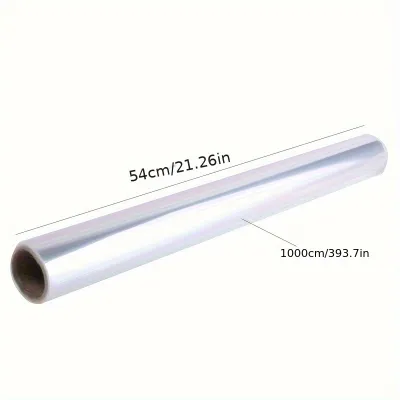
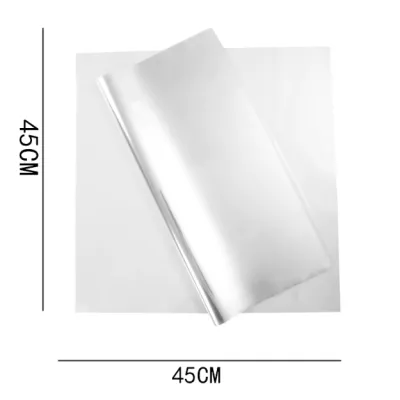
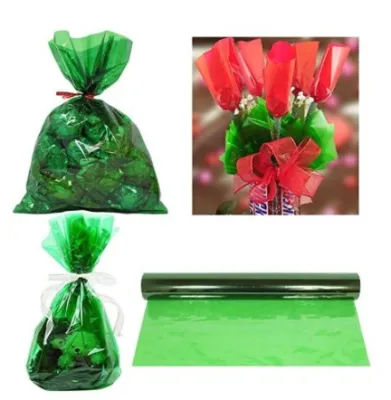
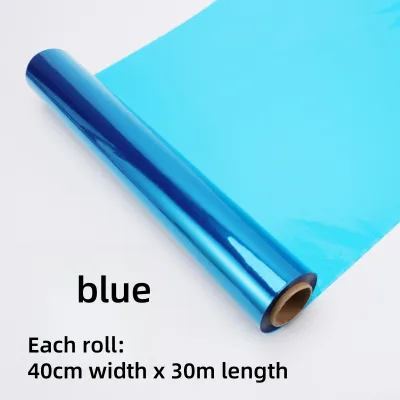
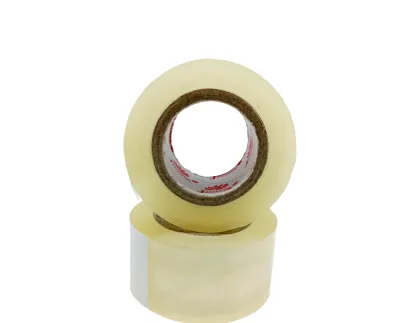
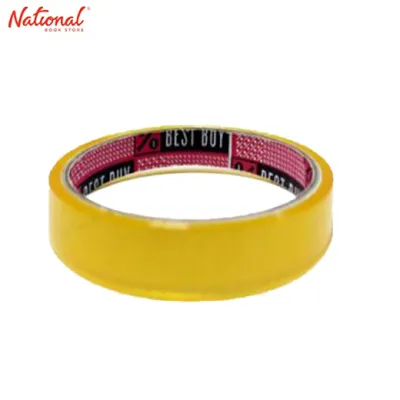
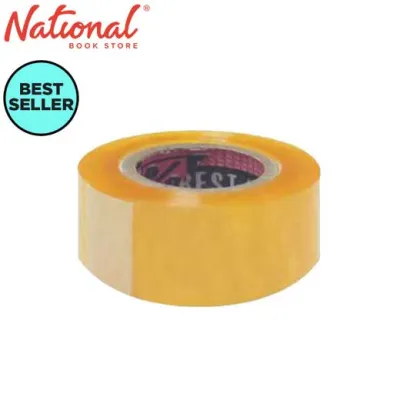
Prices are valid at publication and may change. Please refer to the product page for the latest price.

Measuring and Cutting the Cellophane
Accurate measurement is the foundation of a neat wrap. Cutting too little material results in gaps, while cutting too much leads to bulky, messy folds that detract from the clean aesthetic.
- Position the Gift: Place your cellophane roll on a clean, flat, and dust-free table. Unroll a generous length of the film, keeping it flat against the surface. Place your gift or basket directly in the center of the unrolled sheet.
- Estimate the Coverage: Pull the cellophane up from both the front and back of the gift to meet at the top. The film should overlap by at least three to four inches at the highest point of the item. For the sides, ensure the material can extend past the left and right edges by more than half the depth of the gift.
- Make the Cut: Once you have verified the dimensions, use your sharp scissors to make a single, continuous, straight cut across the roll. To achieve a perfectly straight line, you can use a grid mat underneath or lightly fold the cut line before slicing. Avoid jagged cuts, as they can split under tension.
- Accommodate Irregular Shapes: If you are wrapping a tall gift basket or an oddly shaped item, you will need significantly more excess material at the top. Plan to leave at least twelve to eighteen inches of extra cellophane above the rim of the basket. This generous margin is essential for gathering and creating a dramatic, flared ruffle at the top.
Wrapping and Securing the Edges
Once your cellophane is cut to size, the next step is to wrap the body of the gift tightly. The goal is a smooth, glass-like finish across the flat surfaces of your item.
- Pull Taut: Pull the front and back sheets of the cellophane upward and align them over the center of the gift. Hold them together with one hand while using your other hand to smooth the film against the front and back faces of the package. Tension is key; the cellophane must be taut, but not stretched to the point of warping or tearing.
- Form Side Folds: Treat the sides of the package similarly to standard paper wrapping. Push the side panels inward toward the gift to create neat, triangular flaps. Crease the edges of these flaps firmly between your thumb and forefinger to help the plastic hold its shape.
- Apply Double-Sided Tape: Place a strip of double-sided tape on the inner side of the final overlapping flap. Peel off the backing and press the flap firmly against the wrapped body. Because the tape is sandwiched between two layers of cellophane, it remains completely invisible from the outside.
- Inspect the Seams: Look closely at all seams to ensure there are no loose edges. If any part of the cellophane feels loose, apply a small piece of double-sided tape inside the fold to lock it down. A secure base is critical before you proceed to the top finish.
Gathering and Shaping the Top
The way you finish the top of the package depends entirely on the shape of your gift. You can choose a flat, minimalist finish or a dramatic, flared gather.
- Flat Finish for Boxed Gifts: If you are wrapping a flat book or a rectangular box, you can fold the top flaps down neatly against the back of the item, securing them with double-sided tape. This creates a sleek, modern envelope look that showcases the box design.
- Gathered Finish for Baskets: For gift baskets, canisters, or irregular items, gather the excess cellophane upward toward the center. Use both hands to pleat the material evenly as you bring it together. Pinch the gathered neck tightly just above the highest point of the gift.
- Secure the Neck: While holding the gathered neck tightly with one hand, use your other hand to wrap a temporary twist tie or a small piece of clear tape around the pinch point. This temporary anchor holds the shape securely, freeing up both of your hands to focus on tying the perfect ribbon bow without losing the tension of your gather.
- Shape the Ruffle: Once the neck is secured, gently fluff and pull the flared cellophane above the tie. Spread the ruffles outward to create a balanced, fan-like crown. If some sections are uneven, use your scissors to trim the top edge into a gentle curve or a clean straight line.
Adding the Ribbon for a Store-Quality Finish
The ribbon is not merely decorative; it serves as the structural anchor that secures your cellophane wrap and provides the focal point of your entire presentation.
Tying a Secure and Polished Bow
A floppy or lopsided bow can instantly ruin the look of an otherwise perfectly wrapped gift. Taking the time to tie a symmetrical, tight bow elevates the overall presentation.
- Position the Ribbon: Cut a generous length of ribbon—usually around three to four times the width of your gift. Center the ribbon over the temporary twist tie or tape at the gathered neck, covering it completely.
- Tie the Anchor Knot: Pull the ribbon tight and tie a simple, firm half-knot. The tension should be snug enough to lock the cellophane in place, but not so tight that it crushes the contents of your gift.
- Form the Loops: Create two equal-sized loops and cross them over to tie a classic bow. As you pull the loops through, adjust them slowly to ensure they are symmetrical and proportional to the size of the gift.
- Sculpt the Bow: If you are using wired ribbon, gently insert your fingers into the loops to puff them out. The wire allows you to shape the loops into perfect domes that will not sag, even if the gift is transported or stored in humid conditions. Adjust the tails so they drape elegantly downward.
Curling or Trimming the Ribbon Tails
The final touch lies in how you treat the ends of your ribbon. Unfinished, frayed ends look sloppy, while clean, styled tails add an instant touch of luxury.
- The Classic Diagonal Cut: For fabric ribbons like satin, grosgrain, or organza, fold the ribbon tail in half vertically and cut upward at a 45-degree angle from the open edge to the fold. This creates a beautiful, professional swallowtail (V-shape). Alternatively, a simple, sharp diagonal cut across the tail works beautifully to prevent fraying.
- The Curling Technique: If you want playful, bouncy curls, you can slide the ribbon tail over the blade of your scissors. Hold the ribbon firmly against the dull side of the scissor blade with your thumb, and pull the ribbon quickly across the blade while applying light pressure.
- Verify Ribbon Material First: Before attempting to curl, you must check the product label of your ribbon. Curling only works on specific synthetic materials, such as polypropylene curling ribbon. Attempting this technique on natural fibers, silk, satin, or delicate organza ribbons will ruin, snag, or tear the fabric. If your ribbon is made of fabric, stick to clean diagonal or swallowtail cuts.
Pro Tips for a Flawless Presentation
Even with careful wrapping, cellophane can sometimes present minor challenges. These professional troubleshooting tips will help you achieve a flawless result every time.
- Combat Static Cling: Cellophane is highly prone to static electricity, which attracts dust, lint, and hair. To tame static, lightly rub your hands or the workspace with a clean dryer sheet before unrolling the film. Alternatively, spray a tiny amount of anti-static spray onto your hands—never directly onto the cellophane or the gift—and smooth your hands over the material to neutralize the charge.
- Prevent and Manage Wrinkles: Cellophane can warp or wrinkle when exposed to excessive body heat or high humidity. Work in a cool, dry room and handle the film as little as possible. Always smooth the film from the center of the gift outward to push air bubbles and minor creases to the edges where they can be folded away.
- Layer Your Ribbons: To add depth and visual interest, layer a thinner, contrasting ribbon over your main, wide ribbon. For example, placing a thin, glittering metallic ribbon over a wide, matte satin ribbon creates a sophisticated, multi-dimensional look that mimics high-end boutique packaging.
Frequently Asked Questions (FAQ)
How do I prevent cellophane from wrinkling while wrapping?
Cellophane is highly sensitive to temperature fluctuations and moisture. To prevent wrinkles, always work in a cool, dry environment and handle the material gently. Avoid pulling or stretching the film forcefully, as this causes permanent distortion and warping. Instead, pull it snug and smooth it from the center outward using flat hands.
What type of ribbon works best with cellophane?
Wired ribbons are highly recommended because their structured edges hold their shape beautifully against the stiff, springy nature of cellophane. For an elegant textural contrast, pair the glossy, transparent film with wide satin, organza, or velvet ribbons, which add a luxurious softness to the overall presentation.
Community discussion
Share your experience or ask a question. Comments are reviewed before publication.