
Wrapping gifts with a furoshiki wrap cloth offers an elegant, sustainable, and highly customizable alternative to traditional single-use paper. By combining this traditional Japanese fabric-folding technique with a decorative ribbon or bow, you can elevate a simple present into a stunning, tactile work of art. The process involves placing your gift diagonally in the center of a square cloth, folding and tying the opposite corners into secure knots, and then layering a complementary ribbon to anchor the design. This guide provides a comprehensive, step-by-step walkthrough to help you master the basic wrap, secure your ribbons against slippery fabrics, and adapt the technique for various gift shapes.
Materials and Preparation for Furoshiki Gift Wrapping
Before you begin folding, gathering the correct materials ensures your final presentation looks polished and holds its shape. The foundation of this technique is the furoshiki wrap cloth itself. Traditional furoshiki is a square fabric ranging from 45 to 100 centimeters. Small items like stationery sets or jewelry boxes require a 45-centimeter cloth. Medium gifts, such as books, need a 70-centimeter cloth, while larger items demand a 90-centimeter sheet. A helpful rule of thumb is to choose a cloth with a diagonal length that is approximately three times the longest dimension of your gift.
The choice of fabric material plays a significant role in both the ease of wrapping and the final aesthetic. Lightweight cotton, linen, and cotton-polyester blends are excellent choices for beginners because they offer a balanced grip, making knots easy to tie and less prone to slipping. Silk, rayon, and satin furoshiki cloths provide a luxurious, glossy finish, but their smooth surfaces require more tension control and careful knotting. In warm, humid tropical environments, choosing breathable, moisture-resistant fabrics like cotton or linen helps prevent the cloth from feeling damp or limp during handling and storage. Furoshiki cloths are highly accessible, with options ranging from budget-friendly cotton wraps at around ₱150 to premium hand-dyed fabrics.
Products mentioned in this guide
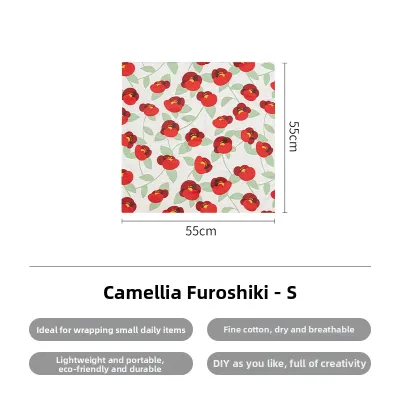
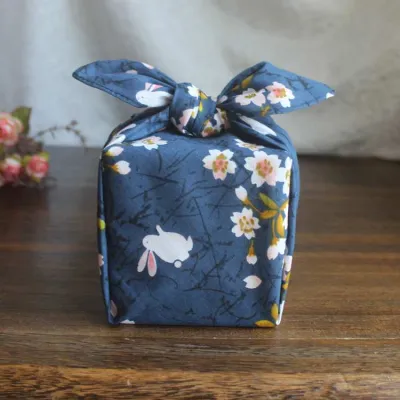
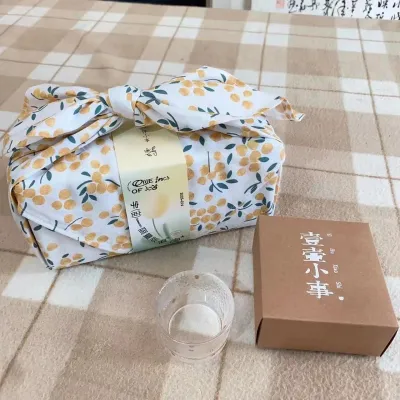
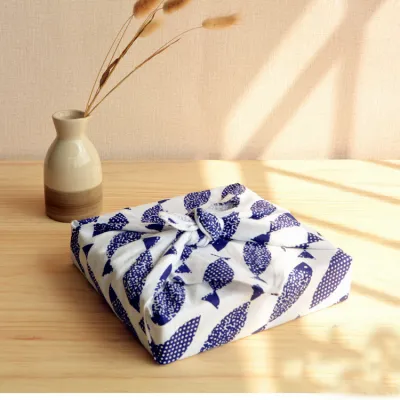
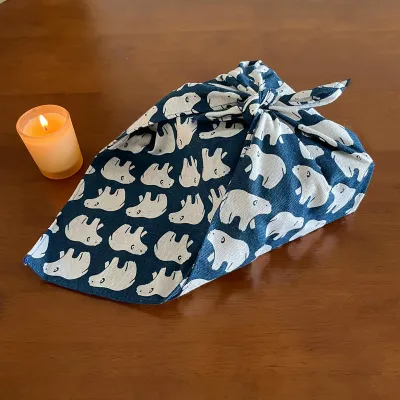
Prices are valid at publication and may change. Please refer to the product page for the latest price.
Selecting a compatible ribbon or bow is the next step in creating a cohesive design. The ribbon should complement the texture, weight, and pattern of your furoshiki cloth rather than compete with it. If your cloth features a busy, vibrant pattern, opt for a solid-colored ribbon in a coordinating hue to ground the design. Conversely, a plain, solid-colored cloth pairs beautifully with textured ribbons, such as grosgrain, velvet, or metallic-edged options. Ensure the ribbon’s width matches the scale of the gift; a thin 1-centimeter ribbon can get lost on a large box, while a wide 5-centimeter ribbon might overwhelm a small jewelry case.
To prepare your workspace, clear a flat, clean table or floor surface. Dust or moisture on the surface can easily transfer to fabric, so wiping down the area beforehand is essential. If your gift consists of multiple loose items, such as a collection of pens, notebooks, or delicate crafts, place them inside a sturdy cardboard box first. Wrapping a structurally stable, rigid box is significantly easier than wrapping loose items, as the sharp corners of the box provide clean lines and tension points that help keep the fabric taut and neat.
Step-by-Step Furoshiki Wrapping Instructions
Once your materials are ready, you can begin the wrapping process. Lay your furoshiki wrap cloth flat on your clean workspace, oriented like a diamond with one corner pointing directly toward you. This diagonal orientation allows the fabric to wrap around the corners with maximum coverage and minimal bulk.

Place your gift box in the exact center of the cloth. If the gift is rectangular, align its sides parallel to the diagonal corners of the fabric. This positioning ensures that when you lift the corners, they will cover the sides of the box evenly. Verify that the box is precisely centered by pulling the top and bottom corners over it; they should meet with equal lengths of fabric remaining.
To begin the first fold, take the corner of the cloth closest to you (the bottom corner) and drape it completely over the gift box. Tuck any excess fabric neatly under the base of the box if the cloth is slightly too large. Next, take the opposite corner (the top corner) and pull it over the box in the opposite direction. Pull both ends firmly to create a snug, smooth layer of fabric across the top surface of the gift. The tension should be tight enough to prevent sagging, but not so tight that it distorts the shape of the box or strains the fabric seams.
Now, focus on the remaining left and right corners of the cloth. Gather the fabric on the left side, smoothing out any wrinkles along the edge of the box, and bring the corner toward the center. Repeat this process with the right corner. Bring both ends together over the center of the box, crossing them over each other to prepare for a knot.
Tie these two ends into a standard double knot, often referred to in furoshiki wrapping as a mautsubi or square knot. To tie a secure square knot, cross the right end over the left end, tuck it under, and pull tight. Then, cross the same end (now on the left) over the other end, tuck it through the loop, and pull firmly. This specific knotting technique ensures the knot lies flat against the top of the box and will not slip or come undone under tension.
After securing the knot, take a moment to adjust the fabric folds. Smooth out any bunching along the sides of the box by gently pulling the fabric downward and tucking any loose edges inward. The corners of the knot should point outward symmetrically, creating a clean, balanced, and polished appearance that serves as an excellent base for your decorative ribbon.
Adding a Ribbon or Bow to Your Furoshiki Wrap
Integrating a ribbon or bow adds a delightful layer of contrast and sophistication to your furoshiki-wrapped gift. The key to successful integration is placing the ribbon in a way that enhances the fabric folds without disrupting the structural integrity of the underlying knots.
You can wrap the ribbon directly over the central furoshiki knot to cover its center, creating a seamless transition. Alternatively, run the ribbon around the entire package, passing it underneath the central knot to anchor it. For an intricate look, try weaving the ribbon through the natural folds along the sides.
To attach the ribbon securely, cut a length of ribbon that is at least three times the perimeter of your gift box. If you are wrapping the ribbon around the base, slide it under the box, bring the ends up to the top, and cross them over each other. Pull the ribbon taut, ensuring it sits flat against the fabric without twisting. Tie a simple knot directly adjacent to or over the furoshiki knot to lock the ribbon in place.
Once the base knot of the ribbon is secure, you can tie your bow. Form two even loops with the ribbon ends, cross them, and pull one loop through the center opening to create a classic bow. To achieve a balanced, polished finish, hold the center of the bow firmly with one finger while gently pulling the loops and tails to adjust their size. Use sharp fabric scissors to trim the ribbon tails at a clean 45-degree angle or in a classic V-shape to prevent fraying and add a professional touch.
When working with smooth or synthetic furoshiki materials, such as polyester, satin, or silk, ribbons can easily slide out of place. To prevent this, utilize the natural texture of the fabric folds to grip the ribbon. Placing the ribbon directly through or underneath the fabric knots provides a physical barrier that keeps it from sliding. Additionally, pairing slippery fabrics with high-friction ribbons, such as cotton twill, grosgrain, or natural jute twine, creates natural resistance that keeps the embellishments firmly anchored.
Adapting the Wrap for Different Gift Shapes
While a rectangular box is the easiest shape to wrap, furoshiki is highly versatile and can be adapted to accommodate irregular, flat, or bulky items with a few simple adjustments.
Since flat items have little height, the corners will have more leftover length. Fold the top and bottom corners over the item, smoothing them flat. When tying the remaining corners, pull the fabric tight to minimize bulk, and fold the long tails back under themselves before tying the final double knot to keep the presentation sleek.
When wrapping smaller or compact objects, you may find yourself with a significant amount of excess fabric. Instead of letting the extra material overwhelm the gift, you can tuck the loose ends neatly into the side folds of the wrap. Alternatively, you can twist the excess fabric ends into decorative spirals before tying them, turning the extra material into an intentional design feature.
Asymmetrical, cylindrical, or bulky gifts require a flexible approach to ribbon placement. For a cylindrical item, such as a bottle or a rolled poster, wrap the furoshiki cloth around the cylinder and tie the knots at one or both ends. Place the ribbon around the middle of the cylinder, wrapping it multiple times to create a secure band, and finish with a neat bow. For highly irregular or bulky shapes, focus on securing the fabric tightly around the widest parts of the object first, then use a wider, structured ribbon to wrap around the entire package, which helps compress any loose fabric and unifies the overall shape.
Frequently Asked Questions (FAQ)
Can I use any type of fabric as a furoshiki wrap cloth?
While traditional furoshiki cloths are specifically designed with finished edges and balanced weights, you can use a variety of square fabrics as alternatives. Suitable options include cotton bandanas, linen napkins, lightweight scarves, or hemmed fabric remnants. The key is to ensure the fabric has a medium weight and a soft drape; overly stiff fabrics like heavy canvas are difficult to knot, while extremely thin fabrics may tear or fail to hold their shape. Always check the manufacturer’s care label on your fabric for washing and ironing instructions to ensure it can be reused multiple times without losing its color or structural integrity.
How do I keep the ribbon from sliding off the furoshiki cloth?
To prevent a ribbon from sliding off smooth furoshiki fabrics, avoid pairing slick ribbons like satin with slippery cloths like silk. Instead, create friction by choosing textured ribbons such as grosgrain, cotton, or rustic twine. You can also thread the ribbon directly through the loops of your furoshiki knot before tightening it, which mechanically locks the ribbon in place. If you must use a smooth ribbon on a smooth cloth, wrapping the ribbon around the package in both directions and tying it tightly over the central fabric knot will provide the necessary tension to keep it secure.
Community discussion
Share your experience or ask a question. Comments are reviewed before publication.