
Combining a 4cm satin ribbon with other ribbon types is an exceptional way to elevate your gift presentation from simple to boutique-grade. By using the wide, glossy satin as a structural foundation and layering it with contrasting textures, narrower widths, or sheer materials, you introduce visual depth and tactile interest that prevents your gift from looking flat. Achieving this polished look requires a basic understanding of ribbon weights, color coordination, and secure tying techniques that hold up even in warm, humid climates.
To create a successful layered wrap, you must balance the slippery, reflective nature of satin with high-friction or translucent materials. This approach ensures that the ribbons complement rather than compete with one another. Whether you are preparing a grand gift for a local debut, a wedding in Tagaytay, or festive holiday packages, mastering these layering combinations will make your presentation stand out.
The Role of 4cm Satin Ribbon in Layered Wrapping
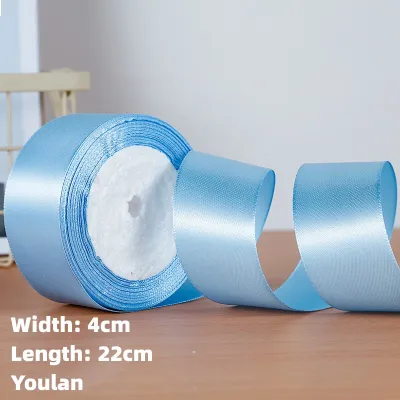
A 4cm satin ribbon (approximately 1.5 inches wide) serves as an ideal anchor for layered gift wrapping. This specific width provides substantial coverage on medium-to-large gift boxes, such as standard shoe boxes, pastry boxes, or native woven abaca boxes. Because of its width, it establishes a bold, solid band of color that immediately draws the eye, making it the perfect canvas for secondary accents.
Products mentioned in this guide
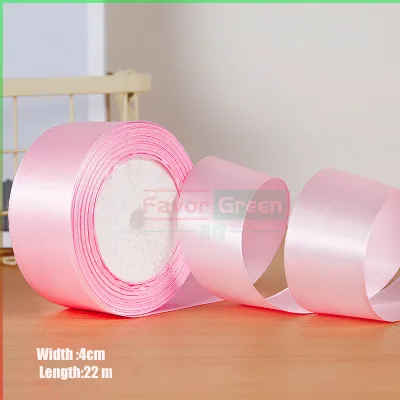
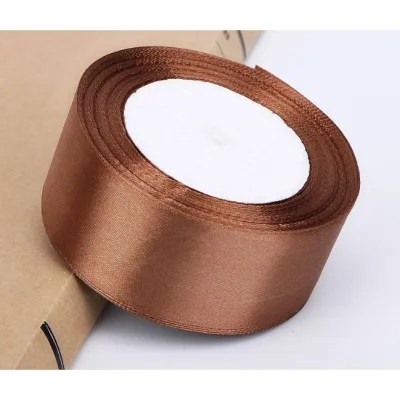
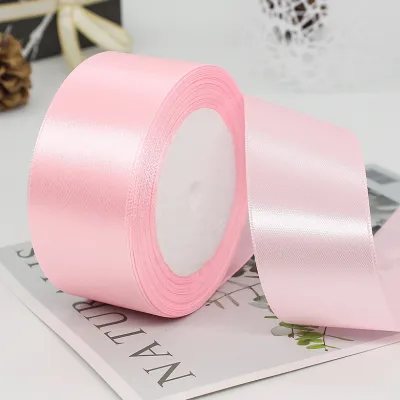
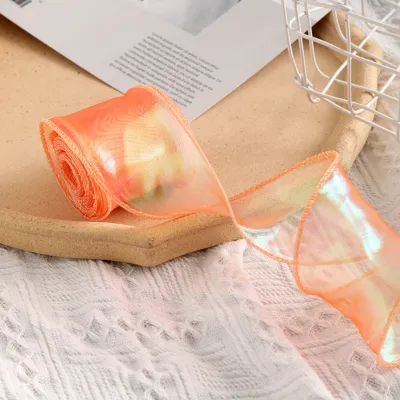
Prices are valid at publication and may change. Please refer to the product page for the latest price.
The defining characteristic of satin is its smooth, lustrous finish. It catches and reflects light beautifully, which gives it an inherently luxurious and formal appearance. However, wrapping a gift with a single wide satin ribbon can sometimes look heavy or one-dimensional. The high shine can overwhelm the wrapping paper if not balanced correctly.
Layering solves this design challenge by introducing contrasting elements. By placing a narrower, textured, or matte ribbon directly over the 4cm satin base, you break up the solid block of shine. This contrast creates a framed effect, where the satin acts as a rich border that highlights the accent ribbon. Layering also adds structural volume to your bows, allowing the loops to stand up proudly rather than drooping flat against the box.
Best Ribbon Pairings for 4cm Satin
Selecting the right companion ribbon depends on matching or contrasting the physical properties of the materials. When pairing other ribbons with a 4cm satin base, you should focus on texture, width, and weight to ensure the combination remains visually balanced and structurally sound.

Satin and Grosgrain for Classic Contrast
Grosgrain ribbon is characterized by its distinct ribbed texture and matte finish, making it the perfect foil for the slippery, high-shine surface of satin. The horizontal ridges of grosgrain grip the smooth satin underneath, which not only looks highly tailored but also helps prevent the ribbons from sliding out of alignment during the tying process.
For a clean, classic look, recommend using a narrower grosgrain ribbon, ideally between 1cm and 2cm wide. When layered directly down the center of the 4cm satin base, the grosgrain creates a crisp stripe that mimics high-end designer packaging. This combination is highly durable and holds its shape exceptionally well, making it suitable for gifts that need to be transported.
Color coordination is key to making this pairing work. For an elegant and understated presentation, try monochrome layering, such as pairing a deep navy blue satin ribbon with a light powder blue grosgrain accent. If you want a striking, festive pop for special occasions, opt for high-contrast pairings, such as a rich forest green satin base topped with a cherry red or metallic gold grosgrain ribbon.
Satin and Organza for Elegant Lightness
Organza is a sheer, lightweight, and semi-translucent fabric ribbon that features a slightly stiff weave. Pairing solid satin with delicate organza creates a highly romantic, voluminous, and ethereal presentation. This combination is particularly popular for bridal showers, baptismal gifts, and formal milestone celebrations.
To achieve the best visual effect, use an organza ribbon that is either equal to or slightly wider than the 4cm satin ribbon. When you layer a 4cm or 5cm organza ribbon directly over or underneath the satin, the sheer edges extend slightly beyond the solid satin border. This creates a soft, glowing frame where light passes through the translucent organza while the solid satin provides a rich, opaque backdrop.
Alternatively, you can tie a double-layered bow where the organza and satin loops are gathered together. The stiff nature of organza helps support the softer satin, giving the final bow a fluffy, cloud-like volume that does not collapse. Stick to soft pastel combinations, like blush pink organza over ivory satin, to emphasize the delicate, airy aesthetic.
Satin and Natural Twine or Burlap for Rustic Charm
For a modern rustic or bohemian aesthetic, you can pair the luxurious gloss of satin with rough, natural fibers. This style, often referred to as “rustic-luxe,” relies on the stark contrast between high-society elegance and earthy simplicity. It is an excellent choice when wrapping gifts in plain brown kraft paper or placing them inside native Filipino abaca baskets.
To execute this look, use thin jute twine, polished cotton baker’s twine, or a very narrow 1cm strip of raw burlap. Wrap the 4cm satin ribbon around the package first to establish a clean, colorful band. Then, wrap the twine or burlap directly over the center of the satin, winding it around two or three times for added texture before securing it.
The coarse, fibrous texture of the twine breaks up the formal sheen of the satin, grounding the presentation and making it feel organic yet carefully curated. This contrast ensures the gift looks thoughtful and artistic without appearing overly formal or stiff. Earthy tones like olive green, terracotta, or champagne satin pair beautifully with natural brown jute twine.
Step-by-Step Layering Techniques
Physically combining multiple ribbons requires a systematic approach to ensure the final wrap is neat, symmetrical, and tight. Below are three reliable methods for applying and securing your layered ribbons.
The Base-and-Accent Wrap
This is the most straightforward and beginner-friendly layering method, where the 4cm satin ribbon serves as a flat, steady foundation for a narrower accent ribbon.
- Measure and Cut: Cut a length of 4cm satin ribbon sufficient to wrap around your gift box with enough excess to tie a bow. Cut a matching length of your narrower accent ribbon (such as a 1.5cm grosgrain).
- Apply the Base: Wrap the 4cm satin ribbon around the center of the box. Pull it taut and secure it temporarily on the bottom of the box using a small piece of double-sided tape to prevent it from shifting.
- Align the Accent: Lay the narrower accent ribbon directly over the center of the satin ribbon on the top of the box. Smooth it out with your fingers to ensure there are no twists or wrinkles.
- Tie the Knot: Bring all four ends (two of the satin, two of the accent) together at the center. Treat the two ribbons on each side as a single, combined strand. Tie a standard square knot, ensuring the narrower ribbon remains centered on top of the satin as you pull the knot tight.
- Form the Bow: Create your bow loops using the combined strands, keeping the accent ribbon facing outward. Gently pull the loops to tighten, then adjust the tails so they drape neatly.
The Cross-Wrap Layering
The cross-wrap method creates a traditional, grid-like presentation that is highly secure and visually striking, utilizing different ribbon paths to showcase both materials.
- Vertical Base: Wrap the 4cm satin ribbon vertically around the length of the gift box. Bring the ends to the top center of the box, cross them over once to hold the tension, but do not tie a full knot yet.
- Horizontal Accent: Take your narrower secondary ribbon (such as a 1.5cm organza or contrasting grosgrain) and wrap it horizontally around the width of the box.
- Intersect and Lock: Thread the horizontal ribbon under the crossed vertical satin ribbon at the center point. Loop the horizontal ribbon around the satin intersection once to lock both ribbons together. This prevents either ribbon from sliding off the corners of the box.
- Tie the Bow: Tie a secure bow at the intersection using the ends of both ribbons, or use the narrower ribbon to tie a bow directly over the flat satin intersection. Ensure the ribbons lay perfectly flat against the box corners to maintain a crisp, professional edge.
Securing and Tying the Layered Bow
Satin is notoriously slippery, and adding a second layer of ribbon can make the tying process feel like you need a third hand. To prevent the layers from twisting, separating, or slipping apart, use these practical handling tips.
Before you begin tying, apply a tiny dot of double-sided fabric tape or clear-drying craft glue between the satin base and the accent ribbon at the center point where the knot will sit. This temporary anchor keeps the ribbons perfectly aligned while you manipulate the loops.
When pulling the loops of your layered bow, always grasp both ribbon layers firmly between your thumb and forefinger. Pull with even tension on both sides. If you pull too quickly or unevenly, the inner satin ribbon may pucker, or the top accent ribbon may slide off-center. Once the bow is tied, insert your fingers into the loops to fluff them up and separate the layers slightly, allowing both textures to be visible.
Common Layering Mistakes to Avoid
To ensure your gift wrapping looks truly professional, avoid these common styling and structural errors:
- Using Identical Widths: Never layer two ribbons of the exact same 4cm width and similar smooth textures. This results in a thick, bulky knot that is difficult to tie neatly. The bottom ribbon will inevitably be covered up or bunch up awkwardly, defeating the purpose of layering.
- Overloading with Heavy Materials: Avoid placing a very heavy, stiff canvas, thick velvet, or heavily beaded ribbon on top of a soft, delicate 4cm satin ribbon. The weight of the top layer will cause the satin underneath to sag, fold, or slide down the sides of the box.
- Ignoring Paper and Tension Fit: In tropical, high-humidity environments, standard wrapping paper can absorb moisture from the air and become slightly soft or fragile. If you pull a double layer of ribbon too tightly, the tension can easily tear the paper or crush the corners of a lightweight cardboard box. Always use sturdy, high-quality wrapping paper (at least 80gsm) and maintain a firm but gentle tension.
- Snagging the Satin: Smooth satin is highly susceptible to snagging. If you pair it with metallic glitter ribbons, rustic burlap, or wired-edge ribbons, handle them gently. Pulling a rough, textured ribbon quickly across the surface of satin can pull its fine threads, leaving unsightly runs down the center of your ribbon band.
Frequently Asked Questions (FAQ)
How do I keep slippery satin ribbon from untying when layered?
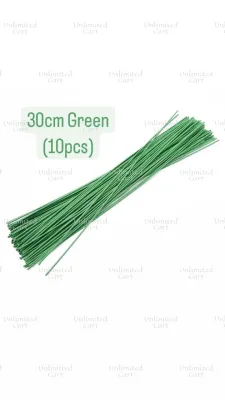
To prevent slippery satin from coming undone, you can apply a tiny dab of clear-drying fabric glue directly inside the center knot once it is tied. Alternatively, you can tie a tight, secure knot with your high-friction secondary ribbon (such as grosgrain or twine) directly over the satin knot to lock it in place. Another professional trick is to bind the center of your bow loops with a short piece of thin, color-matched floral wire before attaching it to the flat ribbon band on the box, eliminating the need for a complex hand-tied knot.
Can I layer 4cm satin ribbon with wired ribbon?
Yes, you can layer 4cm satin with a wired-edge ribbon. It is generally best to place the wired ribbon on top of the satin base or use it to construct the main bow loops, as the wire allows you to shape and sculpt the bow beautifully. However, be extremely careful during the tying process. The sharp, exposed wire tips at the cut ends of the ribbon can easily snag the delicate, woven threads of your 4cm satin base. To prevent this, fold the cut ends of the wired ribbon over twice to hide the wire tips, or seal them with a tiny dot of craft glue before layering.

Community discussion
Share your experience or ask a question. Comments are reviewed before publication.